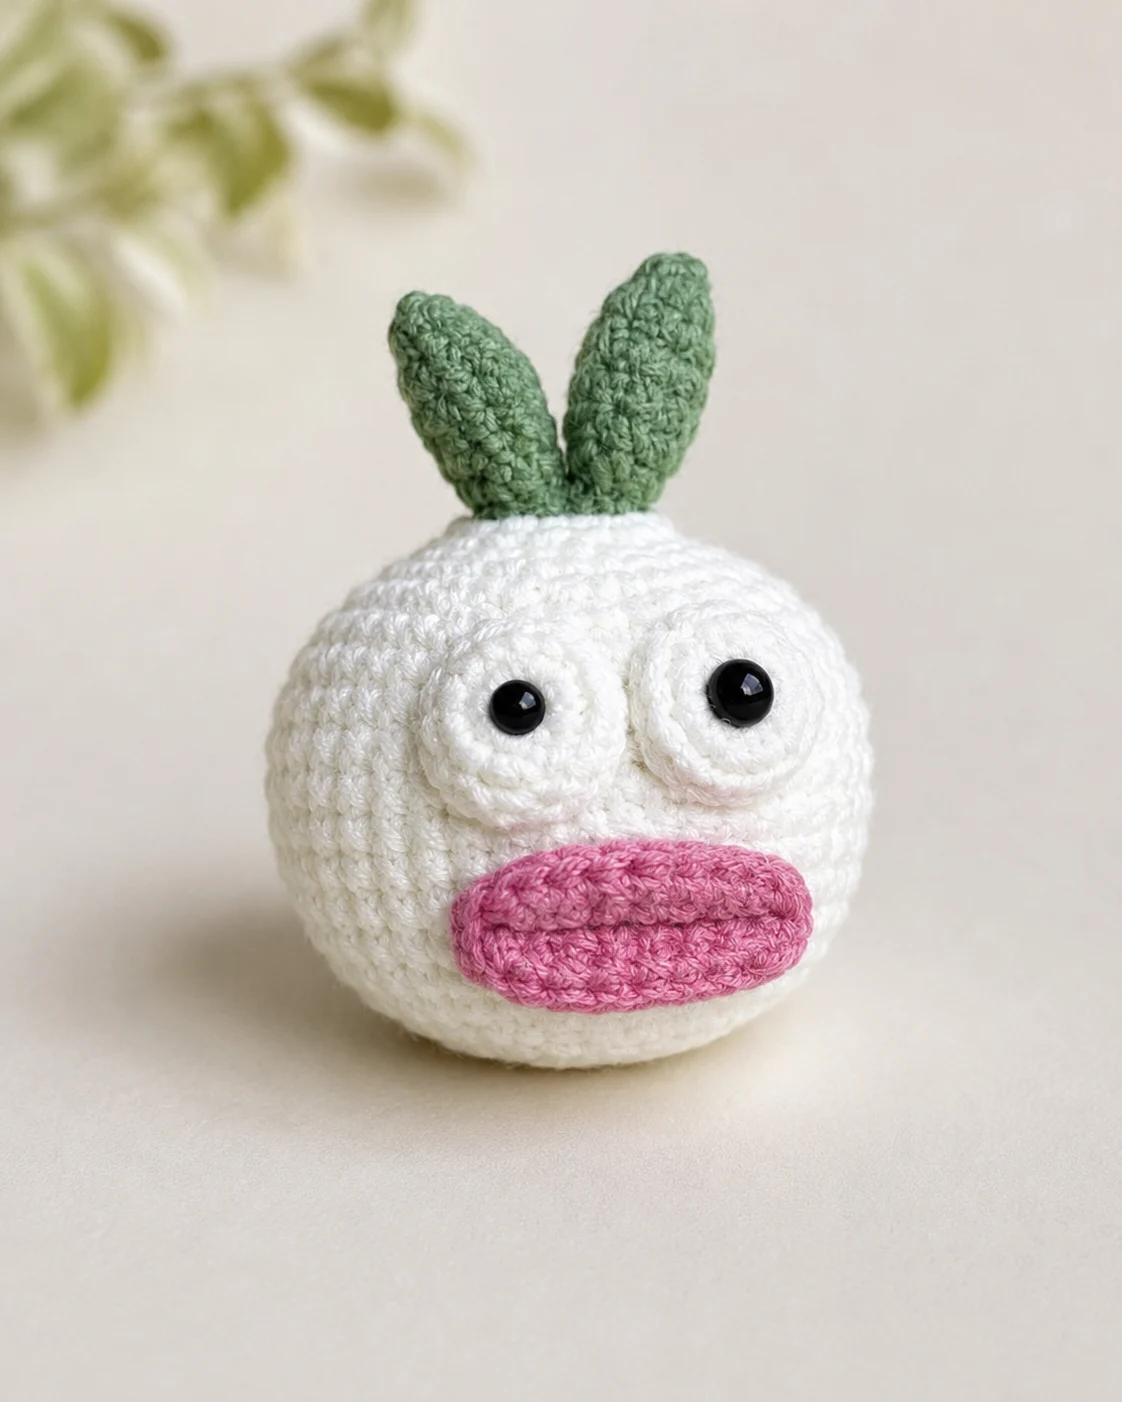
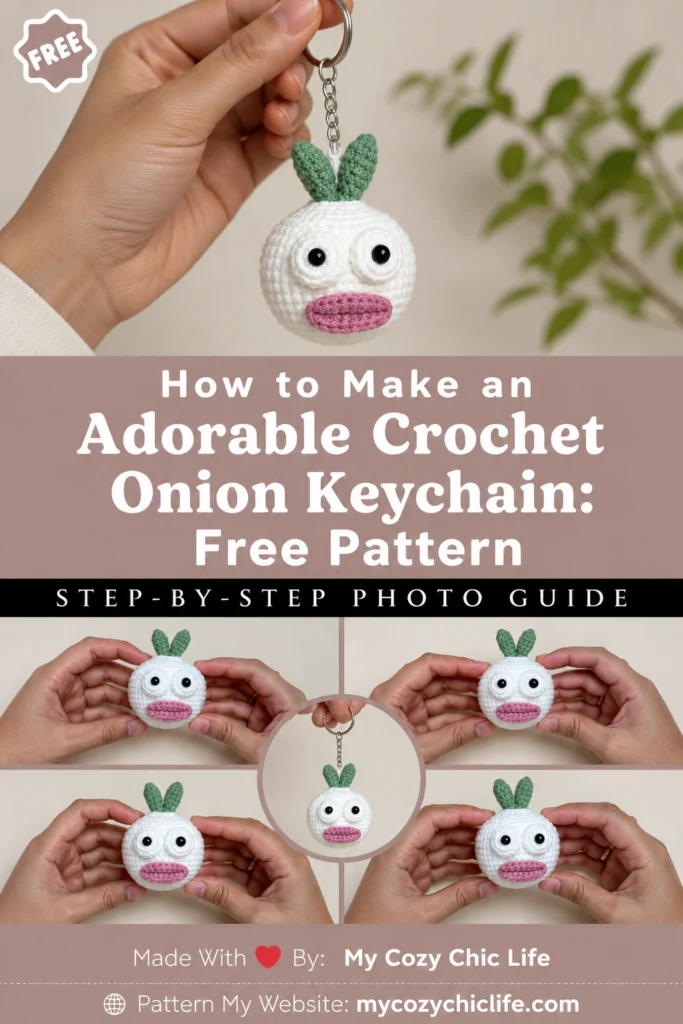
Looking for a charming and whimsical crochet project? This adorable crochet onion amigurumi pattern is the perfect choice! These little veggie friends have become incredibly popular in the crafting world, adding a touch of kawaii cuteness to your everyday accessories. Whether you’re new to amigurumi or an experienced crocheter looking for a quick project, this free pattern will guide you through creating your very own onion keychain that’s sure to bring smiles wherever it goes.
Why Make a Crochet Onion Amigurumi?
Food-themed amigurumi has taken the crafting world by storm, and for good reason! These tiny, handmade versions of everyday items combine the comfort of familiar objects with irresistible cuteness. A crochet onion keychain makes a perfect conversation starter, a thoughtful handmade gift, or simply a cheerful addition to your keyring or bag. Plus, it’s an excellent way to use up small amounts of yarn from your stash while practicing your amigurumi skills.
If you enjoy making small amigurumi projects, you might also love our no-sew mini octopus free crochet pattern or the amigurumi seahorse keychain free crochet pattern.
Materials Needed
Before we begin, gather these supplies:
- White or cream yarn (worsted weight cotton or acrylic works well)
- Green yarn in two shades (for the leaves)
- 2.5mm or 3mm crochet hook (adjust based on your yarn weight)
- Fiberfill stuffing
- Keychain ring or clasp
- Yarn needle for weaving in ends
- Black embroidery thread for eyes and mouth
- Stitch markers
- Scissors
For the softest result, I recommend using a milk cotton yarn, which gives excellent stitch definition while remaining cuddly. If you prefer a fuzzier look, try a plush yarn for an extra adorable finish.
Crochet Onion Pattern: Step-by-Step Instructions
Part 1: The Onion Bulb
Round 1: Start with a magic ring, ch 1 (does not count as a stitch), work 6 sc into the ring. Join with a sl st to the first sc. (6 stitches)
Round 2: Ch 1, 2 sc in each stitch around. Join with a sl st. (12 stitches)
Round 3: Ch 1, sc in next stitch, 2 sc in next stitch; repeat from * to * around. Join with a sl st. (18 stitches)
Round 4: Ch 1, sc in next 2 stitches, 2 sc in next stitch; repeat from * to * around. Join with a sl st. (24 stitches)
Round 5: Ch 1, sc in next 3 stitches, 2 sc in next stitch; repeat from * to * around. Join with a sl st. (30 stitches)
Round 6: Ch 1, sc in next 4 stitches, 2 sc in next stitch; repeat from * to * around. Join with a sl st. (36 stitches)
Rounds 7-10: Ch 1, sc in each stitch around. Join with a sl st. (36 stitches)
Begin lightly stuffing the onion as you work the next rounds.
Round 11: Ch 1, sc in next 4 stitches, sc2tog over next 2 stitches; repeat from * to * around. Join with a sl st. (30 stitches)
Round 12: Ch 1, sc in next 3 stitches, sc2tog over next 2 stitches; repeat from * to * around. Join with a sl st. (24 stitches)
Round 13: Ch 1, sc in next 2 stitches, sc2tog over next 2 stitches; repeat from * to * around. Join with a sl st. (18 stitches)
Round 14: Ch 1, sc in next stitch, sc2tog over next 2 stitches; repeat from * to * around. Join with a sl st. (12 stitches)
Finish stuffing firmly. Fasten off, leaving a long tail for sewing.
Part 2: The Onion Leaves
Leaf 1 (with darker green yarn):
Ch 10, starting in the 2nd chain from hook, work 1 sc, 1 hdc, 1 dc, 1 hdc, 1 sc, 1 sl st. Fasten off, leaving a tail for sewing.
Leaf 2 (with lighter green yarn):
Ch 8, starting in the 2nd chain from hook, work 1 sc, 1 hdc, 1 dc, 1 hdc, 1 sc. Fasten off, leaving a tail for sewing.
Leaf 3 (with darker green yarn):
Ch 6, starting in the 2nd chain from hook, work 1 sc, 1 hdc, 1 sc. Fasten off, leaving a tail for sewing.
Part 3: Assembly
- Using your yarn needle and the tail from the onion bulb, sew the top opening closed.
- Arrange the leaves at the top of the onion, overlapping them slightly for a natural look. Sew them securely in place.
- Thread your keychain ring through one of the stitches at the top of the onion, between the leaves. If needed, use a small length of yarn to reinforce the attachment.
- Using black embroidery thread, create two small eyes and a cute smile. For the eyes, make two small satin stitches or French knots. For the smile, work a small curved line of backstitches.
- Weave in all remaining ends carefully.
Tips for Beginners
If you’re new to amigurumi, here are some helpful tips to ensure your onion turns out perfectly:
- Use stitch markers: These are essential for keeping track of your rounds, especially when working in continuous spirals.
- Count your stitches: After each round, take a moment to count your stitches to ensure you’re on track. This prevents mistakes that can compound in later rounds.
- Stuff gradually: Add small amounts of stuffing as you go, rather than all at once at the end. This creates a smoother, more even shape.
- Tension matters: Try to maintain consistent tension throughout your work. If your stitches are too loose, the stuffing might show through.
- Practice the magic ring: If you’re struggling with the magic ring, don’t worry! It takes practice. As an alternative, you can start with ch 2 and work your first round of stitches into the second chain from the hook, though this will leave a small hole at the center.
If you’re enjoying this beginner-friendly project, you might also like our no-sew mochi bunny crochet pattern or the crochet no-sew axolotl free amigurumi pattern.
Customization Ideas
One of the joys of amigurumi is making each piece uniquely yours! Here are some ways to customize your crochet onion:
- Color variations: While white is the classic onion color, try making red or purple onions for variety. You could even create a whole set of different onion varieties!
- Facial expressions: Experiment with different expressions – try winking eyes, a surprised “O” mouth, or rosy cheeks made with pink yarn.
- Size variations: Use different yarn weights and hook sizes to create onions of various sizes. A chunky yarn with a larger hook would make a cute desk ornament, while finer yarn creates a delicate charm for jewelry.
- Add accessories: Consider adding tiny crocheted glasses, a bow, or a small hat to give your onion personality.
- Texture variations: Try using fuzzy or sparkly yarn for a magical twist on the traditional onion.
Common Problems and Solutions
Problem: My onion is looking more like a ball than an onion shape.
Solution: Ensure you’re following the increase and decrease pattern exactly. The gradual shaping is what gives the onion its characteristic form.
Problem: The stuffing is showing through my stitches.
Solution: Try using a smaller hook size or tighter tension. You can also add a fabric lining inside before stuffing, though this adds complexity to the project.
Problem: My leaves won’t stand up properly.
Solution: Try using a stiffer yarn for the leaves or insert a small piece of craft wire into each leaf before sewing them on. You could also use starch or fabric stiffener on the completed leaves.
Problem: The keychain ring keeps pulling out.
Solution: Make sure you’re attaching it through multiple stitches and consider reinforcing with extra yarn passes. For heavy keys, use a more substantial keyring and attach it through a thicker part of the onion.
Care Instructions
To keep your crochet onion looking its best:
- Hand wash in cool water with a mild detergent
- Gently squeeze out excess water (avoid wringing)
- Reshape while damp and air dry flat
- Avoid direct sunlight, which can cause fading
- For stubborn stains, spot clean with a damp cloth
- Store in a cool, dry place when not in use
Creative Ways to Use Your Crochet Onion
Beyond a simple keychain, here are some fun ways to use your finished onion:
- Bag charm: Attach it to your purse or backpack for a touch of whimsy
- Zipper pull: Add it to jacket zippers or pencil cases
- Kitchen decor: Create a small basket of different vegetable amigurumi for a charming kitchen display
- Gift topper: Use it as a unique decoration on gift packages
- Plant marker: Attach it to a stick and use it to mark onion plants in your garden
- Educational tool: Make a set of vegetable amigurumi to help children learn about different foods
For more cute amigurumi ideas, check out our free triceratops amigurumi crochet pattern or the crochet green alien cat amigurumi keychain free pattern.
Why Food Amigurumi Is So Popular
Food-themed amigurumi has exploded in popularity in recent years, and it’s easy to see why. These tiny crocheted foods combine several appealing elements:
- Nostalgia: They remind us of childhood toys and simpler times
- Humor: There’s something inherently amusing about turning everyday foods into adorable characters
- Kawaii influence: The Japanese aesthetic of cute has spread globally, influencing crafters everywhere
- Collectibility: Their small size makes them perfect for building themed collections
- Giftability: They make unique, handmade gifts that show thoughtfulness and creativity
- Social media appeal: Their photogenic nature makes them perfect for sharing on platforms like Instagram and Pinterest
Troubleshooting Guide
Even experienced crocheters run into issues sometimes. Here’s a quick troubleshooting guide:
Stitch Counting Issues:
- If you’re consistently off by one stitch, check if you’re counting the joining slip stitch
- Use different colored stitch markers to mark the first stitch of each round
- Try counting your stitches both before and after completing a round
Tension Problems:
- If your work is too tight and difficult to stitch into, try relaxing your grip or moving up a hook size
- If your work is too loose and the stuffing shows through, try tightening your tension or moving down a hook size
- Remember that tension often changes when you’re stressed or tired—take breaks if needed!
Shape Issues:
- If your onion is lopsided, check that you’re increasing evenly around the round
- If the decreases are creating visible gaps, try using invisible decreases instead of standard sc2tog
- If the top is pointy instead of rounded, ensure you’re spreading your decreases evenly in the final rounds
Time and Skill Assessment
This crochet onion pattern is perfect for beginners and can be completed in about 1-2 hours, depending on your experience level. Here’s a quick breakdown:
- Skill Level: Beginner
- Time to Complete: 1-2 hours
- Best For: Weekend crafting, travel projects, gift-making
- Age Recommendation: 12 and up (due to small parts if used as a toy)
The pattern uses only basic stitches (single crochet, half double crochet, double crochet, increase, and decrease), making it accessible to those new to amigurumi. The small size means you’ll see progress quickly, which is encouraging for beginners!
Frequently Asked Questions
Q: Can I use this pattern to make larger onions?
A: Absolutely! Just use thicker yarn and a correspondingly larger hook. You’ll need to adjust the stitch counts proportionally to maintain the proper shape.
Q: Is this pattern suitable for children’s toys?
A: With some modifications, yes. Replace the keychain with a safer attachment, ensure all embroidery is extremely secure, and consider using safety eyes instead of embroidered ones for children under 3.
Q: Can I sell items made from this pattern?
A: Yes, you can sell finished items made from this pattern. However, please don’t sell or distribute the pattern itself as your own.
Q: My onion keeps turning out flat instead of round. What am I doing wrong?
A: This usually means you’re not adding enough stuffing or you’re stuffing too early. Try adding more stuffing gradually as you approach the final rounds, and continue to add small amounts even after closing the top.
Q: Can I make this without a magic ring?
A: Yes, you can start with ch 2 and work your first round into the second chain from the hook. This will leave a small hole at the center, but it’s barely noticeable in the finished piece.
Conclusion
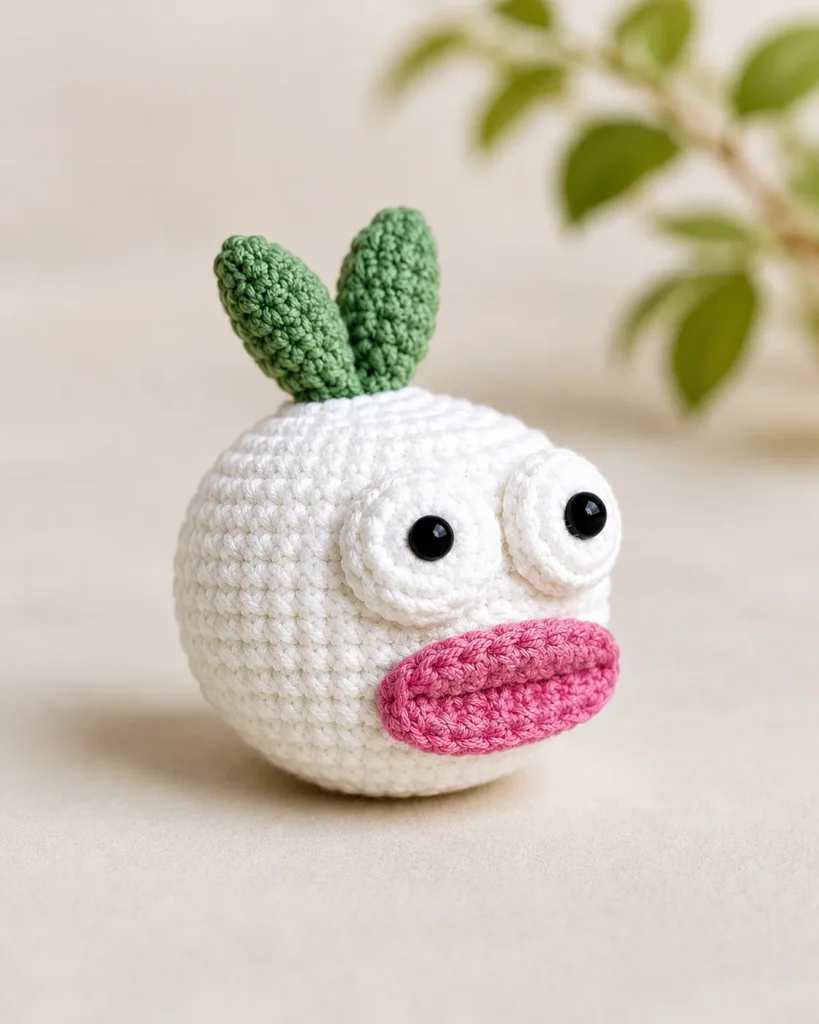
Creating a crochet onion amigurumi is a delightful project that combines simplicity with charm. This free pattern provides a perfect introduction to amigurumi for beginners while offering customization options that will interest more experienced crocheters. The finished onion makes a wonderful addition to your keyring, a thoughtful handmade gift, or a cute decorative item.
The satisfaction of turning simple yarn into an adorable character is one of the joys of crochet. With just a few hours of work, you’ll have created something uniquely yours that’s sure to bring a smile to your face every time you see it.
So grab your hook and yarn, and let’s get crocheting! Before you know it, you’ll have your very own charming onion companion to brighten your day.
If you enjoyed this pattern, you might also like our free crochet dragon ornament advanced amigurumi pattern for when you’re ready to tackle a more challenging project, or the free crochet snoopy keychain amigurumi pattern for another fun character to add to your collection.