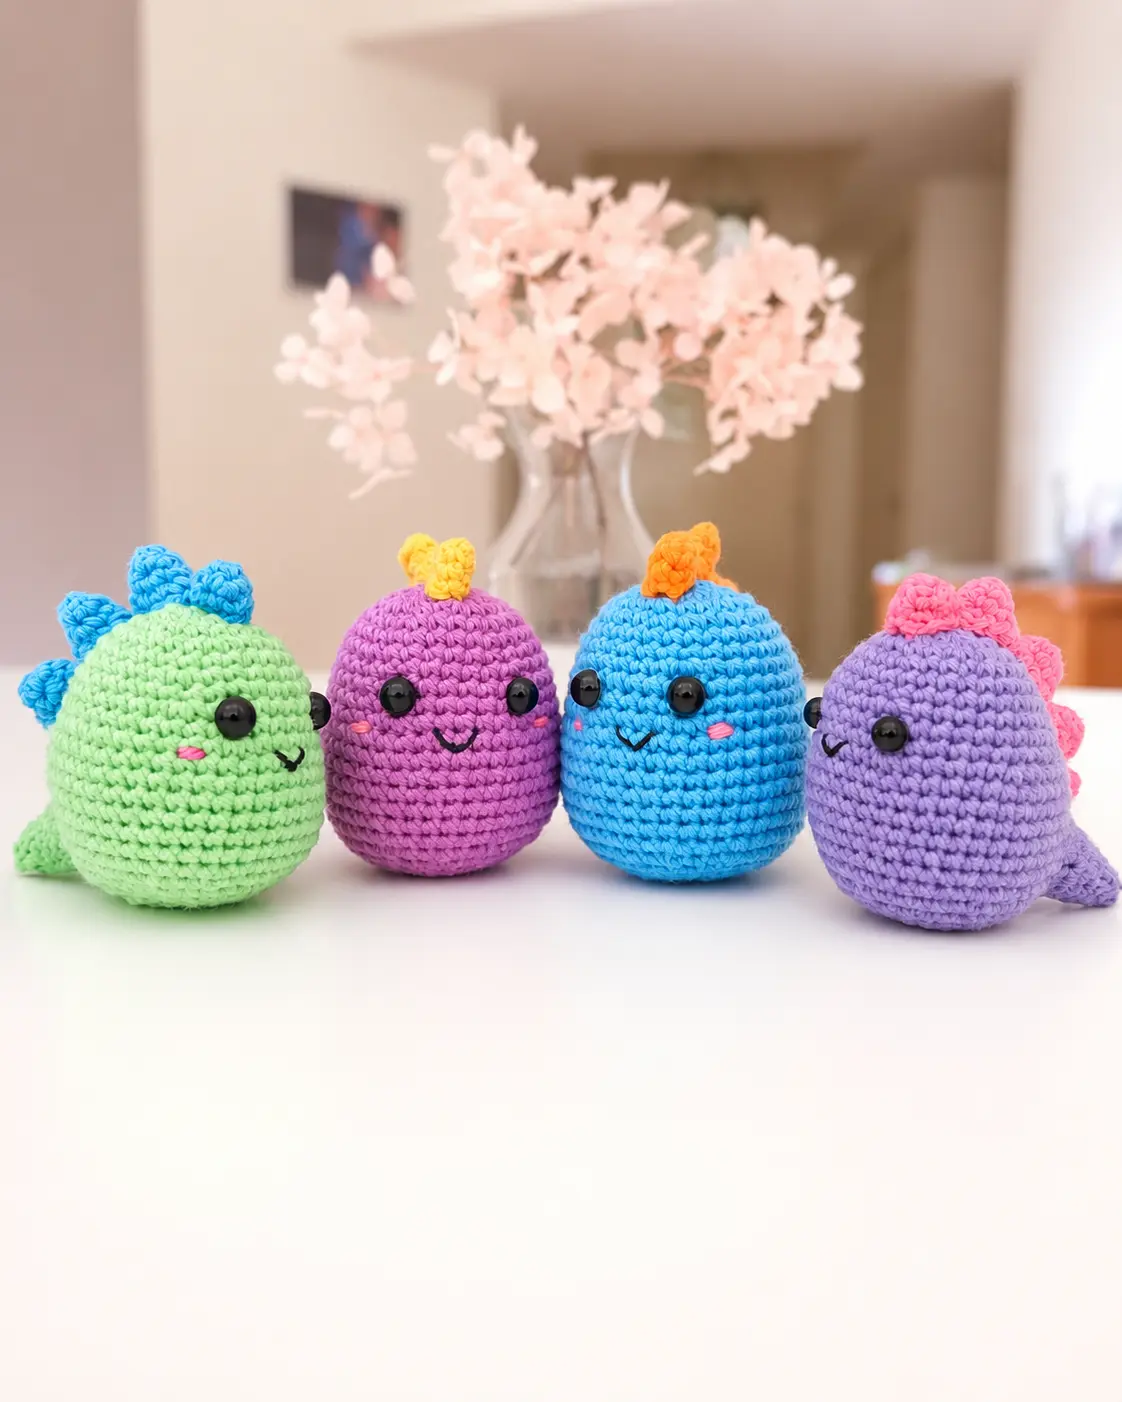
If you’ve been looking for a quick, rewarding crochet project that delivers maximum cuteness with minimal material, this colourful mini dino amigurumi is exactly what you need. Standing just about 7.5 cm tall when finished, this little dinosaur is perfect for gift-giving, keychains, nursery decorations, or simply adding some prehistoric charm to your shelf. Whether you’re a beginner branching into amigurumi or an experienced crocheter looking for a fun weekend make, this guide walks you through everything you need to know.
What Is Amigurumi?
Amigurumi is the Japanese art of crocheting (or knitting) small, stuffed yarn figures — most commonly animals or fantasy creatures. The word combines the Japanese words ami (knitted or crocheted) and nuigurumi (stuffed doll). These projects are beloved worldwide for their portability, their minimal material requirements, and the sheer joy of finishing a tiny handmade creature in just a few hours.
If you’ve already tried other small amigurumi like a mini octopus or an axolotl, this mini dino will feel right at home in your growing critter collection.
Materials You’ll Need
Before you cast on, gather your supplies. Having everything ready will make the process much smoother.
Yarn: You’ll need 8 ply (DK weight) cotton yarn in your main body colour (green is classic, but pastels and brights both work beautifully) and a contrasting colour for the spikes (the original uses blue). Cotton yarn is preferred for amigurumi because it holds its shape well, shows stitch definition clearly, and is easy to stuff firmly without the stuffing showing through.
Hook: A 3mm crochet hook is recommended for this weight of yarn. Using a hook that’s slightly smaller than the yarn label suggests is standard in amigurumi — it creates a tighter fabric that keeps the stuffing inside and gives a clean, professional finish.
Other supplies:
- 8mm safety eyes (2)
- Polyester fibrefill stuffing
- Black embroidery thread (for the mouth)
- Pink embroidery thread (for the cheeks)
- Yarn needle
- Stitch markers or scrap yarn
Key Pattern Notes Before You Begin
This pattern uses UK crochet terminology. If you’re used to US terms, the main difference is that the UK “double crochet” equals the US “single crochet.” Here’s a quick conversion cheat sheet:
| UK Term | US Term |
|---|---|
| Double crochet (dc) | Single crochet (sc) |
| Half treble crochet (htr) | Half double crochet (hdc) |
| Treble crochet (tr) | Double crochet (dc) |
The pattern is worked in continuous rounds — meaning you don’t join each round with a slip stitch. Instead, use a stitch marker to track your round beginnings. This is standard for amigurumi and results in a seamless, smooth finish.
Reading the notation: Rounded brackets like (dc 1, inc) x 6 mean you repeat that sequence six times. Square brackets like [18 sts] tell you the total stitch count you should have at the end of that round — always double-check these as you go!
How to Crochet the Mini Dino: Step by Step
The Head and Body
The head and body are worked as a single continuous piece, starting at the very top of the dino’s head. Begin with a magic circle — a technique that creates a tight, invisible centre for round projects. Work 6 double crochets into the circle, then pull the tail to close it snugly.
From there, you’ll increase steadily over the first several rounds to build the rounded head shape, then work a few straight rounds to create the body. The increases follow a classic amigurumi shaping pattern, expanding from 6 stitches out to 42 stitches at the widest point.
A critical step comes at round 9–10: this is where you attach your safety eyes. The pattern specifies placing them at stitch 12 and stitch 18. Getting this right is essential because the tail is connected to the body in a specific location relative to the eyes — so placement really matters here. Once the eyes are in, embroider the mouth between them and add a little blush of pink on each cheek before the opening becomes too small to work in.
Round 16 creates the tail opening: you’ll crochet 34 stitches normally, then chain 8 and skip the next 8 stitches. These skipped stitches (plus the chain) become the foundation for the tail. Don’t skip this step or miscount — the tail won’t line up correctly if you do.
Continue the body for two more rounds after this, then begin decreasing steadily. Start stuffing before the opening gets too small (round 22 is a good point to begin). Decrease down to 9 stitches, finish stuffing, then fasten off and use the yarn tail to thread through the front loops of the remaining stitches, pulling tight to close.
The Tail
Re-join your yarn at the first skipped stitch from round 16 of the body using a standing double crochet. You’ll then crochet around all 16 stitches (the 8 skipped stitches plus the 8 chain stitches). The tail decreases over 7 rounds, tapering from 16 down to 4 stitches. Begin stuffing lightly around round 4 — the tail should be firm but not overstuffed. Close the same way as the body.
The Spikes
The spikes are where the dino’s personality really comes through! You’ll make:
- 1 small spike (3 rounds, ending at 8 stitches) — leave a long yarn tail for sewing
- 3 medium spikes (4 rounds, ending at 10 stitches each)
- 1 x-small spike — optional, adds extra charm (2 rounds, ending at 6 stitches)
All spikes start with 4 double crochets in a magic circle. The key trick here is that only the small spike needs a long yarn tail — you’ll use that single thread to sew all the spikes onto the body in one go, which is a clever time-saver.
Assembly
Arrange your spikes along the top of the dino’s head and back — small spike at the top (over rounds 1–3), then the three medium spikes running in a line down the back, and optionally the x-small spike at the very back for an extra little flourish. The line of spikes gives the dino its iconic dinosaur silhouette.
Tips for the Best Results
Tension matters: Keep your stitches snug but not so tight that you can’t insert your hook easily. Consistent tension is the biggest factor in a polished amigurumi finish.
Stuff as you go: Don’t wait until the very end to stuff. Add fibrefill gradually as the opening narrows — it’s much easier and allows you to control the shape.
Invisible decrease: The pattern calls for an invisible decrease (dec), which gives a much neater result than a standard decrease. The invisible decrease involves inserting your hook through only the front loops of the next two stitches.
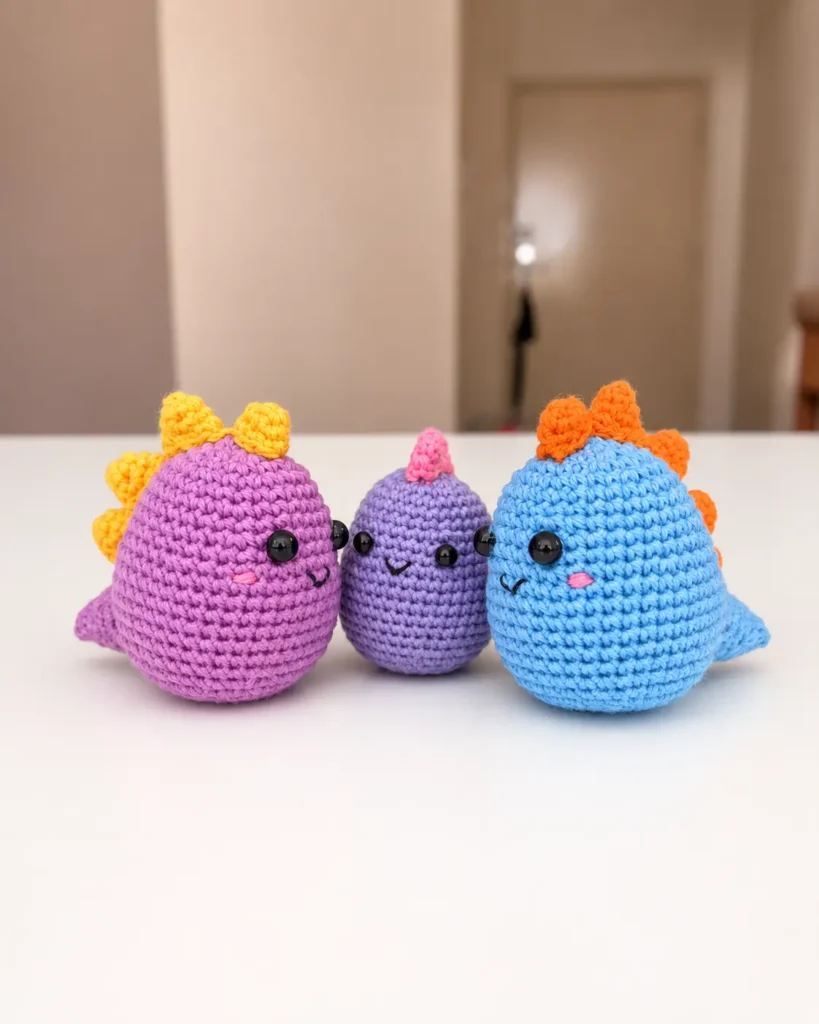
Colour variations: While the classic version uses green for the body and blue for spikes, you can make this in any colour combination you like. Pastel pinks and lilacs, bold oranges and yellows, or even multicoloured spikes all look adorable. If you enjoy making dino-themed amigurumi, you might also love this free triceratops amigurumi pattern or this crochet dragon ornament for a slightly more advanced challenge.
Cotton vs. acrylic: The pattern recommends cotton, and for good reason. Cotton shows stitch definition beautifully and doesn’t stretch as much as acrylic, which helps the dino hold its round shape over time. That said, a soft DK acrylic will also work — just go down a hook size to compensate for the extra stretch.
Skill Level and Time Estimate
This project is suitable for confident beginners and intermediate crocheters. You should be comfortable with the magic circle, working in continuous rounds, and basic increases and decreases. The tail re-join is the trickiest part of this pattern — if you haven’t rejoined yarn mid-project before, practise on a swatch first.
Most crocheters can complete this mini dino in 2–4 hours, making it a great one-sitting project or a quick weekend make.
More Amigurumi to Try Next
Once your mini dino is complete, you’ll likely be bitten by the amigurumi bug. Some other beginner-friendly small projects to try next:
- Mochi Bunny (no-sew!) — incredibly simple and fast
- Amigurumi Seahorse Keychain — great for using up yarn scraps
- Green Alien Cat Keychain — quirky and fun
- Miffy Pillow — a sweet no-sew project
Final Thoughts
The colourful mini dino amigurumi is one of those projects that looks impressive but is genuinely achievable for anyone with basic crochet skills. The clever construction — with the head, body, and tail all flowing from a single piece — makes assembly easy and the finished dino remarkably sturdy. Whether you make it in classic green-and-blue or go wild with your own colour palette, the result is an irresistibly charming little creature that’s hard to make just one of.
Happy hooking — and don’t forget your stitch markers!