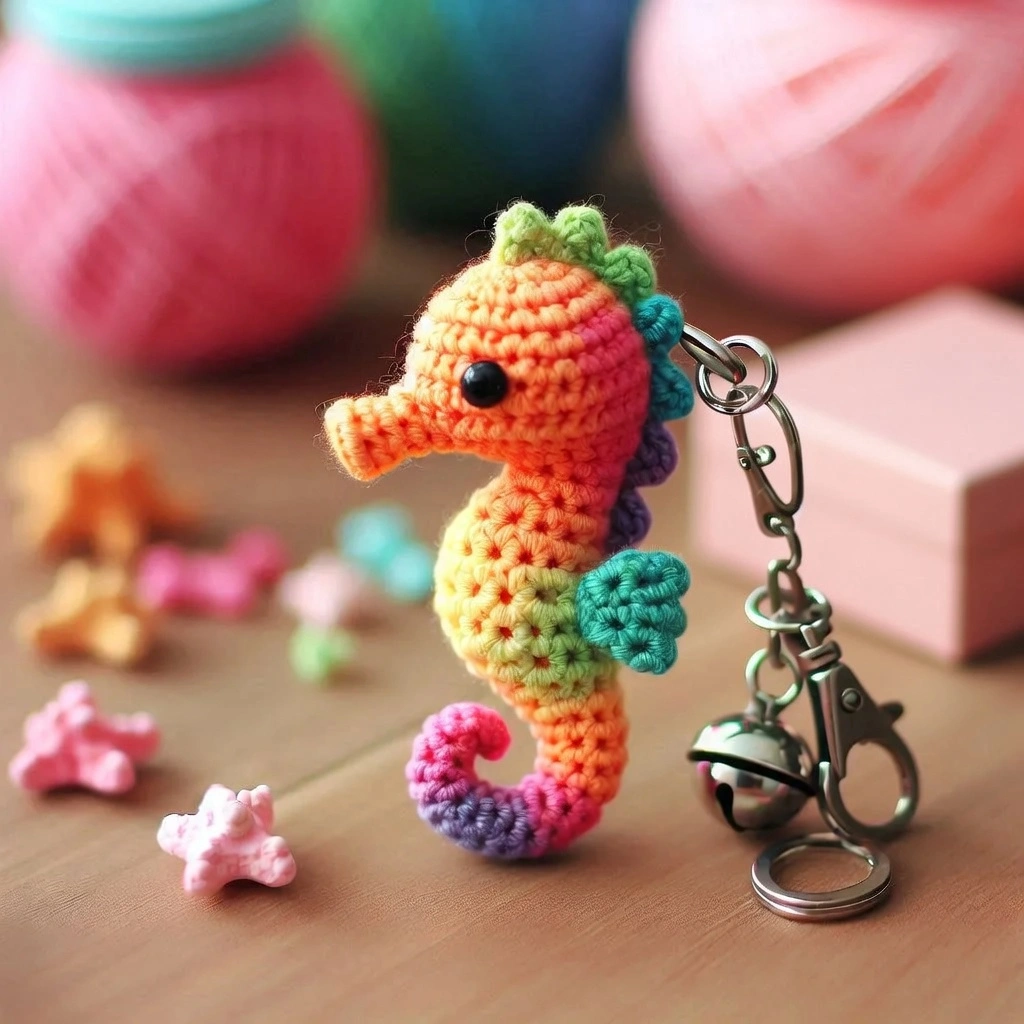
There’s something about sea creatures that translates perfectly into amigurumi, and the seahorse might be the best example of all. With its curled tail, upright posture, tiny fins, and dorsal ridge, a seahorse has a silhouette that’s instantly recognizable even at keychain scale. This free Amigurumi Seahorse Keychain pattern captures all of those details in a small, colorful project that works up quickly and makes a fantastic handmade gift, bag charm, or personal accessory.
What makes this seahorse particularly fun to crochet is the multi-color construction. The head, body, tail, fins, and dorsal fin are each worked in a different color, giving the finished piece a vibrant, tropical look that’s full of personality. Orange, yellow, purple, blue, and green come together to create a tiny sea creature that looks like it just swam out of a coral reef.
The pattern uses basic amigurumi techniques — magic ring, single crochet, increases, and decreases — making it accessible to anyone who’s completed a few beginner projects. If you’ve already made a simple amigurumi keychain like our Green Alien Cat, this seahorse is a natural next step that introduces multi-piece assembly and more detailed shaping.
Why a Seahorse Makes Such a Great Keychain
Keychains are one of the most popular categories in amigurumi for good reason — they’re small, fast to make, use minimal yarn, and have built-in functionality. But not every shape works well at keychain scale. Simple round shapes can look generic, while overly complex designs lose their detail when miniaturized.
The seahorse hits a sweet spot. Its elongated body, curved tail, and protruding fins create a distinctive shape that reads clearly even at 2 to 3 inches tall. The curled tail is especially charming — it wraps naturally and gives the keychain a dynamic, organic feel that flat or round designs can’t match. Hanging from a bag zipper or a set of keys, this seahorse catches the eye in a way that a simple ball-shaped amigurumi never could.
It’s also a universally appealing design. Ocean lovers, marine biology enthusiasts, beach vacation souvenirs, aquarium gift shop alternatives — the seahorse works for all of these. And because you can swap the color palette completely, each one you make can feel like a different creature.
Materials You’ll Need
- Yarn: Lightweight yarn in multiple colors — the original uses orange (head), yellow (body), purple (tail), blue (fins), and green (dorsal fin). Any lightweight or sport weight yarn works well.
- Hook: 2.5mm crochet hook
- Eyes: 6mm safety eyes
- Stuffing: Polyester fiberfill
- Hardware: Keychain ring (split ring with chain, or lobster clasp)
- Tools: Tapestry needle, scissors
Using a smaller hook than the yarn weight suggests is standard in amigurumi — the tighter stitches prevent stuffing from showing through the fabric. At 2.5mm with lightweight yarn, you’ll get a dense, clean surface that holds its shape well.
Crochet Abbreviations
SC – single crochet | SL ST – slip stitch | ch – chain | inc – increase (2sc in same stitch) | dec – decrease (sc2tog)
The Full Pattern
Note: This is a pattern suggestion for creating your own seahorse. The end result may vary depending on your yarn, tension, and hook size.
Head
Using orange yarn:
- Round 1: Create a magic ring with 6sc [6]
- Round 2: inc in each stitch [12]
- Round 3: (sc, inc) repeat around [18]
- Rounds 4–6: sc in each stitch around [18]
- Round 7: (sc, dec) repeat around [12]
Stuff the head. Attach 6mm safety eyes between Rounds 4 and 5.
Body
Attach yellow yarn.
- Round 1: sc in each stitch [12]
- Round 2: (sc, inc) repeat around [18]
- Rounds 3–7: sc in each stitch around [18]
- Round 8: (sc, dec) repeat around [12]
Stuff the body.
- Round 9: Continue decreasing until the bottom is closed.
Fasten off.
Tail
Using purple yarn:
- Chain 20, sc in each stitch back along the chain.
- Curl the tail as you go and sew it to the bottom of the body.
The chain-and-single-crochet construction creates a narrow strip that naturally wants to curl, mimicking the seahorse’s iconic spiral tail. You can coil it tightly for a compact look or leave it in a loose spiral for more movement.
Fins (Make 2)
Using blue yarn:
- Chain 6, sc back along the chain, and sl st to form a small fin shape.
Fasten off, leaving a tail for sewing. Attach one fin to each side of the body.
Dorsal Fin
Using green yarn:
- Chain 10, sl st to form a loop, and attach to the top of the seahorse’s back.
The dorsal fin sits along the spine of the seahorse, running from the back of the head down toward the tail. Position it so it follows the natural curve of the body.
Assembly and Finishing
Sew the head to the body using a tapestry needle and matching yarn. Take your time with this join — the head-to-body connection is the most visible seam on the finished piece, so neat, even stitches make a big difference.
Attach the keychain ring to the top of the head. You can crochet a small chain loop (ch 8–10, sl st back into the same spot) and thread the ring through it, or stitch the ring directly to the top using doubled yarn for extra durability.
Weave in all remaining ends. Give each sewn piece a gentle tug to confirm the joins are secure — keychains get pulled and jostled constantly, so durability matters.
Tips for the Best Results
Plan your color transitions. The multi-color construction is what gives this seahorse its charm, but changing yarn colors at the head-to-body join needs to be clean. When you attach the yellow yarn for the body, make sure to pull the first stitch tight and weave the orange tail into the inside of the piece so the color change is invisible from the outside.
Curl the tail before sewing. The chain-20 tail strip is flexible, so you can shape it however you like. Curl it into a tight spiral, pin it in place, and then sew the base to the body while it holds its shape. If you sew first and curl after, the tail may not hold the position as well.
Stuff lightly at the body-to-tail transition. The body should be firm and round, but the area where the tail attaches should be stuffed a little less so the tail can sit flush against the body without a bulging gap.
Use stitch markers on the head. Rounds 4 through 6 are where you’ll place the safety eyes, so marking those rounds helps you count accurately. The eyes sit between Rounds 4 and 5, and their placement defines the seahorse’s expression. Try spacing them about 5 to 6 stitches apart for a friendly, wide-eyed look.
Make the fins slightly cupped. When you crochet the small fin shapes, give them a gentle pinch as you sew them on so they curve slightly outward from the body. Flat fins disappear into the silhouette, but slightly cupped fins catch the light and add dimension.
Color Customization Ideas
The five-color palette in this pattern is just a starting point. Here are some combinations to try:
Ocean pastels — baby blue head, mint body, lavender tail, soft pink fins, cream dorsal. A gentle, dreamy seahorse perfect for baby shower gifts or nursery decorations.
Sunset tropical — coral head, golden yellow body, deep magenta tail, turquoise fins, orange dorsal. Bold and warm, like a seahorse swimming through a Caribbean sunset.
Monochrome gradient — use five shades of the same color from lightest to darkest (or darkest to lightest). This creates a sophisticated, cohesive look that’s elegant enough for adult accessories.
Neon pop — hot pink, electric green, neon orange, bright yellow, vivid purple. Maximum color impact for craft fair displays or gifts for kids and teens.
Natural — tan head, warm brown body, dark brown tail, cream fins, olive dorsal. A realistic color scheme inspired by actual seahorse species.
Where This Pattern Fits in Your Amigurumi Journey
This seahorse sits at the beginner-to-intermediate level. The individual pieces are simple — basic spheres, chains, and small flat shapes — but the multi-piece assembly and color changes add complexity that pure beginners may find challenging.
If you’re brand new to amigurumi keychains, our Green Alien Cat Keychain is an excellent first project — it uses a single color for the main body and teaches core skills like working in the round, stuffing, and sewing pieces together.
For those who prefer no-sew construction, our No-Sew Mini Octopus and No-Sew Mochi Bunny are fantastic alternatives that skip the assembly entirely — everything is crocheted directly into the body as you go.
And if you’re looking for a sea creature project on a larger scale, our No-Sew Axolotl pattern creates a plush aquatic friend with velvet gills and textured tail detail — perfect for building your ocean-themed amigurumi collection.
A Keychain Worth Making
There’s something deeply satisfying about crocheting a tiny, detailed creature and then carrying it with you everywhere. This amigurumi seahorse keychain captures the elegance and whimsy of one of the ocean’s most fascinating animals in a pocket-sized package. The multi-color construction makes every one feel unique, the curled tail adds movement and charm, and the small size means you can make a whole collection — or a set of matching gifts — without a massive time commitment.
Whether you clip it to your keys, hang it from your bag, or give it to the ocean lover in your life, this little seahorse is guaranteed to bring a smile.
Happy crocheting — and enjoy your new tiny sea companion!