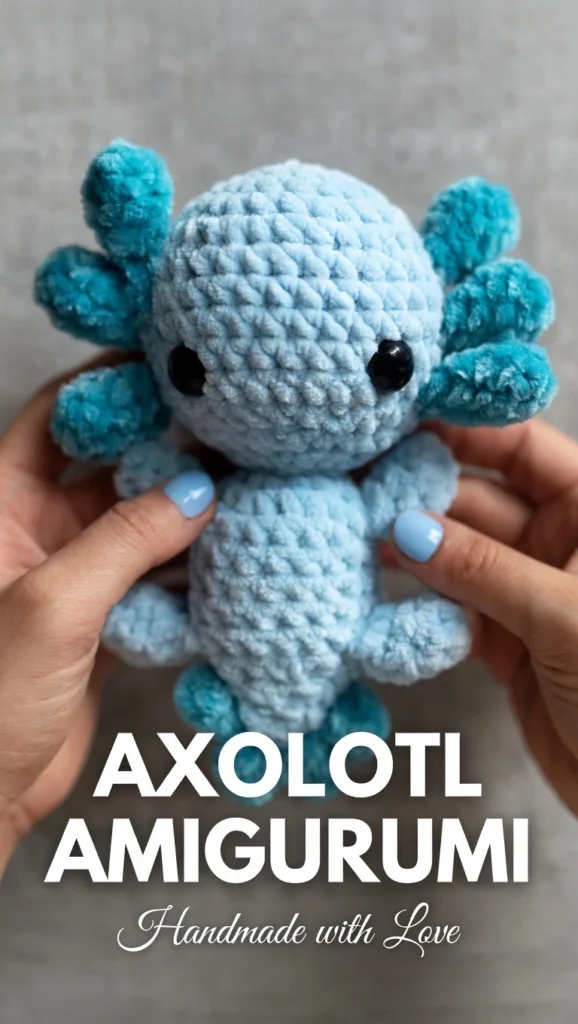
Axolotls have become one of the most beloved creatures in the crochet world, and it’s easy to see why. With their wide smiles, feathery gills, and permanently cheerful expressions, they’re practically designed to be turned into plush toys. This free no-sew crochet axolotl pattern takes everything lovable about these aquatic creatures and makes them surprisingly simple to create — no sewing, no fussy assembly, and no stress about lining up pieces perfectly.
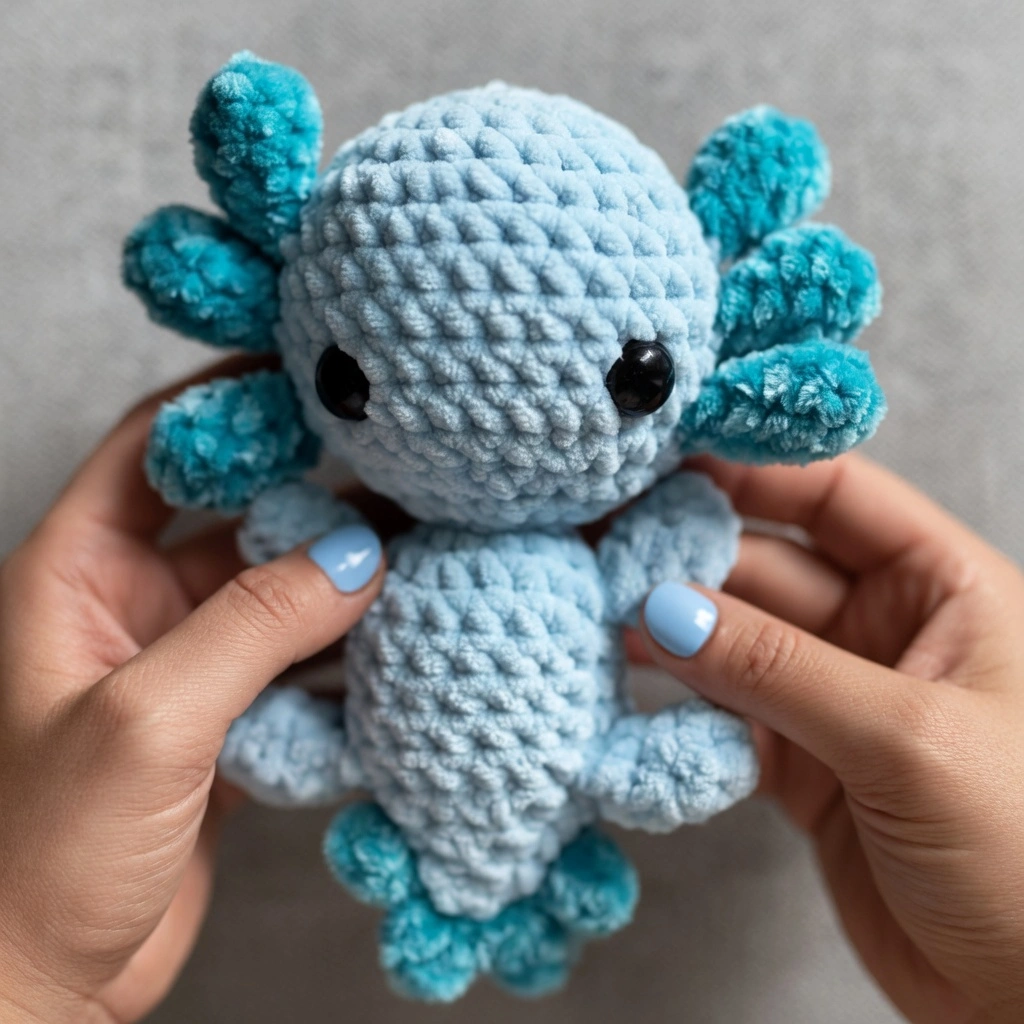
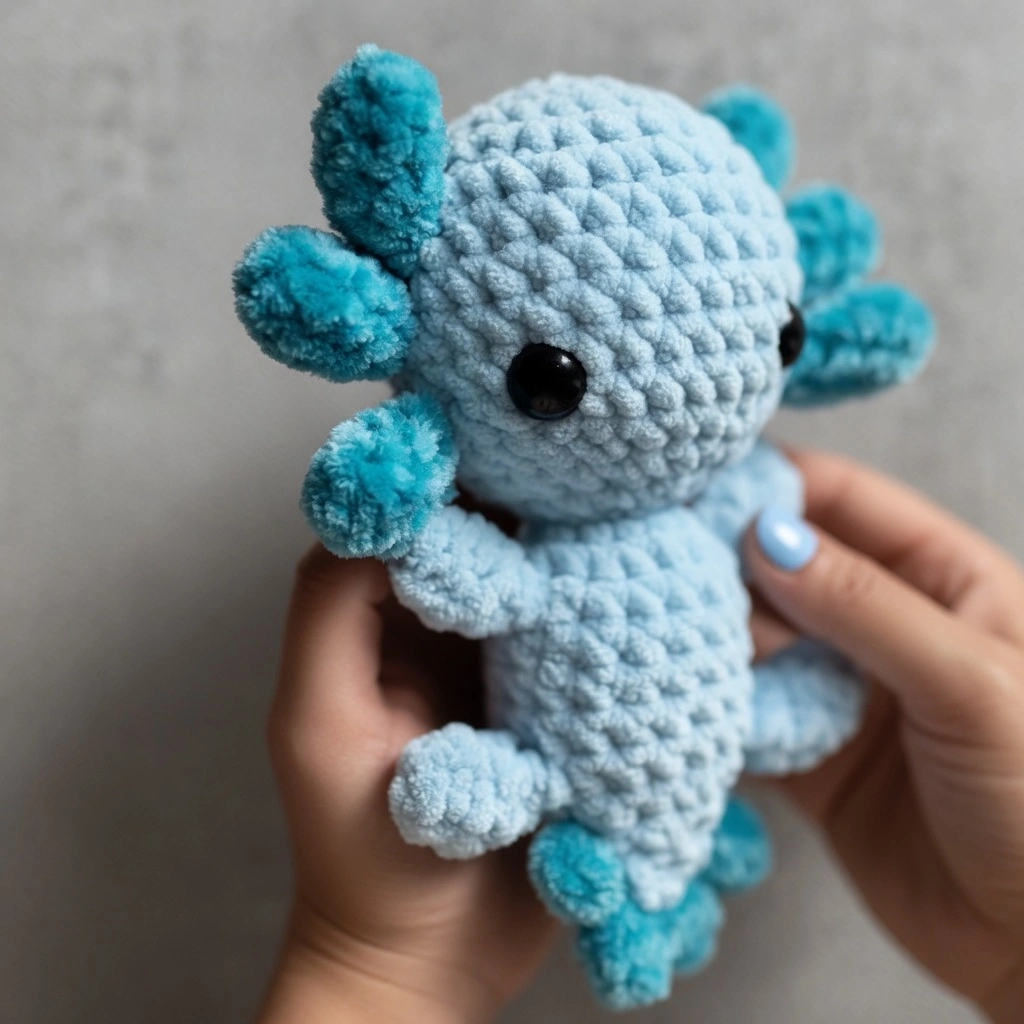
Shared by All Amigurumi, this pattern uses a clever no-sew construction method where the gills, arms, and legs are all crocheted directly into the body as you work through the rounds. The result is a seamless, sturdy plush with vibrant color contrast between the soft main body and the textured velvet gills and tail. Whether you’re making it as a gift, a springtime decoration, or a comforting desk companion, this axolotl is a satisfying project that comes together faster than you’d expect.
If you enjoy no-sew amigurumi projects, you might also love our No-Sew Mochi Bunny pattern — another beginner-friendly make where everything is crocheted into the body as you go.
Why This Axolotl Pattern Stands Out
There’s no shortage of axolotl crochet patterns available, but this one earns its popularity through a few smart design choices. The no-sew method is the headline feature — rather than crocheting six gills, four limbs, and a body separately and then spending an hour sewing them all together, you attach each piece directly into the body round by hooking through both the component stitches and the corresponding body stitch simultaneously. This means every part is locked in exactly where it belongs, with no guesswork about placement and no wobbly, under-sewn limbs.
The two-yarn approach is another standout detail. The main body uses Loops and Threads Sweet Snuggles Light yarn (a soft, plush yarn) worked with a 6mm hook, while the gills and tail details use a number 4 velvet yarn in a contrasting color worked with a smaller 4.25mm hook. This creates a beautiful textural contrast — the body is soft and huggable while the gills and tail have a slightly different, velvety feel that makes them pop visually and tactilely.
The tail finishing is particularly clever. Instead of crocheting a separate tail piece, you work directly onto the tail end of the body using slip stitches and chain stitches, then create textured gill-like fans using a combination of single crochet, half double crochet, and double crochet all worked into single stitches. This creates a ruffled, organic-looking tail fin that’s both decorative and structurally sound.
Materials You’ll Need
- Main yarn: Loops and Threads Sweet Snuggles Light yarn in your color choice (the original uses a natural axolotl shade)
- Accent yarn: Number 4 velvet yarn in aqua blue (or your preferred contrasting color) for the gills and tail
- Hooks: 6mm crochet hook (body, arms, legs) and 4.25mm crochet hook (gills, tail detail)
- Eyes: 16mm safety eyes with plastic washers
- Stuffing: Polyester fiberfill
- Tools: Yarn needle, stitch marker, scissors
The dual hook size is important — the smaller hook creates tighter stitches on the gills and tail, giving them more structure and definition against the looser, softer body fabric.
Crochet Abbreviations
sc – single crochet | inc – increase | dec – decrease | hdc – half double crochet | dc – double crochet | sl st – slip stitch | ch – chain
The Full Pattern
Gills (Make 6)
Using the 4.25mm hook and velvet yarn. Start with a magic circle.
- Row 1: 6sc into the circle. Secure and tighten. [6]
- Row 2: (1sc, 1inc) × 3 [9]
- Rows 3–4: 9sc all around. [9]
- Row 5: (1sc, 1dec) × 3 [6]
- Row 6: 6sc all around, then slip stitch into the next stitch and fasten off. [6]
You’ll need six gills total — three for each side of the head. These small oval shapes create the axolotl’s signature feathery external gills.
Arms and Legs (Make 4)
Using the 6mm hook and main body yarn. Start with a magic circle.
- Row 1: 6sc into the circle. [6]
- Rows 2–4: 6sc all around (3 more rows). [6]
Fasten off after Row 4. Repeat to make four limbs total.
The limbs are intentionally simple — short, stubby tubes that give the axolotl its characteristic rounded, friendly silhouette. They don’t need stuffing since they’re small enough to hold their shape on their own.
Head and Body
Start with a magic circle using the 6mm hook.
- Row 1: 6sc into the circle. [6]
- Row 2: inc in each stitch around. [12]
- Row 3: (1sc, 1inc) × 6 [18]
- Row 4: 1sc, 1inc, (2sc, 1inc) × 5, 1sc [24]
- Row 5: (3sc, 1inc) × 6 [30]
Slip stitch at the end of each row for Rounds 1–5 to easily track your rows.
Attaching the Gills (Row 6)
This is where the no-sew magic happens.
- Row 6: Ch1, then 12sc. Attach the first gill with 3sc using the no-sew method — insert your hook through both the gill stitches and the corresponding head stitch, and single crochet through both layers. Continue with 12 more sc, then attach the second gill with 3sc using the same method. Slip stitch to close the round.
Continue building the body using similar steps for the remaining gills and plain sc rows. The pattern alternates between increase rows, decrease rows, and plain rounds to shape the head and body sequentially. The arms and legs are attached using the same no-sew method at the appropriate body rounds.
Insert the safety eyes between Rows 9 and 10, approximately 8 stitches apart. Secure them with plastic washers before continuing. Getting the eye placement right is what gives the axolotl its signature wide-eyed, smiling expression.
If you’re new to working with safety eyes and amigurumi in general, our Crochet Green Alien Cat Keychain pattern has helpful tips on eye placement and pinning before committing.
Tail Detail
Switch to the 4.25mm hook and velvet yarn. Define the tail by slip stitching directly onto it and creating chain stitches. Then make decorative gill-like fans on the tail by working (1sc, 1hdc, 1dc, 1hdc, 1sc) all into a single stitch. Repeat this fan sequence along the tail to create a ruffled, textured effect that mimics the real axolotl’s tail fin.
This technique of working multiple stitch heights into one stitch is what gives the tail its organic, wavy appearance. The combination of single crochet, half double crochet, and double crochet creates graduated peaks that fan out naturally.
Closing
Ensure each part is well-stuffed before closing. Use the yarn needle to weave through the remaining stitches and pull tight to close. Weave in all ends. Add any additional details like facial expressions with black yarn if desired.
Tips for the Best Results
Stuff firmly but shape as you go. The axolotl’s body should be plump and rounded, not lumpy. Add stuffing in small amounts, pressing it into the corners and smoothing the surface before adding more. Overstuffing will stretch the stitches and show the fiberfill through the gaps; understuffing will leave the body floppy and shapeless.
Use stitch markers religiously. With the no-sew method, your gill and limb attachment rounds need to land in exactly the right place. A misplaced gill by even two or three stitches can make the face look asymmetrical. Mark the first stitch of every round and count carefully on attachment rounds.
The two hook sizes matter. Using a smaller hook for the gills and tail creates denser, more structured fabric that contrasts beautifully with the softer body. If you use the same 6mm hook for everything, the gills will be floppy and won’t hold their shape well.
Secure safety eyes properly. At 16mm, these are relatively large safety eyes. Make sure the plastic washers are pushed on firmly — you should hear a click. Test by gently tugging the eye from the front. If it moves at all, push the washer on harder. Once the head is closed, you can’t adjust them.
Don’t skip the tail detail. It’s tempting to leave the tail plain, but the velvet yarn fan stitches are what transform the piece from “generic stuffed animal” to “that’s definitely an axolotl.” The textured tail fin is one of the most recognizable features of the real animal, and it only takes a few minutes to add.
Customization Ideas
This pattern is a fantastic canvas for personalization. Here are some ways to make your axolotl unique:
Color variations are the easiest way to create completely different-looking axolotls. Real axolotls come in white, pink, gold, dark grey, and speckled varieties, but there’s no reason to stick to nature — try lavender, mint green, coral, or even a neon rainbow yarn for a fantasy version. Changing just the gill color while keeping the body the same gives you an entirely different character.
Accessories add personality fast. Crochet a tiny hat, bow, or scarf in a coordinating color. You could even make a miniature flower crown by chaining and working small picot flowers, then draping it between the gills.
Facial expressions change the whole mood. Move the safety eyes closer together for a shy look, farther apart for a surprised expression, or embroider closed sleepy eyes instead of using safety eyes at all. Add a small embroidered smile, a frown, or blushing cheeks with pink yarn for extra charm.
Textural experiments can add depth. Try surface crochet to add spots or stripes, embroider tiny freckles across the cheeks, or use a fuzzy yarn for the body and a smooth cotton for the gills to reverse the textural contrast.
Where This Pattern Fits in Your Amigurumi Journey
If you’re building your no-sew amigurumi skills, this axolotl sits comfortably at the beginner-to-intermediate level. The basic stitches are simple — single crochet, increases, and decreases make up the majority of the work — but the no-sew attachment technique and the dual-yarn construction add just enough complexity to keep things interesting.
For those just starting out with no-sew amigurumi, our Mochi Bunny pattern is an excellent first project — it’s simpler in construction and uses a single yarn throughout. Once you’re comfortable with that, the axolotl is a natural next step with its multiple components and two-yarn technique.
Looking for something on the opposite end of the spectrum? Our Free Crochet Dragon Ornament pattern is an expert-level miniature build with wire armatures, filigree wings, and tension sculpting — a true test of advanced amigurumi skills.
And if you love the no-sew pillow format, our Miffy Pillow pattern uses a similar philosophy of building everything into the structure as you go, resulting in a chunky, huggable pillow with no assembly required.
A Plush Worth Making
Axolotls have a unique ability to make people smile the moment they see one — and a crocheted version amplifies that effect tenfold. This pattern captures everything endearing about the real animal: the wide-set eyes, the feathery gills, the stubby limbs, and the delicate tail fin. The no-sew construction means the finished piece is sturdy and well-proportioned, with no wobbly parts or visible seam lines.
It works beautifully as a springtime decoration, a comforting desk companion, a gift for an axolotl-obsessed friend, or a satisfying weekend project for yourself. And because the pattern is so customizable, you can easily make a whole collection in different colors without ever getting bored.
Pattern Credit
This pattern was shared by All Amigurumi (allamigurumi.com). If you make a no-sew axolotl using this pattern, sharing your creation on social media helps support the amigurumi community and inspires other crafters to pick up their hooks and try something new.
Happy crocheting — and enjoy your adorable new axolotl!