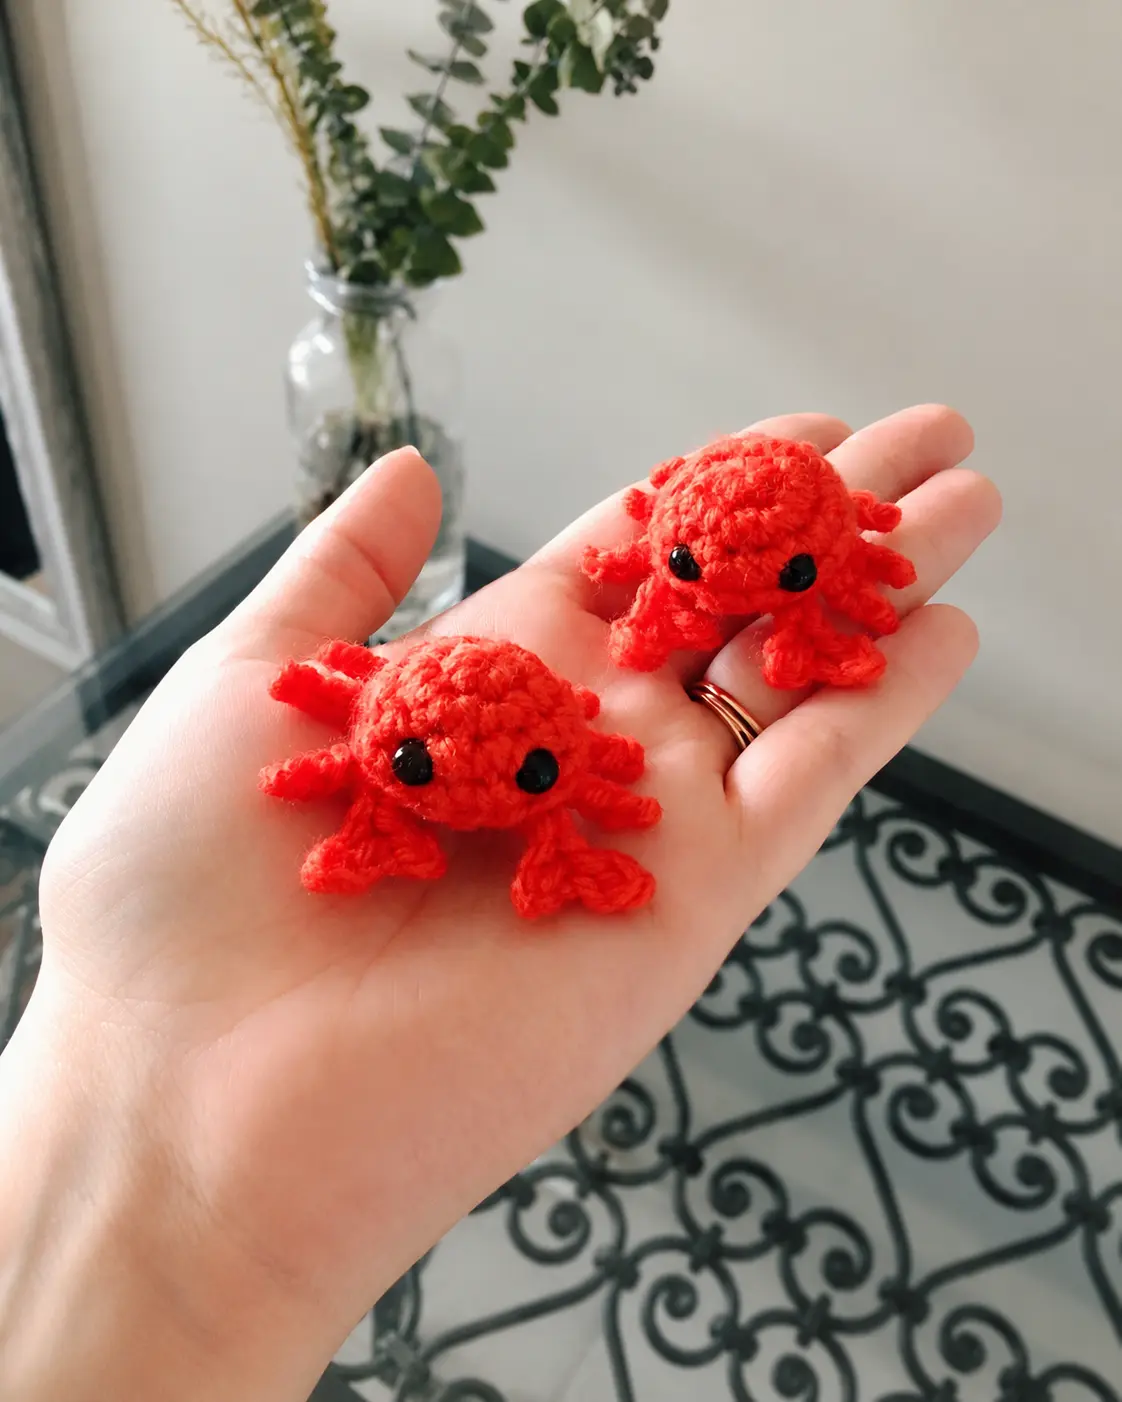
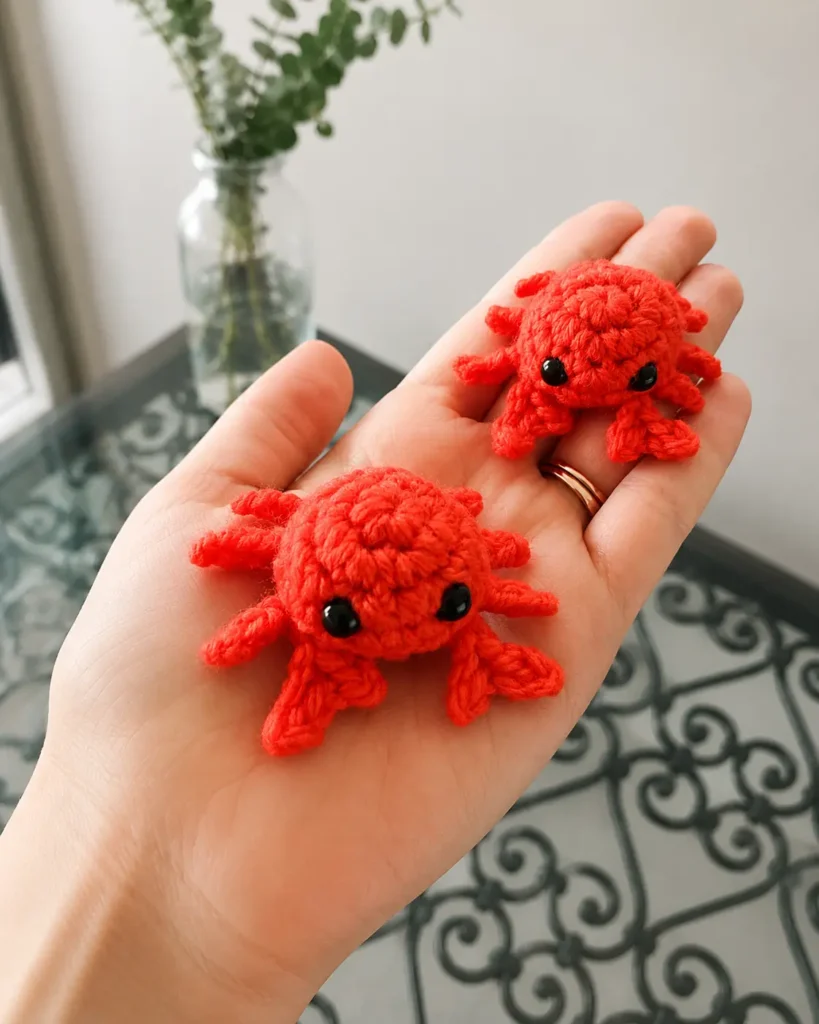
If you’re looking for the cutest, tiniest crochet project that you can finish in just one sitting, this free baby crab crochet pattern is exactly what you need. These adorable little amigurumi crabs are only about 2 cm (1 inch) tall — small enough to sit in the palm of your hand — and they’re rated as a beginner-level project. Whether you’re new to amigurumi or just want a quick, satisfying make, this pattern is a perfect choice.
In this post, I’ll walk you through everything you need to know: materials, stitch abbreviations, tips for getting a clean finish, and the full step-by-step instructions. Let’s dive in!
Why You’ll Love This Baby Crab Amigurumi
Tiny amigurumi projects have a special kind of magic. They’re fast to make, adorable to display, and make incredibly thoughtful little gifts. These baby crabs are no exception. They work up quickly with worsted weight yarn and a standard crochet hook, making them ideal for an afternoon craft session. If you love making small sea creature amigurumi, you might also enjoy this free mini octopus crochet pattern or this amigurumi seahorse keychain pattern — both are similarly beginner-friendly ocean-themed makes.
Materials You’ll Need
Before you start, gather the following supplies:
- Worsted weight yarn (100% acrylic) in the color of your choice — a bright red or orange works beautifully for a classic crab look
- 3.50 mm crochet hook (US size E/4)
- Polyester fiberfill for stuffing
- Two 6 mm safety eyes (or alternatives like buttons, beads, or felt circles)
- Yarn needle
- Scissors
- Stitch marker
Tip: You can use any worsted weight acrylic yarn you have on hand. The key is to crochet tightly so the stuffing doesn’t peek through the stitches.
Want to Make Velvet Crabs?
If you’d like a softer, plushier version, velvet yarn works wonderfully for this pattern. Simply use a 4.5 mm hook and swap to 10 mm safety eyes to match the slightly larger finished size. The result is an even squishier, more tactile little crab that’s just as irresistible.
Can I Make Them Bigger or Smaller?
Absolutely! The beauty of amigurumi is scalability. Use bulkier yarn and a larger hook to make a bigger crab, or switch to fine/fingering weight yarn with a smaller hook for an even tinier version. Just remember to always go at least one hook size smaller than what’s recommended on your yarn label — this keeps your stitches tight and prevents the stuffing from showing through.
Stitch Abbreviations
Here’s a quick reference guide for all the stitches used in this pattern:
- st(s) – stitch(es)
- mr – magic ring
- ch – chain
- sc – single crochet
- sl st – slip stitch
- inc – increase (2 sc in the same stitch)
- sc2tog – decrease (crochet 2 stitches together — use the regular decrease, not the invisible decrease)
- BLO – back loops only
- (sc 4, inc) x n – repeat the sequence in parentheses n times
- (18) – total stitch count at the end of that round
Important Notes Before You Begin
- Work in a continuous spiral — do not join rounds or turn your work unless the pattern specifically tells you to
- Use a stitch marker to track the beginning or end of each round — move it up as you complete each round
- For the decrease in round 5, use the regular sc2tog method (not the invisible decrease) — this creates the slightly textured underside that defines the crab’s belly
If you’re new to working in the round or making magic rings, don’t worry — there’s a full breakdown below in the technique section!
Pattern Instructions
Legs (Make 6)
- Chain 4, then cut the yarn and leave a yarn tail.
- Thread your yarn needle through the back loops of each chain stitch, working from the end back toward the beginning slip knot. This gathers the chain into a little leg shape.
Tip: Don’t pull too hard on the yarn tail or the leg will curve. If it bends, gently straighten it with your fingers.
Right Claw
- Chain 5, slip stitch in the 2nd chain from the hook, slip stitch once more, chain 2, slip stitch in the 2nd chain from the hook, then slip stitch in the last 2 starting chains.
- Fasten off, leaving a yarn tail long enough to tie a secure knot.
Left Claw
- Chain 4, slip stitch in the 2nd chain from the hook, chain 3, slip stitch starting in the 2nd chain from the hook, slip stitch once more, then slip stitch in the last 2 starting chains.
- Fasten off, leaving a yarn tail long enough to tie a secure knot.
Note: The two claws are mirror images of each other, which gives your little crab that asymmetrical, realistic look!
Body
| Round | Instructions | Stitch Count |
|---|---|---|
| 1 | Magic ring of 6 sc | (6) |
| 2 | inc × 6 | (12) |
| 3 | (sc, inc) × 6 | (18) |
| 4 | sc around | (18) |
| 5 | BLO: sc2tog × 9 | (9) |
After Round 4: Insert your safety eyes between rounds 3 and 4, with 3 stitches between the two eyes. Press the washers firmly in place before continuing.
After Round 5: Fasten off, leaving a long yarn tail for assembly.
Assembly Instructions
Putting your baby crab together is actually the most fun part! Here’s how to do it step by step:
Attaching the Claws:
- Insert your crochet hook from the inside of the body, pushing it out between two stitches just under the front loops, directly beneath one eye.
- Hook one yarn tail from the claw and pull it through to the inside.
- Repeat with the second yarn tail of the same claw.
- Make sure the shorter side of the claw faces inward toward the center (between the eyes) — this gives the claw its natural pincer shape.
- Once both tails are inside the body, tie a few firm knots and tuck the ends in.
Attaching the Legs:
- Attach 3 legs to each side of the body using the same method as the claws.
- The leg closest to the claw should share the same stitch as the claw attachment point.
- Repeat the entire process for the other side of the crab.
Stuffing:
- The yarn tails from the legs and claws act as internal stuffing — no extra fiberfill is needed for the body unless you want it slightly firmer, in which case you can tuck in a small amount before closing.
Closing the Opening:
- Thread your yarn needle with the long tail left from round 5.
- Insert the needle through the front loop of each remaining stitch, going from outside to inside.
- Once you’ve gone through all stitches, gently pull the tail to cinch the opening closed.
- Secure with a knot and weave in the end.
How to Make a Magic Ring
If you’re new to amigurumi, the magic ring (also called a magic circle) might feel tricky the first time — but it becomes second nature quickly!
- Make a loop about 1 inch from the end of your yarn, holding the join between your thumb and forefinger.
- Insert your hook through the loop from front to back, yarn over, and pull up a loop.
- Yarn over again and draw through — this secures the ring but does not count as your first stitch.
- Now begin working your single crochet stitches into the ring, crocheting over both the loop and the yarn tail to enclose them.
- After all 6 sc are complete, pull the yarn tail firmly to close the center.
If you find the magic ring frustrating, you can also chain 2 and work your 6 sc into the second chain from the hook — it gives a slightly less perfect center but is much easier for beginners.
Tips for Perfect Baby Crabs
- Keep your tension tight. Loose stitches let the stuffing show through, which breaks the clean look of the amigurumi.
- Use a smaller hook than recommended. Most yarn labels suggest a 4.5–5 mm hook for worsted weight — go down to 3.5 mm for amigurumi.
- Safety eye placement matters. Take your time positioning the eyes before locking in the washers — once they’re in, they can’t be removed without damage.
- Claw orientation is key. Double-check that the shorter side of each claw faces the center before knotting off — it’s easy to flip them accidentally.
- Make multiples. Once you get the hang of it, these crabs work up in 20–30 minutes each. They make wonderful additions to baby mobiles, keychains, gift toppers, or a little ocean-themed display.
More Beginner Amigurumi Patterns to Try Next
Loved making these baby crabs? Here are more beginner-friendly amigurumi patterns from the blog you’ll want to bookmark:
- No-Sew Mini Octopus Free Crochet Pattern — another tiny sea creature perfect for ocean collections
- Amigurumi Seahorse Keychain Free Pattern — adorable and functional
- No-Sew Mochi Bunny Crochet Pattern — soft, squishy, and super quick
- Crochet No-Sew Axolotl Amigurumi Pattern — a fan favorite for cute fantasy creatures
- Free Crochet Green Alien Cat Amigurumi Keychain — quirky and fun for beginners
Final Thoughts
This baby crab crochet pattern proves that the best things really do come in small packages. With just a few basic stitches and a handful of materials, you end up with an incredibly detailed, charming little creature that’s almost too cute to believe. The legs and claws give it so much personality despite being made from simple chains and slip stitches — it’s a great reminder of how clever amigurumi construction can be.
Whether you’re making a whole army of crabs, gifting one to a little one who loves the ocean, or adding to your amigurumi collection, this pattern is a must-try. Happy crocheting! 🦀