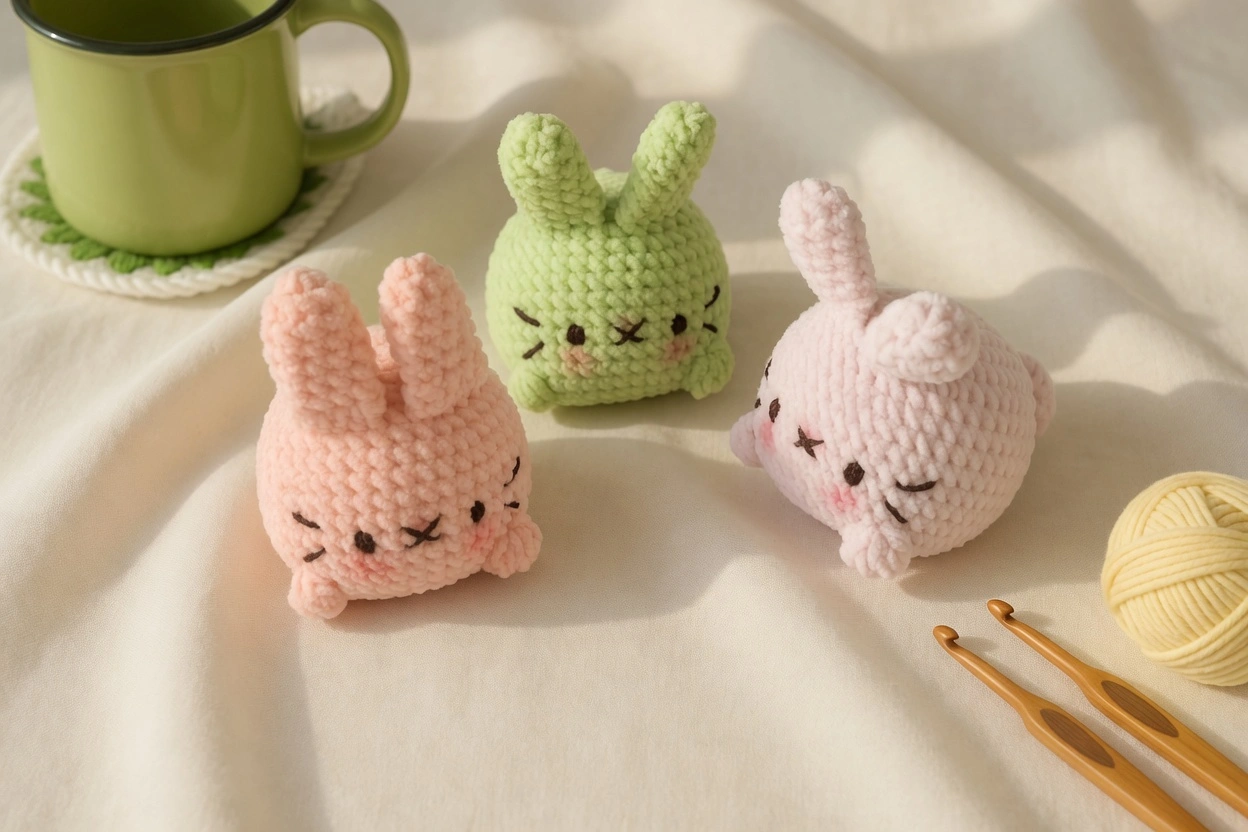
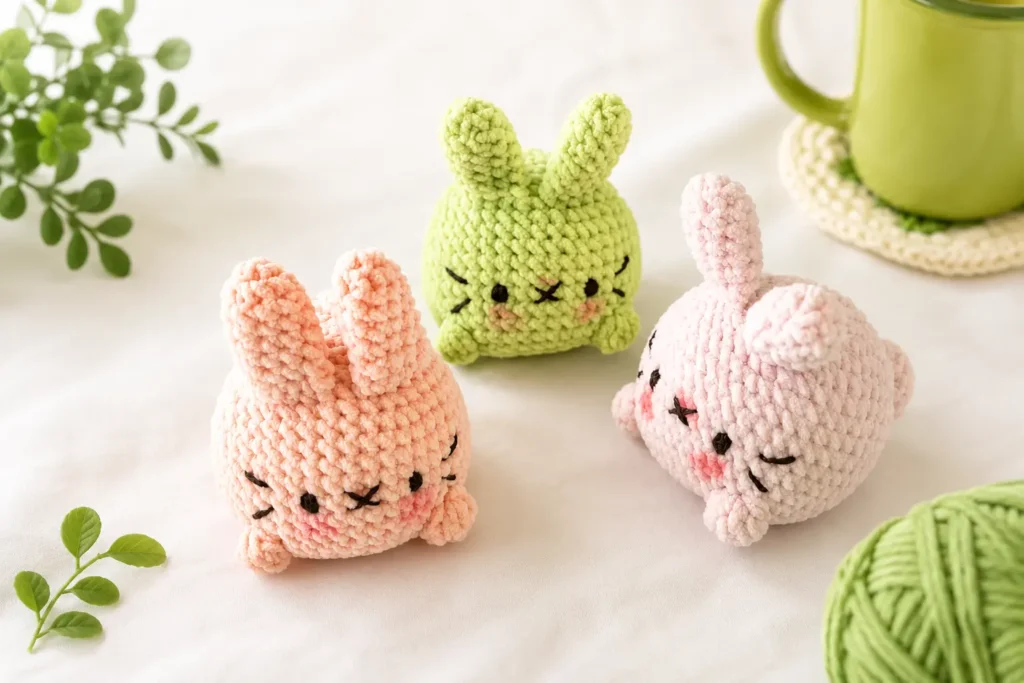
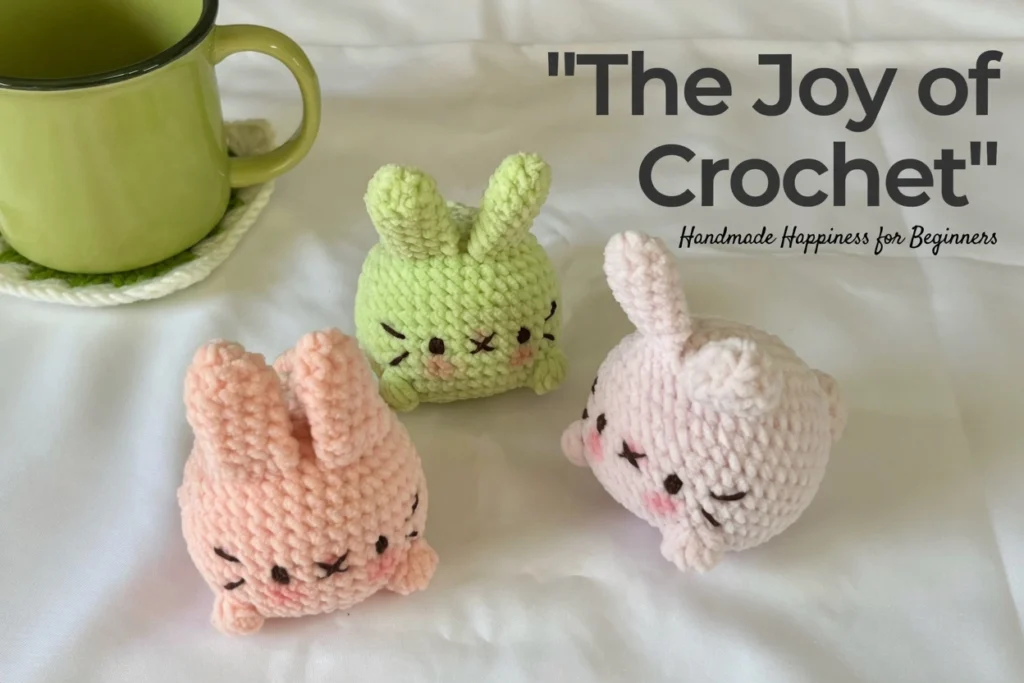
If you’ve ever wanted to try amigurumi but felt intimidated by sewing tiny pieces together, this no-sew Mochi Bunny pattern is the perfect place to start. Designed by Chubbiesbyash, these adorable round bunnies are quick to make, beginner-friendly, and — best of all — require absolutely no sewing. Every part is crocheted directly into the body as you go, making the entire project seamless and stress-free.
Whether you’re a brand-new crocheter looking for your first amigurumi project or an experienced maker who wants a satisfying quick make, this Mochi Bunny pattern delivers. Read on for the full pattern details, helpful tips, and everything you need to know to bring these irresistible little bunnies to life.
Why This Mochi Bunny Pattern Is Perfect for Beginners
One of the biggest hurdles for new crocheters tackling amigurumi is the assembly stage. Sewing ears, limbs, and tails onto a tiny body can be fiddly and frustrating — and a crooked ear can ruin the whole look. This pattern eliminates that problem entirely. The ears and tail are crocheted as separate pieces first, then joined directly into the body as you work through the rounds. No sewing, no guesswork about placement, and no wonky results.
The pattern uses only basic crochet stitches that any beginner can master: single crochet, increases, decreases, slip stitches, chains, and a small cluster of double crochets for the feet. If you can make a magic ring and count your stitches, you can make this bunny.
Materials You’ll Need
Before you start, gather the following supplies:
- Yarn: Thin chenille yarn or milk cotton 5-ply in pink (or any color you prefer), plus dark brown milk cotton yarn for embroidering the face
- Hook: 2.5mm or 3mm crochet hook
- Stuffing: Polyester fiberfill or your preferred stuffing material
- Tools: Darning needle, scissors, fabric glue (optional), and a small brush for applying blusher
- Extras: Pink blusher for the cheeks — this is what gives the Mochi Bunnies their signature cute, rosy look
Chenille yarn gives the bunnies a soft, plush texture that’s incredibly satisfying to touch. Milk cotton is another excellent choice if you prefer a smoother, more defined stitch appearance.
Crochet Abbreviations
Here’s a quick reference for the abbreviations used throughout the pattern:
Ch – Chain | mr – magic ring | st – stitch | R – round/row | sc – single crochet | inc – increase | dec – decrease | dc – double crochet | slst – slip stitch | * – repeat | [ ] – total stitch count per round
The Full Pattern
Ears (Make 2)
Start with a magic ring.
- R1: 6sc in mr [6]
- R2: (1sc, 1inc) × 3 [9]
- R3–R7: 9sc [9]
Do not stuff the ears. Close each ear by crocheting the opposite stitches together with 4sc. Cut the yarn.
The ears are flat and floppy, which gives the Mochi Bunny its characteristic rounded, mochi-like silhouette. Keeping them unstuffed is essential to achieving the right look.
Tail
Start with a magic ring.
- R1: 7sc in mr [7]
- R2: 7inc [14]
- R3–R6: 14sc (4 rounds) [14]
- R7: 7dec [7]
Stuff the tail tightly. Close by crocheting the opposite stitches together with 3sc. Cut the yarn.
The tail should be a firm little ball — stuffing it tightly ensures it holds its round shape nicely.
Body
Important note: Connect with a slip stitch (slst) at the end of every round and start every new round with Ch1. The slst and Ch1 are not included in the total stitch count.
Start with a slip knot and make 8ch.
- R1: 6sc, (4sc) in last ch; in the lower parts of the chain: 5sc, (3sc) in last ch, 1 slst, ch1 [18]
- R2: (2sc, 1inc) × 6, 1 slst, ch1 [24]
- R3: (3sc, 1inc) × 6, 1 slst, ch1 [30]
- R4: (2sc, 1inc, 2sc) × 6, 1 slst, ch1 [36]
- R5: 11sc, (4sc together with ear), 1sc, (4sc together with ear), 16sc, 1 slst, ch1 [36]
- R6: (8sc, 1inc) × 4, 1 slst, ch1 [40]
- R7: (9sc, 1inc) × 4, 1 slst, ch1 [44]
- R8–R10: 44sc, 1 slst, ch1 (3 rounds) [44]
- R11: 38sc, (3sc together with tail), 3sc, 1 slst, ch1 [44]
- R12: 44sc, 1 slst, ch1 [44]
- R13: (9sc, 1dec) × 4, 1 slst, ch1 [40]
- R14: 10sc, 5dc cluster st, 11sc, 5dc cluster st, 17sc, 1 slst, ch1 [40]
- R15: (3sc, 1dec) × 8, 1 slst, ch1 — Start stuffing the body! [32]
- R16: (2sc, 1dec) × 8, 1 slst, ch1 [24]
- R17: (1sc, 1dec) × 8, 1 slst, ch1 [16]
- R18: 8dec [8]
Close the body. Use the remaining yarn tail to pull the tail piece close to the body so it doesn’t droop — fabric glue works well for this step too.
Face Embroidery and Finishing
The face is what brings your Mochi Bunny to life. Using dark brown yarn, separate it into 3 strands for the eyes and 2 strands for the nose and whiskers. This gives you fine, delicate features that suit the bunny’s small size.
Place the eyes two rounds above the legs (the dc cluster stitches from R14) with 6 stitches between them. The nose sits centered below the eyes, and you can add small whisker lines on each side.
As a final touch, apply a light dusting of pink blusher to the cheeks with a small brush. This step is optional but makes a huge difference — it’s what transforms your bunny from “cute” to “impossibly adorable.”
Tips for Getting the Best Results
Watch the video tutorial. The original pattern by Chubbiesbyash comes with a video walkthrough that’s especially helpful for understanding how the ears and tail are joined into the body. If you’re new to no-sew techniques, watching the process in action is far easier than interpreting written instructions alone.
Count your stitches carefully. Because the body is worked in joined rounds (with a slip stitch and chain at the start of each round), it’s easy to accidentally include or skip the chain in your count. The Ch1 does not count as a stitch — make sure you’re crocheting into the first actual stitch of the previous round, not into the chain.
Don’t rush the stuffing. Start stuffing at R15 as the pattern instructs, and add more as you continue decreasing. The goal is a firm, round body — if the stuffing is too loose, the bunny will look deflated rather than plump and mochi-like.
Experiment with colors. While the original pattern uses pink, these bunnies look wonderful in virtually any color. Try white, lavender, mint green, or even a variegated pastel yarn for a unique twist.
What Makes This Pattern Special
The genius of this design lies in its construction. Starting from an oval chain (rather than a traditional magic ring) creates a slightly elongated base that forms the bunny’s bottom. The ears are crocheted directly into Round 5, and the tail joins in Round 11, meaning every component is built into the structure as you go.
The 5dc cluster stitches in Round 14 create the bunny’s tiny feet — a subtle but clever detail that adds dimension without any extra pieces. It’s these small design choices that make the pattern both elegant and efficient.
A Pattern Worth Sharing
Crafters who have made this pattern consistently praise how quick and satisfying it is. One maker noted they completed their bunny in a single sitting and immediately started a second one in a different color. Others have turned them into keychains, bag charms, and gifts — their compact size makes them ideal for all of these purposes.
The no-sew construction also makes this a wonderful teaching pattern. If you’re introducing someone to amigurumi, starting with a project that doesn’t require assembly removes one of the biggest sources of frustration and lets the new crocheter focus on mastering their stitches and shaping.
Pattern Credit
This free pattern was designed by Chubbiesbyash. You can find more of their patterns, video tutorials, and adorable crochet creations on their blog at chubbiesbyash.com, as well as on their Instagram and YouTube channel. If you make a Mochi Bunny using this pattern, crediting the designer helps support their work and keeps free patterns available for the crochet community.
Happy crocheting — and enjoy your new Mochi Bunny!