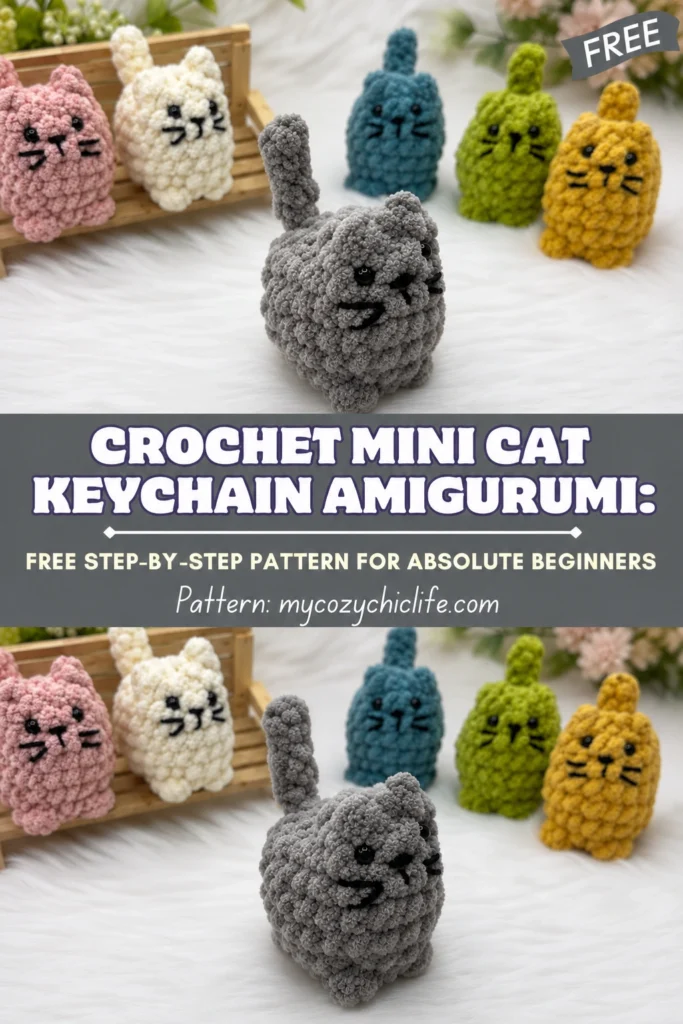
There is something irresistible about a tiny crochet cat. It fits in the palm of your hand, has a soft squishy body, and somehow ends up with more personality than a project ten times its size. If you are looking for a small, beginner-friendly amigurumi that finishes in an afternoon and turns into a daily companion on your keys or bag, this mini cat keychain is exactly the pattern for you.
This free pattern walks through every round and every shaping detail in plain language. You will learn how to work a tight magic ring, how to shape a rounded body, how to create ears without sewing on extra pieces, and how to embroider a face that actually looks like a cat. By the end you will have a finished keychain charm that costs almost nothing in yarn and makes a perfect handmade gift.
Why This Mini Cat Is a Perfect Beginner Project
Tiny amigurumi cats have become one of the most popular categories of crochet because they are forgiving, fast, and endlessly customizable. Even leftover yarn from a bigger project is usually enough to make one. A few reasons this specific pattern is so beginner-friendly:
- It uses only basic stitches: single crochet, increase, decrease, and slip stitch.
- It is worked as one main piece, which means almost no sewing.
- The ears are formed by closing the top seam, not by attaching separate pieces.
- Symmetry is easy because the body is small and the stitch count is low.
- Mistakes are easy to frog and redo because the yarn lengths are short.
If you have crocheted a magic ring and a few rounds of single crochet before, you already have every skill you need to finish this cat.
Love tiny no-sew animals? You might also enjoy our No-Sew Mochi Bunny Crochet Pattern and the Green Alien Cat Amigurumi Keychain, which use the same low-sew construction style.
Skill Level and Time
Skill level: Beginner / Easy
Finished size: Approximately 2 to 3 inches (5 to 7.5 cm) depending on yarn weight
Making time: 1 to 2 hours from magic ring to keychain-ready finish
Materials You Will Need
Yarn
Choose one of the following depending on the look you want:
- Plush or chenille (super bulky #6) — 20 to 30 g of your main cat color, for a fluffy squishy finish.
- Cotton or acrylic worsted (#4) — 15 to 25 g of your main color, for a neat defined stitch look.
- A small scrap of black yarn or embroidery thread (1 to 2 g) for the face.
Hooks
- 3.5 mm to 4.5 mm for worsted cotton or acrylic yarn.
- 4.5 mm to 5 mm for plush or chenille yarn (go down one or two sizes from the yarn label to keep stitches tight).
Other Supplies
- Safety eyes, 6 to 10 mm (7 to 8 mm is the sweet spot for keychain size).
- Polyfill stuffing, about 10 to 15 g.
- Stitch markers (one or two).
- Yarn needle for sewing and weaving in ends.
- Small sharp scissors.
- A keychain ring or lobster clasp (optional but recommended).
Stitch Glossary and Abbreviations
This pattern uses US crochet terminology. If you are newer to abbreviations, keep this list nearby while you work.
- ch — chain
- sc — single crochet
- inc — increase (2 sc in the same stitch)
- dec — invisible decrease (sc 2 together through front loops only)
- sl st — slip stitch
- MR — magic ring
- BLO — back loops only
- ( ) x N — repeat instructions in parentheses N times
Pattern Notes Before You Start
- Work in continuous spiral rounds. Do not join unless the pattern says to.
- Place a stitch marker in the first stitch of each round and move it up as you go.
- Keep tension tight so stuffing never peeks through the fabric.
- If you are new to magic ring, you can substitute ch 2 and work the first round into the second chain from the hook.
- Count stitches at the end of every round. Tiny amigurumi shows mistakes quickly.
The Pattern
Body and Head (worked as one piece)
The body is a rounded shape with the head and lower body blended into a single ball. This is what gives the cat its compact plush look.
Round 1: Make a magic ring and work 8 sc into it. Pull the ring tight. (8 sc)
Round 2: Inc in every stitch around. (16 sc)
Round 3: (sc, inc) repeat around. (24 sc)
Rounds 4 to 6: Sc in every stitch around. (24 sc each round)
Pause here and gently squeeze the piece. It should look like a small rounded cylinder, soft but holding its shape. If you want a slightly taller cat, add one more plain round before moving on.
Round 7: (2 sc, dec) repeat around. (18 sc)
Round 8: (sc, dec) repeat around. (12 sc)
This is the right moment to attach the safety eyes and begin stuffing. Eyes should sit between rounds 4 and 5 (counted from the bottom), spaced about 5 to 7 stitches apart depending on yarn weight. Once the eyes are locked, stuff the body firmly but not so much that the stitches stretch and show gaps.
Round 9: Dec around until the opening is small. (6 sc)
Add the last bit of stuffing into the head area, especially around the cheeks, then fasten off leaving a long tail (about 12 inches / 30 cm). You will use this tail to close the top and form the ears.
Ears: The No-Sew Method
This is the magic part of the pattern. Instead of crocheting and attaching separate ear pieces, the ears are formed when you close the top of the body.
- Thread the long tail onto a yarn needle.
- Flatten the top opening so the front and back edges line up in a straight horizontal line.
- Whip stitch across the top to close the opening, working from one side to the other.
- Once closed, pinch the left corner of the seam into a small triangle and stitch through the base of the triangle a few times to lock it in place. This is the first ear.
- Repeat on the right corner to form the second ear.
- Pull the needle down through the body and out near the bottom, give the yarn a small tug to settle the ears, then trim the tail.
Prefer separate ears? If the pinch method feels fiddly, make two triangle ears by working 3 sc into a magic ring, then chaining 1 and fastening off. Sew one to each top corner of the head.
Optional: Tiny Paws on the Body
Because this cat sits as a small ball, separate legs are not needed. If you want a hint of paws, you have two easy options:
- Bobble method: On round 6, replace 4 evenly spaced single crochets with bobble stitches. The bobbles will pop out and look like tiny paws when the body is stuffed.
- Embroidered method: After finishing, use a contrasting yarn to embroider tiny paw lines on the front of the lower body.
Tail (Optional)
A simple tail adds a lot of charm. Chain 6 to 8, then slip stitch back along each chain to create a slightly curled tail. Sew the tail to the back of the body at the seam between rounds 5 and 6. For a fluffier tail, fold a 4 inch piece of yarn in half and attach it like a tassel.
Embroidering the Face
The face is what gives every cat its personality. Three details make all the difference: nose, mouth, and whiskers.
Nose
- Thread a length of black yarn or embroidery thread onto a yarn needle.
- Bring the needle up between the two eyes, one round below them.
- Stitch a small inverted triangle (three short stitches that meet at a point) for the nose.
- Pull gently — the nose should sit flat, not pucker the fabric.
Mouth
- Bring the needle out just below the center of the nose.
- Stitch a small downward line about one stitch tall.
- From the bottom of that line, stitch a tiny curve to the left and another to the right to form the classic cat mouth (a soft “w” shape).
Whiskers (Optional)
Whiskers are optional but adorable. Use a single strand of black yarn or thread and stitch two or three short lines on each cheek. Keep them short — long whiskers tend to look messy on a tiny face.
Final Assembly and Keychain Attachment
- Weave in any loose ends through the inside of the body. Pull tight, then trim close to the surface so no fluff shows.
- Squeeze and roll the cat gently between your palms to even out the stuffing and round the body.
- Attach a keychain ring or lobster clasp by threading a folded loop of yarn through the top center of the head (between the ears), tying a tight double knot, and trimming the ends. Alternatively, use a small jump ring through the seam.
- Give the ears one more shaping pinch and your cat is ready to go.
If you enjoy keychain-size projects, check out our Amigurumi Seahorse Keychain, the No-Sew Mini Octopus, and the Snoopy Keychain Amigurumi for more pocket-sized ideas.
Color and Personality Ideas
Once you have made the base cat, the customization possibilities are endless. Some favorites to try:
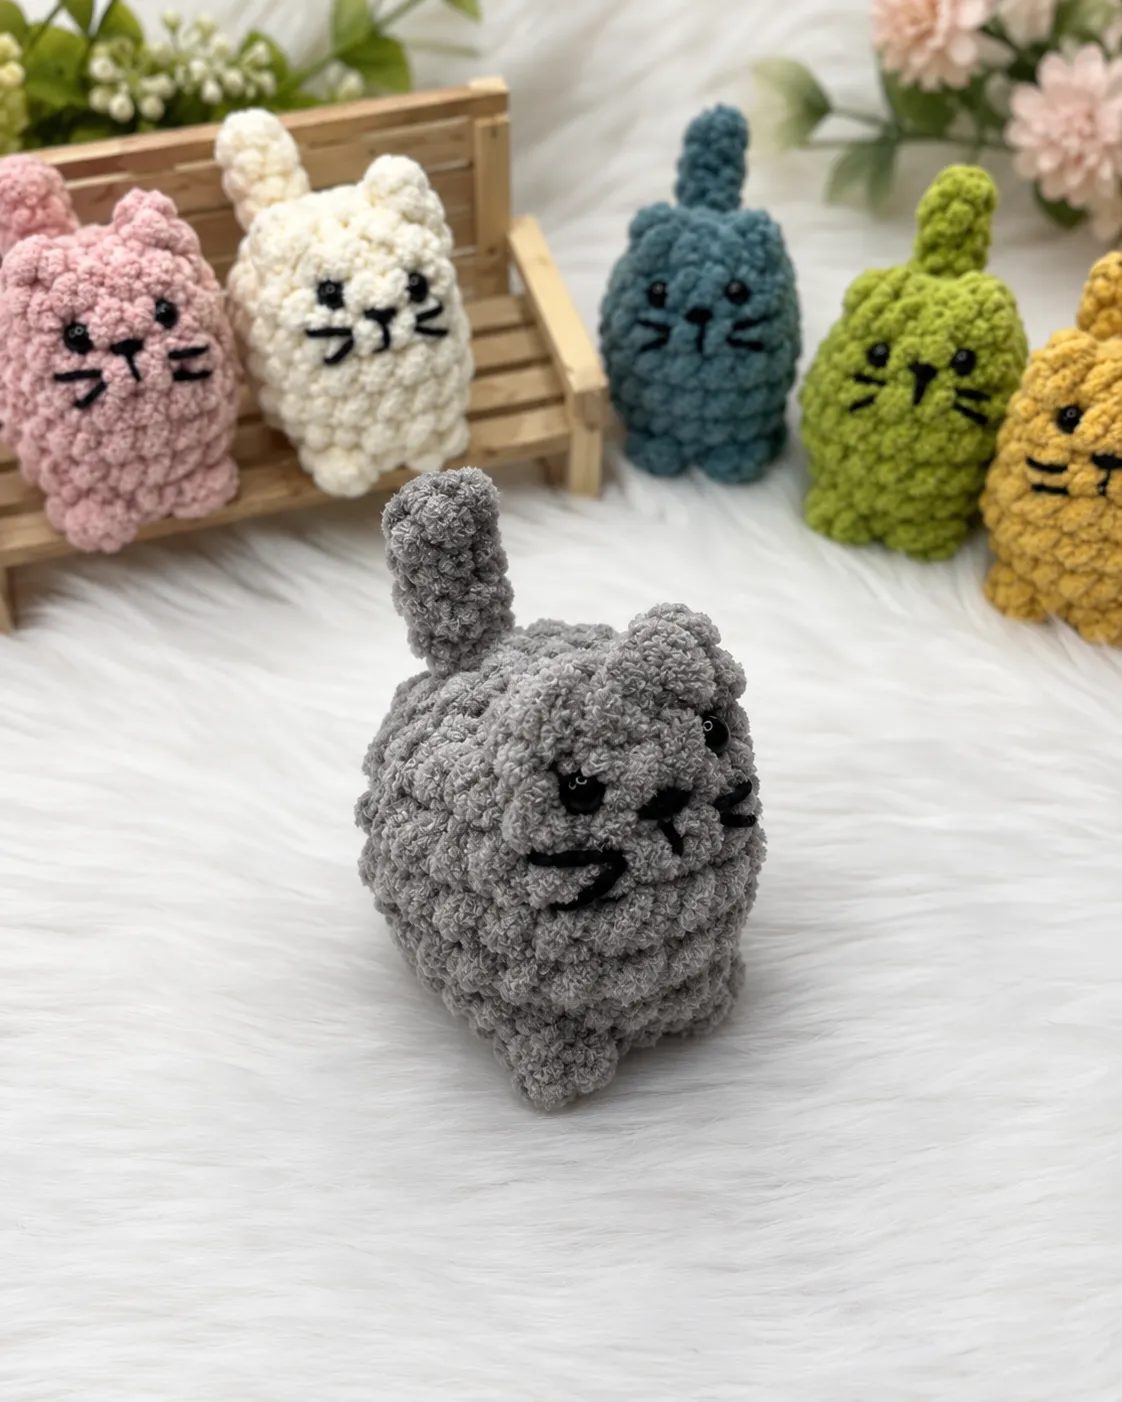
- Classic colors: gray tabby, black, white, ginger orange, calico patches, Siamese cream with brown ears.
- Pastel colors: lavender, mint, dusty pink, baby blue — perfect for kawaii style.
- Accessories: tiny ribbon bow on the ear, a wrapped scarf, an embroidered collar with a tiny bead bell.
- Expressions: sleepy half-moon eyes (embroidered instead of safety eyes), grumpy eyebrows, blush cheeks with pink embroidery thread.
- Themed cats: Halloween black cat with witch hat, ghost cat in white plush, holiday red and green with a tiny scarf.
Sizing Tips
Yarn weight is the single biggest factor that determines the final size of your cat. The same stitch count produces very different finished objects depending on what you reach for in your yarn basket.
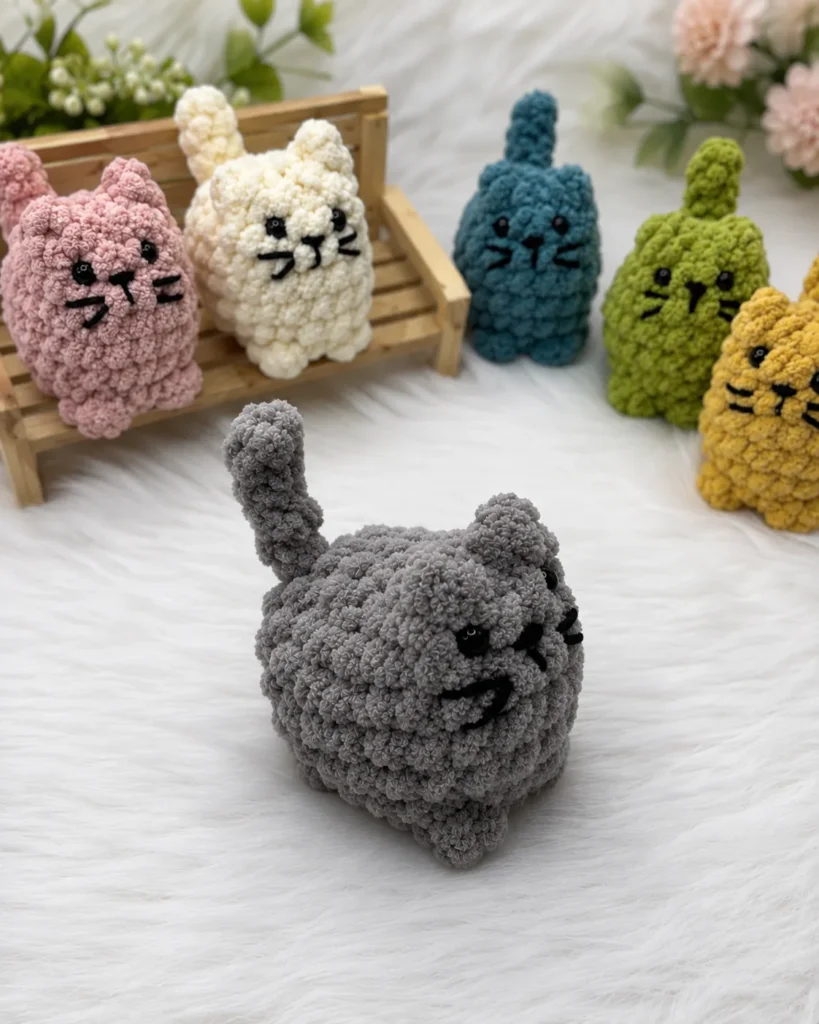
- Plush or chenille yarn produces a soft, larger cat (about 3 inches tall) with very few visible stitches.
- Worsted cotton or acrylic gives a smaller cat (about 2 inches tall) with crisp, well-defined stitches that show off color changes.
- Sport or DK weight makes a miniature version (about 1.5 inches) — ideal for zipper pulls or earring charms.
- Always go down one or two hook sizes from the label so stuffing never shows through.
Common Mistakes and How to Fix Them
- Loose stitches with visible holes. Switch to a smaller hook by 0.5 to 1 mm. Stuffing showing through ruins the plush look.
- Lopsided body. Re-count after every round. A single missed increase or decrease shows immediately in a piece this small.
- Uneven stuffing. Add small pinches of polyfill, not one big clump. Pause after every few pinches to smooth the shape.
- Eyes not symmetrical. Always insert the eyes loosely first, step back to check, then lock the washers on once you are sure.
- Ears too floppy. When pinching the ear triangles closed, stitch through the base three or four times so they stay upright.
- Face looks crowded. Less is more on a tiny face. Skip the whiskers if the nose and mouth already fill the space.
Care and Gifting Tips
Because keychain amigurumi gets handled, brushed against bags, and sometimes thrown into pockets, it helps to finish strong. Knot every end twice before weaving in. If you are giving the cat as a gift, tuck it into a small organza bag or tie it with twine around a notebook for an instant handmade present. If the yarn fuzzes over time, a gentle brush with a soft toothbrush refreshes the plush look.
More Free Patterns You Will Love
If you enjoyed making this tiny cat, here are a few more beginner-friendly amigurumi projects from the blog to try next:
- Miffy Pillow Crochet Pattern (no-sew, beginner-friendly)
- No-Sew Axolotl Free Amigurumi Pattern
- Free Triceratops Amigurumi Crochet Pattern
- Free Crochet Dragon Ornament — Advanced Amigurumi
Frequently Asked Questions
How long does it take to crochet this mini cat?
Most beginners finish the entire keychain in about 1 to 2 hours, including face embroidery and attaching the ring. Experienced crocheters can make one in under an hour.
Can I make this cat without safety eyes?
Yes. Embroidered eyes are actually a safer choice if you plan to give the keychain to a small child. Stitch two small French knots or short vertical lines in black yarn instead.
What yarn gives the cutest finish?
Chenille or plush yarn gives the softest, most squishable result and hides minor stitch inconsistencies. Cotton yarn gives a crisper, more polished look and holds shape longer over time. Both work beautifully — it comes down to whether you want soft and fluffy or neat and structured.
Can I scale this pattern up to make a larger plush?
Yes. Increase your starting round by 2 or 3 stitches and add an extra increase round at the start. For example, start with 10 sc in the magic ring, then inc around (20), then (sc, inc) around (30), and continue with the same proportional decreases at the end.
Why is my cat coming out lopsided?
Lopsided amigurumi usually comes from miscounting stitches or missing the marker on a continuous round. Use a stitch marker on the first stitch of every round and recount before moving on. On a 24-stitch round, even one extra stitch will twist the shape.
Can I sell items made from this pattern?
This pattern is free for personal use. If you would like to sell finished items made from it, please credit the original pattern source in your product listing. Do not resell or redistribute the written pattern itself.
Final Thoughts
There is a reason mini amigurumi cats stay in fashion year after year. They are quick, they are cheap to make, they use up yarn scraps, and they always bring a smile. By the time you finish your first one, you will already be planning the next color combination. Make a little family of them, hand them out as gifts, clip one to your favorite tote, or line them up on a shelf — there is no wrong way to enjoy a tiny crochet cat.
Happy crocheting, and tag your finished cats so other makers can see them too.