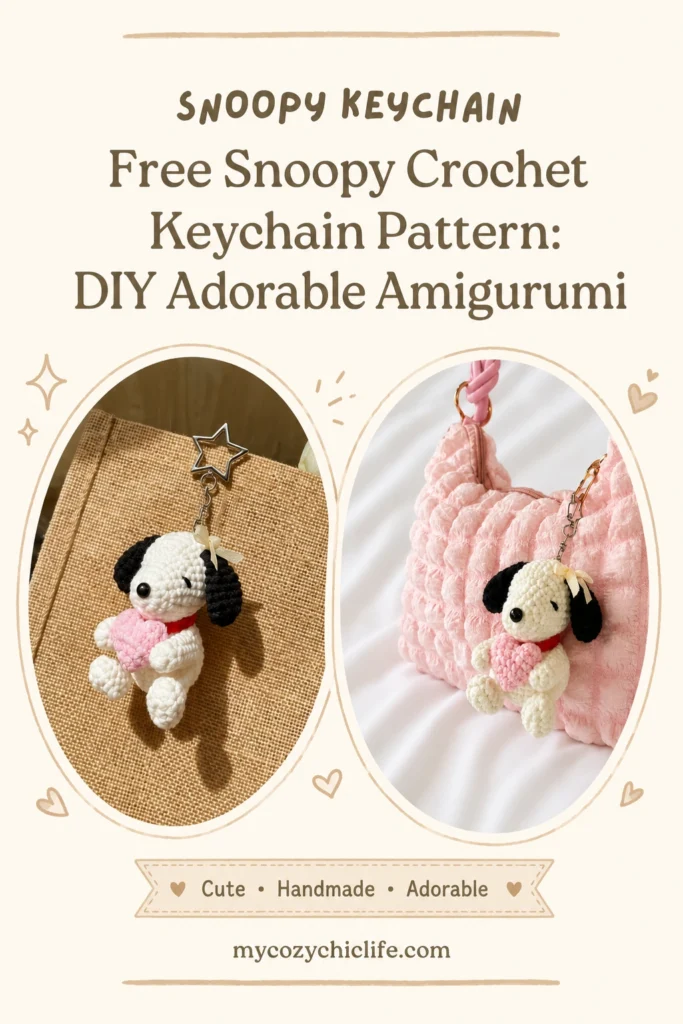
Looking for the cutest crochet keychain project? 🐶✨
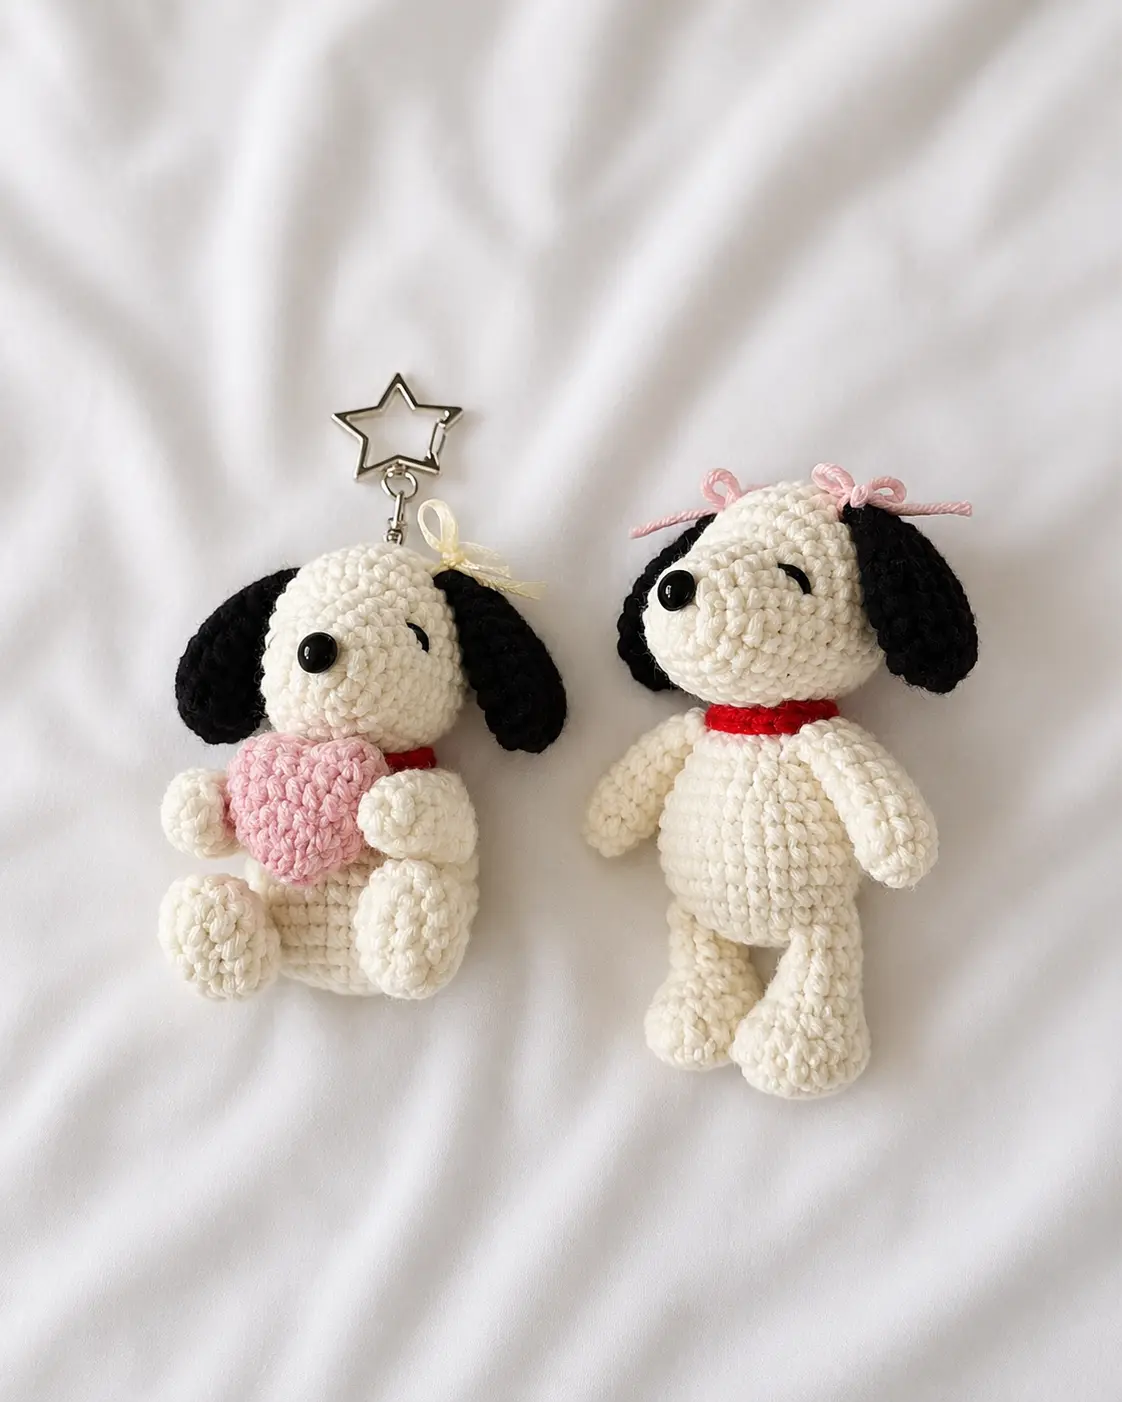
You have found it! This free Snoopy crochet pattern lets you create the world’s most beloved beagle in miniature form. Whether you want a standing Snoopy or a sitting Snoopy, this step-by-step tutorial has you covered.
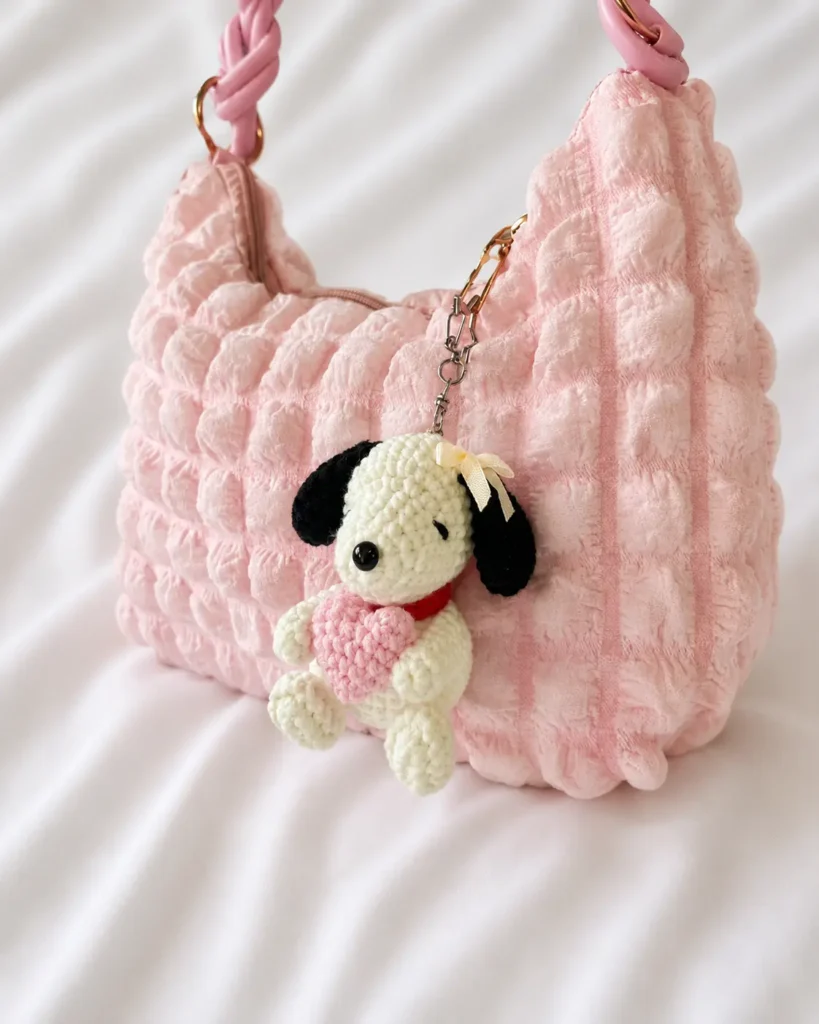
These little guys work up fast, use very little yarn, and make perfect gifts for Peanuts fans of all ages. Attach them to backpacks, keys, or gift bags—or just keep one for yourself!
Love making keychains? You might also enjoy my Crochet Alien Cat Keychain or this Free Snoopy Keychain Pattern (internal link to your existing Snoopy article if you have one—otherwise link to another keychain project like the Seahorse Keychain).
Materials Needed
| Item | Specification |
|---|---|
| Yarn (Sport / 5ply) | White (50g), Black, Red, Pink |
| Crochet Hook | 2.5 mm |
| Plastic Safety Eye | 5 mm (for nose) |
| Stuffing | Polyester fiberfill |
| Keychain Ring | Optional, for finishing |
| Other | Darning needle, fabric glue, scissors |
Yarn Alternatives
- Cotton gives sharp stitch definition
- Acrylic works beautifully and is budget-friendly
- Thin chenille creates a softer, plush Snoopy
Crochet Abbreviations (US Terms)
| Abbreviation | Meaning |
|---|---|
mr | magic ring |
ch | chain |
st | stitch |
R | round / row |
sc | single crochet |
inc | increase (2 sc in one stitch) |
dec | decrease (sc 2 together) |
hdc | half double crochet |
dc | double crochet |
slst | slip stitch |
* | repeat |
[…] | total stitch count |
Legs (Make 2)
Start with white yarn.
- R1: Make 5 ch. From 2nd ch from hook: inc, 2 sc, 4 sc in one ch (end of chain), then continue along bottom side: 2 sc, inc. [12]
- R2: sc, inc, 3 sc, 2 inc, 3 sc, inc, sc. [16]
- R3: sc in each st. [16]
- R4: 4 sc, 4 dec, 4 sc. [12]
- R5: 2 sc, 4 dec, 2 sc. [8]
- 💡 Start stuffing lightly here.
- R6–R7: sc in each st (2 rounds). [8]
- Close: Crochet the opposite stitches together with 4 sc (insert hook through both sides).
- Cut yarn, leave a long tail for sewing.
Hands (Make 2)
Start with white yarn and a magic ring.
- R1: 8 sc in mr. [8]
- R2–R7: sc in each st (6 rounds). [8]
- Do not stuff the hands.
- Close: Crochet opposite stitches together with 4 sc. [4]
- Cut yarn, leave a long tail.
Standing Body (Option 1)
Note: Joined rounds. At end of each round, slst into 1st sc. Start each round with ch 1. Ch 1 and slst do NOT count as stitches.
Start with white yarn and a magic ring.
- R1: 8 sc in mr, slst. [8]
- R2: ch 1, 8 inc, slst. [16]
- R3: ch 1, (sc, inc) x8, slst. [24]
- R4: ch 1, 4 sc, attach first leg (4 sc together with leg stitches), 8 sc, attach second leg (4 sc together with leg), 4 sc, slst. [24]
- R5: ch 1, (3 sc, inc) x6, slst. [30]
- R6–R9: ch 1, sc in each st, slst (4 rounds). [30]
- 💡 Start stuffing after R9.
- R10: ch 1, (4 sc, dec) x5, slst. [25]
- R11: ch 1, (3 sc, dec) x5, slst. [20]
- R12: ch 1, 3 sc, attach first hand (4 sc together with hand), 6 sc, attach second hand (4 sc together with hand), 3 sc, slst. [20]
- R13: ch 1, (sc, dec, sc) x5, slst. [15]
- Stuff body fully, cut yarn, leave long tail.
Sitting Body (Option 2)
Start with white yarn and a magic ring.
- R1: 8 sc in mr, slst. [8]
- R2: ch 1, 8 inc, slst. [16]
- R3: ch 1, (sc, inc) x8, slst. [24]
- R4: ch 1, sc in each st, slst. [24]
- R5: ch 1, (3 sc, inc) x6, slst. [30]
- R6–R9: ch 1, sc in each st, slst (4 rounds). [30]
- R10: ch 1, (4 sc, dec) x5, slst. [25]
- R11: ch 1, (3 sc, dec) x5, slst. [20]
- R12: ch 1, sc in each st, slst. [20]
- R13: ch 1, (sc, dec, sc) x5, slst. [15]
- Stuff body, cut yarn, leave long tail.
For Sitting Body Only:
- Sew legs vertically on R5–R7 of body
- Sew hands vertically on R10–R12 of body
Head
Start with white yarn and a magic ring.
- R1: 7 sc in mr. [7]
- R2: 7 inc. [14]
- R3: sc in each st. [14]
- R4: (sc, inc) x7. [21]
- R5–R6: sc in each st (2 rounds). [21]
- R7: 8 sc, 5 inc, 8 sc. [26]
- R8: 9 sc, (sc, inc) x4, 9 sc. [30]
- R9–R13: sc in each st (5 rounds). [30]
- R14: (3 sc, dec) x6. [24]
- R15: (2 sc, dec) x6. [18]
- 💡 Start stuffing here.
- R16: (sc, dec) x6. [12]
- R17: 6 dec. [6]
- Stuff a bit more, cut yarn, close hole.
- Sew head onto body using the long tail.
Making the Face
- Separate black yarn into 3 strands.
- Embroider eyes on R7 of the head, 5 stitches apart.
- Nose: Glue the 5 mm plastic safety eye onto R1 of the head (center, between eyes).
Need help with embroidery? My Miffy Pillow Pattern has a detailed face-embroidery section.
Collar
Using red yarn.
- Make 18 ch.
- From 2nd ch from hook: 17 slst across.
- Cut yarn, leave long tail, sew around the neck.
Ears (Make 2)
Using black yarn and a magic ring.
- R1: 8 sc in mr. [8]
- R2: (sc, inc) x4. [12]
- R3–R6: sc in each st (4 rounds). [12]
- R7: (sc, dec) x4. [8]
- R8: sc in each st. [8]
- Do not stuff the ears.
- Close: Crochet opposite stitches together with 4 sc. [4]
- Sew ears vertically on R11–R13 of the head.
Mini Heart (Snoopy’s Accessory)
Using pink yarn and a magic ring.
- R1: 6 sc in mr. [6]
- R2: (sc, inc) x3. [9]
- Make a second piece exactly the same, but DO NOT cut the yarn on the second piece.
Joining the two pieces (R3):
- Insert hook into last stitch of first piece, make 1 sc.
- Continue 1 sc into each stitch of first piece (9 total).
- Then 1 sc into each stitch of second piece (9 total). [18]
- R4: (7 sc, dec) x2. [16]
- R5: sc in each st. [16]
- R6: (2 sc, dec) x4. [12]
- Stuff lightly.
- R7: 6 dec. [6]
- Stuff a bit more, close hole.
- Sew or glue the heart to Snoopy’s hands.
Ribbon (Optional Decoration)
- Insert darning needle into the middle stitch above one ear.
- Bring pink yarn through and tie a simple small ribbon.
- Trim ends neatly.
Assembly Summary (Quick Checklist)
| Step | Done? |
|---|---|
| Legs made and closed | ☐ |
| Hands made and closed | ☐ |
| Body (standing or sitting) completed | ☐ |
| Head completed and stuffed | ☐ |
| Face embroidered | ☐ |
| Ears attached | ☐ |
| Collar sewn on | ☐ |
| Heart attached | ☐ |
| Ribbon tied (optional) | ☐ |
| Keychain ring added | ☐ |
Troubleshooting Tips
| Problem | Solution |
|---|---|
| Head wobbles | Sew through the neck twice, crisscrossing stitches. |
| Legs point wrong way | Pin them in position BEFORE sewing to check posture. |
| Eyes look uneven | Use a removable stitch marker to test placement before gluing/embroidering. |
| Heart looks lumpy | Do not over-stuff; less is more for small hearts. |
| Keychain ring won’t attach | Use a small jump ring or sew a loop of yarn to the top of the head. |
Adding the Keychain Hardware
Once your Snoopy is fully assembled:
- Use a small jump ring (from any craft store).
- Open the ring gently with pliers.
- Attach to the top of Snoopy’s head (between the ears or just above the forehead).
- Add your keychain clasp or split ring.
- Close the jump ring securely.
Looking for more keychain ideas? Try my Amigurumi Seahorse Keychain or Mini Octopus Pattern.
You Did It! 🎉
Congratulations! You have just made an adorable Snoopy keychain with your own two hands. Whether you chose the standing version or the sitting version, this little beagle is ready to bring smiles wherever he goes.
Tag me in your creations! I would love to see your Snoopy keychains. Share them in the comments below.
More Free Patterns You Will Love
| Pattern | Skill Level |
|---|---|
| No-Sew Mochi Bunny | Beginner |
| Miffy Pillow | Beginner |
| Crochet Dragon Ornament | Advanced |
| No-Sew Axolotl | Beginner |
| Free Triceratops | Intermediate |