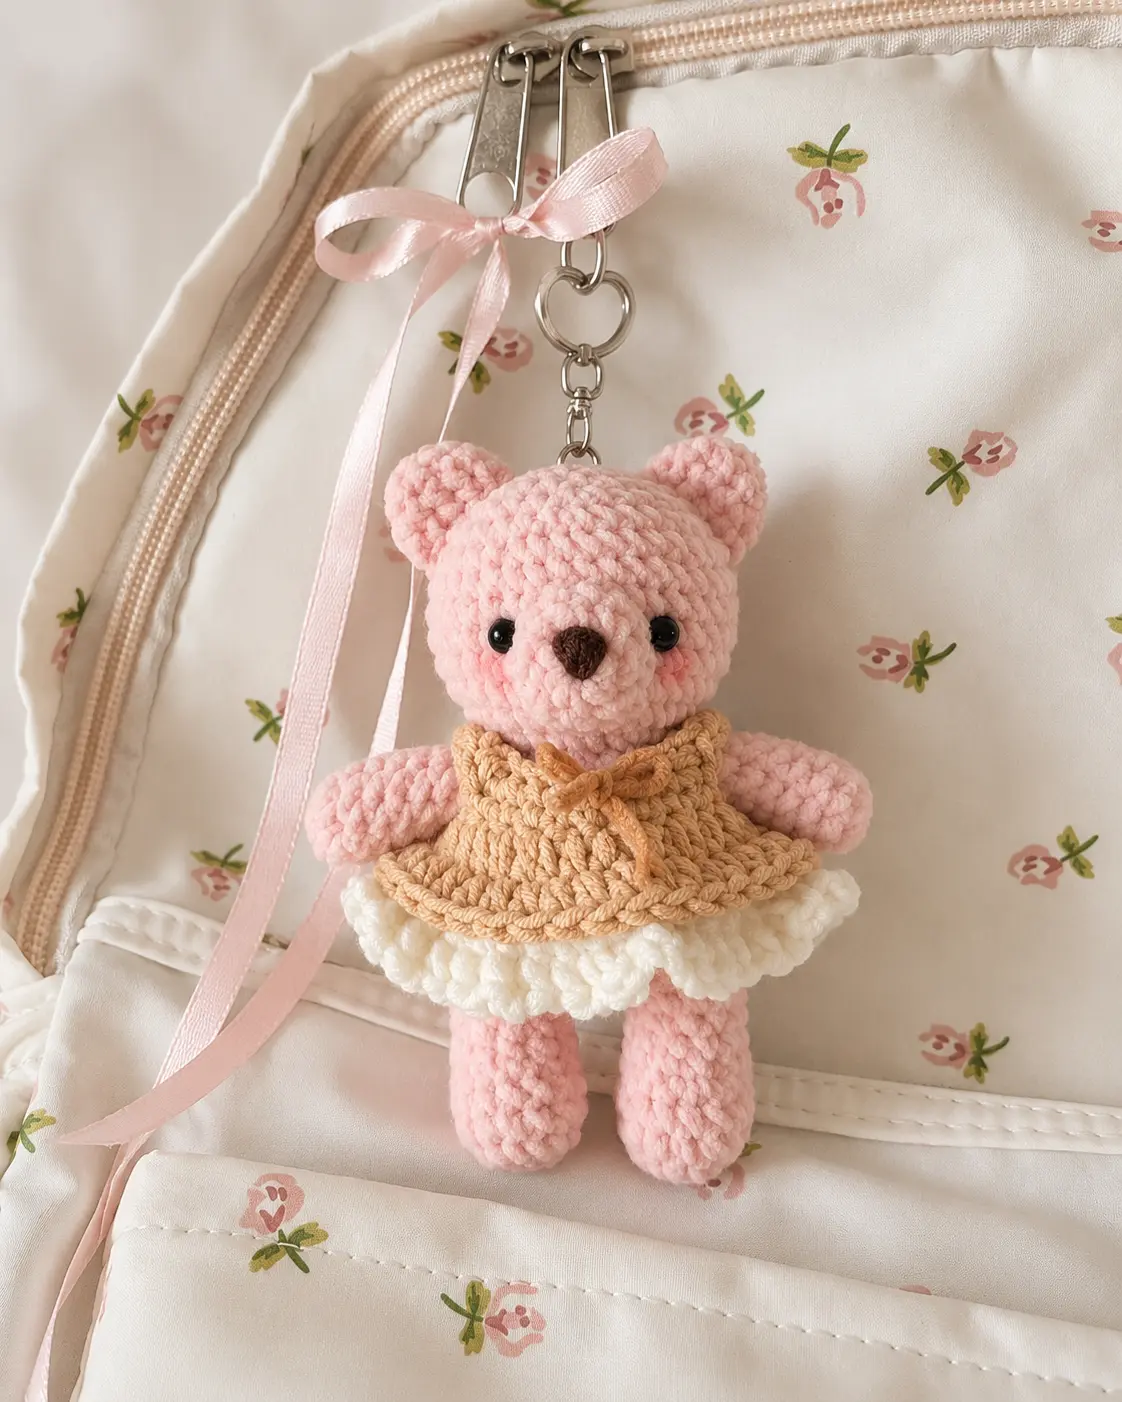
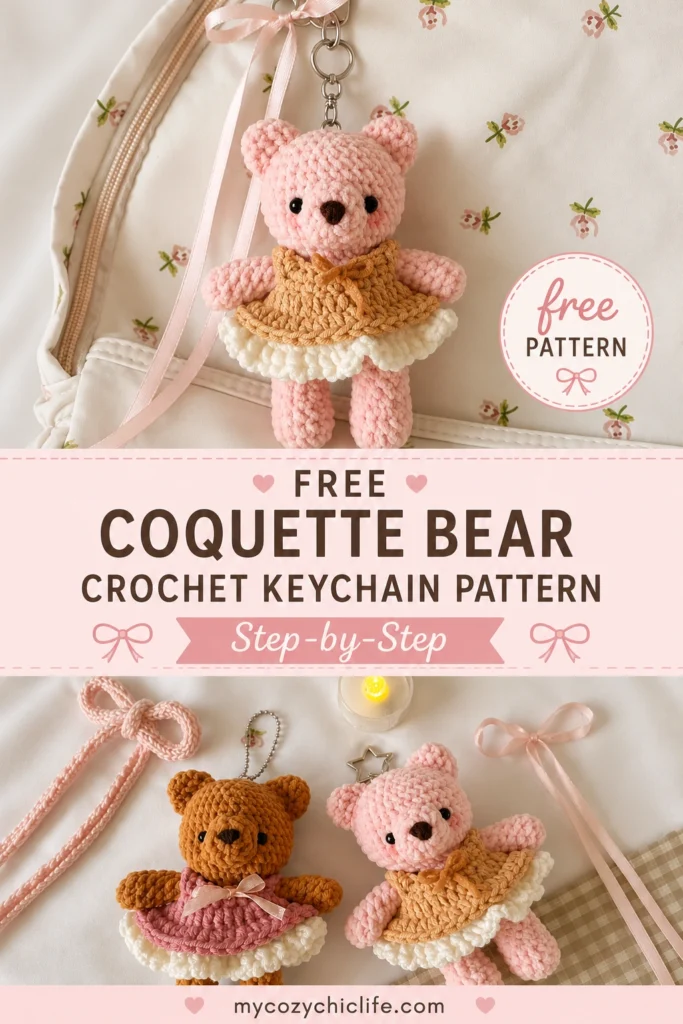
If you are obsessed with the soft, romantic, and ultra-feminine coquette aesthetic, you are going to absolutely adore this amigurumi project. This mini coquette bear keychain features a fuzzy body, a sweet ruffled two-tone dress, and the iconic blushed cheeks that make this style so enchanting.
Whether you want to accessorize your favorite tote bag, make a heartfelt gift for a best friend, or start a small crochet business, this free coquette bear crochet keychain pattern is the perfect project. Let’s grab our hooks and bring this little beauty to life!
Materials Needed
- Thin Chenille Yarn: Beige (Highly recommended for the body to get that ultra-soft, fuzzy texture)
- Sport Weight Yarn (5ply): Pink and White (for the dress)
- Crochet Hook: 3mm
- Safety Eyes: 6mm or 8mm (or black plastic eyes)
- Stuffing: Polyester fiberfill
- Darning Needle & Scissors
- Embroidery Thread: Thin brown or dark tan (for the nose)
- Pink Blush or Pastel Chalk: For the rosy cheeks
- Satin Ribbon: Small piece for the bow (optional)
Crochet Abbreviations (US Terminology)
- Ch – Chain
- St(s) – Stitch(es)
- R – Round
- Sc – Single crochet
- Inc – Increase (2 sc in one stitch)
- Dec – Decrease (Sc two stitches together)
- Hdc – Half double crochet
- Slst – Slip stitch
- FLO – Front Loop Only
- BLO – Back Loop Only
- Mr – Magic Ring
- [ ] – Total stitch count at the end of each round
- *** – Repeat the instructions following the asterisk
Part 1: Arms & Legs
Arms (Make 2)
Use beige chenille yarn.
- Start with a magic ring. R1: 8 sc into the mr. [8]
- R2: 1 sc in each st. [8]
- R3-R8: 1 sc in each st (6 rounds). [8]
- Flatten the arm. To close, insert your hook through the front loop of a stitch on one side and the back loop of the opposite stitch. Sc across to close the gap (4 sc total). Fasten off and leave a tail for sewing later.
Legs (Make 2)
Use beige chenille yarn.
- Start with a magic ring. R1: 7 sc into the mr. [7]
- R2: 7 inc. [14]
- R3-R4: 1 sc in each st. [14]
- R5: 3 sc, 4 dec, 3 sc. [10]
- R6-R7: 1 sc in each st. [10]
- Lightly stuff the legs.
- Fasten off the first leg completely. DO NOT fasten off the second leg.
Part 2: Connecting Legs & Body
Continuing with the second leg and beige yarn.
- Make 2 more sc on the second leg to shift the starting point to the inner edge.
- R8 (Connecting Round): Ch 3. Sc in each of the 10 sts of the first leg. Sc 3 in the back bumps of the Ch 3 you just made. Sc in each of the 10 sts of the second leg. Sc 3 in the front loops of the Ch 3. [26]
- R9: 10 sc, 3 inc, 12 sc, 1 inc. [30]
- R10-R15: 1 sc in each st. [30]
- R16: (4 sc, 1 dec) 5 times. [25]
- R17: (3 sc, 1 dec) 5 times. [20]
Attaching the Arms:
Stuff the body firmly as you go.
- R18: 2 sc. Hold the first flattened arm against the body. Make 4 sc through both the body stitches and the arm stitches simultaneously. 6 sc. Attach the second arm the same way with 4 sc. 4 sc. [20]
- R19: 10 dec. [10]
Part 3: The Head
Continue directly from the last stitch of the body without fastening off.
- R1: 10 inc. [20]
- R2: (1 sc, 1 inc) 10 times. [30]
- R3: (4 sc, 1 inc) 6 times. [36]
- R4-R9: 1 sc in each st. [36]
- R10: (4 sc, 1 dec) 6 times. [30]
- R11: (3 sc, 1 dec) 6 times. [24]
- Begin stuffing the head firmly.
- R12: (2 sc, 1 dec) 6 times. [18]
- R13: (1 sc, 1 dec) 6 times. [12]
- R14: 6 dec. [6]
- Fasten off, leaving a long tail. Thread the tail through the front loops of the remaining 6 stitches, pull tight to close, and weave in the end.
Part 4: Ears, Snout & Eyes
Ears (Make 2)
Use beige chenille yarn.
- R1: 8 sc in magic ring. [8]
- R2: (3 sc, 1 inc) 2 times. [10]
- R3: 1 sc in each st. [10]
- Flatten and close the same way you did the arms (5 sc). Leave a long tail for sewing.
- Sewing: Sew the ears onto the head between Rounds 9 and 12, aligning them with the outer edges of the arms.
Snout/Nose
Use pink sport weight yarn.
Note: For this section, slst to the first stitch of the round to close, then ch 1 to start the next round. The slst and ch 1 do NOT count in your stitch total.
- R1: 7 sc in mr, slst to first st. [7]
- R2: Ch 1, 7 inc, slst. [14]
- R3: Ch 1, 1 sc in each st, slst. [14]
- Fasten off, leave a long tail. Sew the snout to the center of the face between Rounds 4 and 7.
- Nose Embroidery: Using thin brown yarn, embroider a small upside-down triangle in the center of the pink snout.
Eyes & Indentation
- Glue or attach your safety eyes between Round 6, spacing them evenly on either side of the snout.
- Eye Indentation (Thread Sculpting): Cut a long piece of beige yarn. Thread your needle, insert it near the top of the head, bring it out at the inner corner of one eye. Wrap the yarn tightly around the post of the eye about 1.5 times, then insert the needle back into the head and out near the top. Pull tightly to create an indent. Repeat for the other eye. Knot the yarn inside the head to secure.
Part 5: The Ruffled Dress
Use pink sport weight yarn. Start with a slip knot and a long tail.
- Ch 24.
- R1: Starting from the 2nd ch from hook, (2 sc, 1 inc) 7 times, 2 sc. [30]
- R2: Ch 1, turn. 4 sc, ch 4 (this creates an armhole, skip 6 sts), 10 sc, ch 4 (second armhole, skip 6 sts), 4 sc. [26 stitches + 8 chains]
- R3: Ch 2 (counts as 1 hdc here), turn. (1 hdc, 1 hdc inc) 13 times. [39]
- Slst to the first hdc of R3 to join into a round.
- R4: Ch 2, working in the FLO only, make 1 hdc in each st around. Slst to join. [39]
- Fasten off pink yarn.
The White Ruffle Layer
Use white sport weight yarn.
- Locate the unworked BLO stitches from R4 of the dress. Insert your hook into the BLO right next to your ending slip stitch, pull up a loop, and Ch 2.
- R1: 1 hdc in each BLO around. Slst to join. [39]
- R2 (Scallop Edge): Ch 1, (1 sc, ch 2) 39 times.
- After the last ch 2, slst to the very first sc of this round. Fasten off and weave in ends.
Part 6: Final Assembly
- Slide the dress over the bear’s head and down onto the body.
- Using your darning needle and the long pink tail left at the beginning of the dress, sew the top row of the dress together across the bear’s back/neck area to secure it in place.
- Tie a small bow using your satin ribbon (or a strand of pink yarn) and sew it to the center front of the dress.
- Take a small, fluffy makeup brush, dip it lightly into pink blush, and gently dab it on the bear’s cheeks right under the eyes.

You Are Done!
Look at how precious your new coquette bear keychain is! The combination of the fuzzy chenille, the delicate ruffles, and the sweet blush makes for an irresistible accessory.
Love Making Mini Amigurumi?
If you enjoyed making this little bear, you’ll definitely want to try out these other adorable, beginner-friendly patterns on the blog:
- Keep the cozy theme going with this No-Sew Mochi Bunny Crochet Pattern.
- For something a little different, try the No-Sew Mini Octopus Free Crochet Pattern—it makes a great stress ball keychain!
- Make a matching set for a friend using this Amigurumi Seahorse Keychain Free Crochet Pattern.
- If you love quirky creatures, this Crochet Green Alien Cat Amigurumi Keychain is a must-make.
Happy crocheting, and don’t forget to tag us in your finished photos! 🧶✨