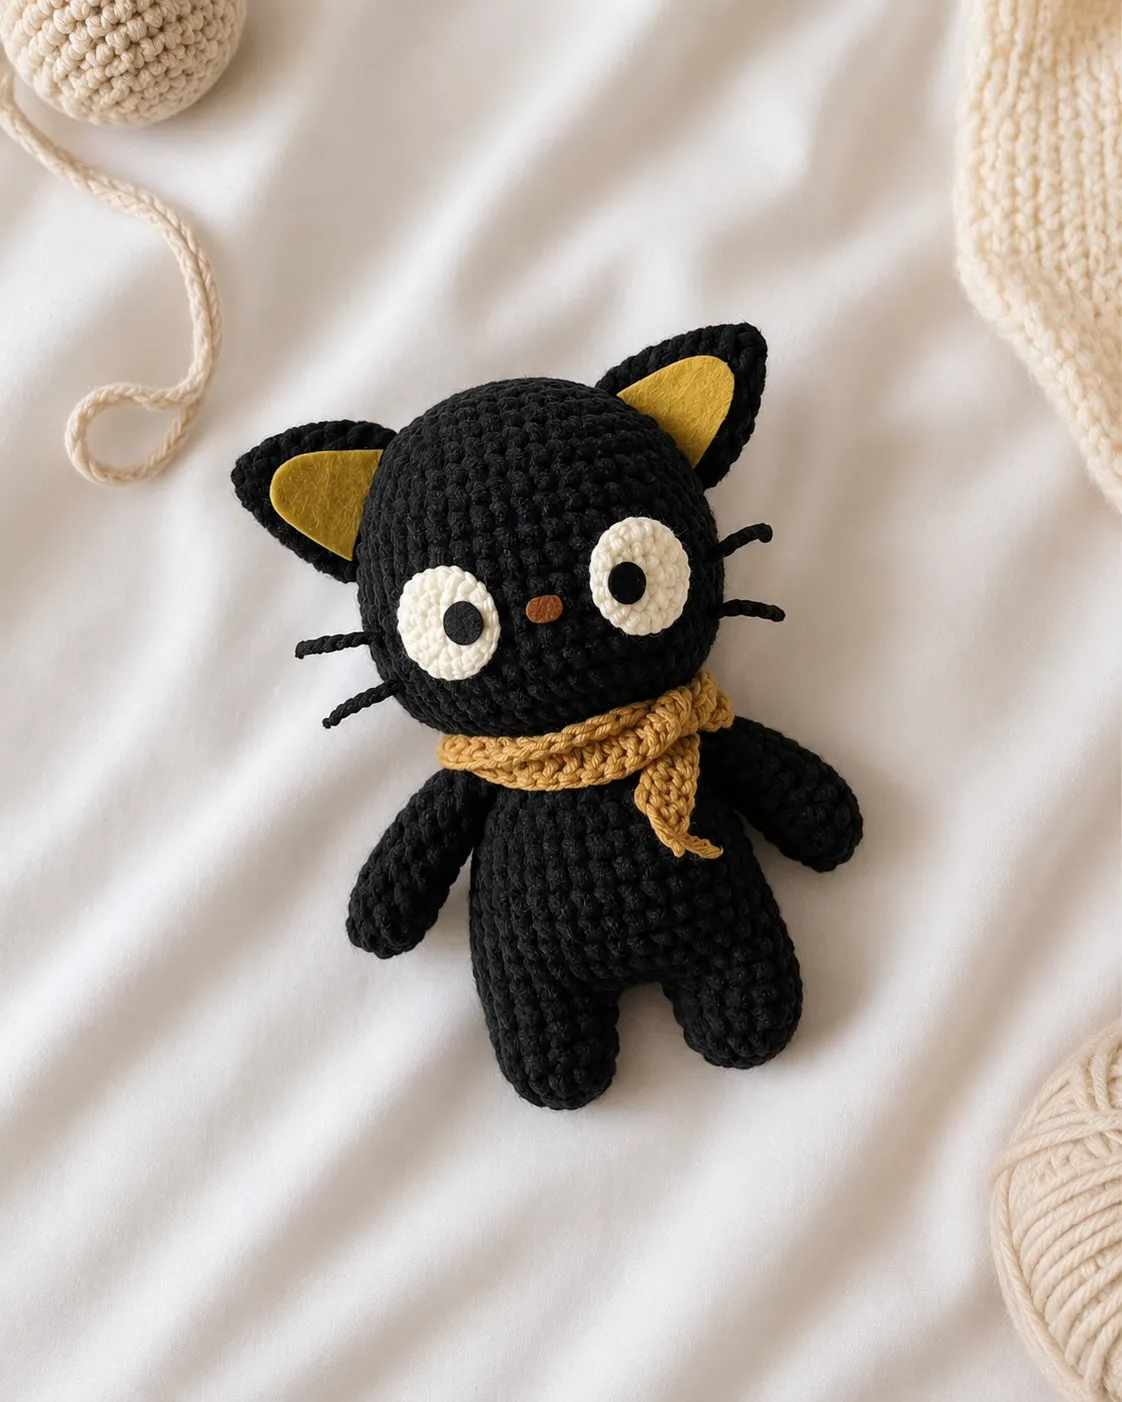
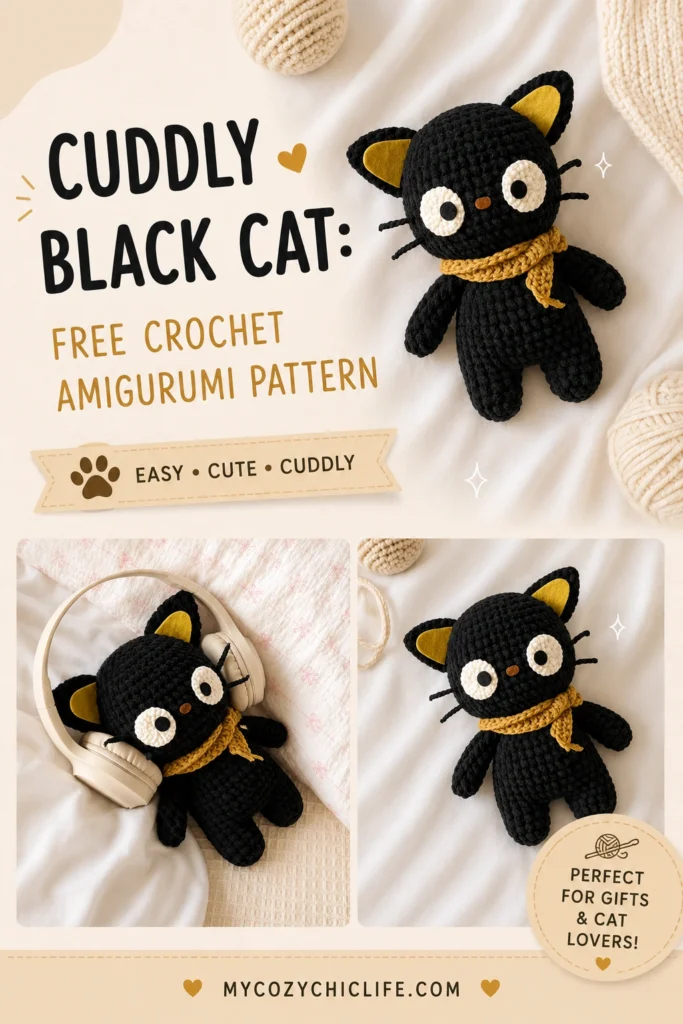
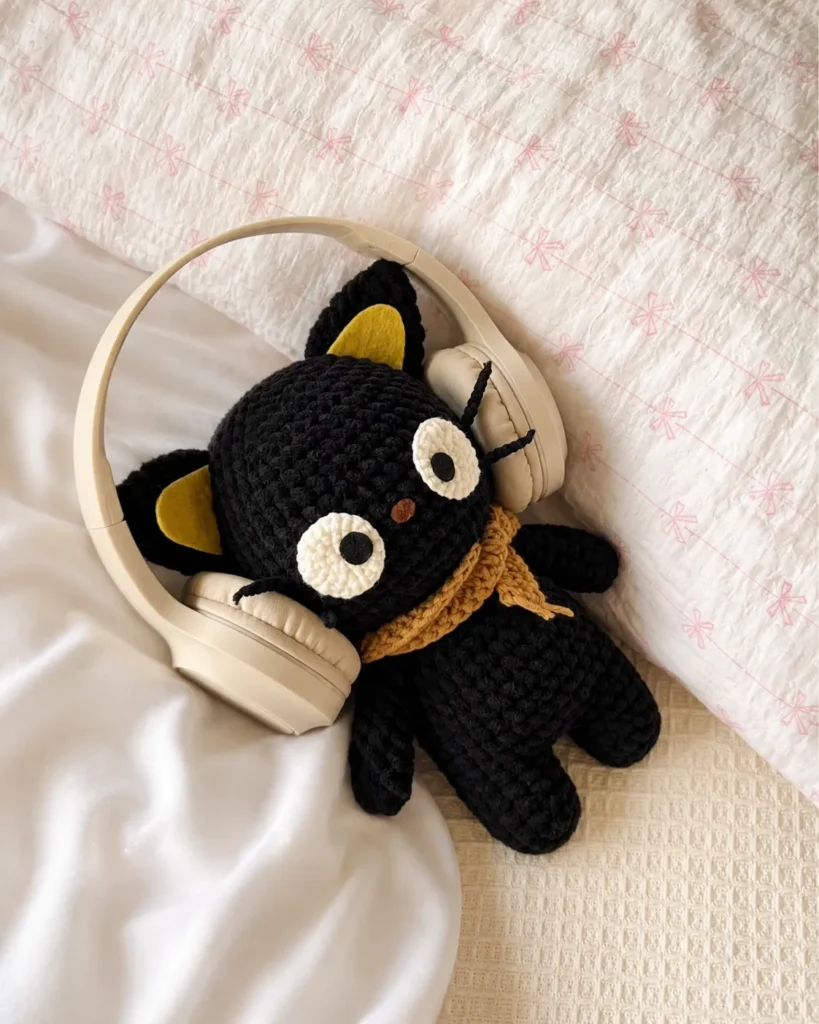
There’s something irresistible about a soft, squishy black cat plushie — and this one is made with fuzzy chenille yarn, so it’s every bit as cuddly as it looks. With its round little face, gentle eyes, tiny triangle nose, and a cozy scarf wrapped around its neck, this amigurumi cat makes a heartwarming handmade gift or a sweet new shelf companion.
This pattern is advanced-beginner friendly. If you’re comfortable with the magic ring, single crochet, increases, and decreases, you can absolutely make this cat. Working with chenille yarn takes a little patience at first, but the velvety, plush result is more than worth it.
Grab your hook and yarn, and let’s get stitching.
What You’ll Be Making
This black cat is worked in pieces and assembled into one cuddly plushie:
- Body and head — worked as one continuous piece, starting from the legs
- Two legs and two arms — crocheted separately and joined in as you go
- Two ears — sewn onto the head
- Two eyes — crocheted in white, then finished with felt details
- A felt nose and crocheted whiskers
- A cozy scarf to tie it all together
The finished cat stands on its own two legs and is wonderfully soft thanks to the chenille yarn.
Materials Needed
- Black chenille yarn, about 4 mm thick — approximately 200 g (this is the main body)
- Cotton or acrylic yarn in white, black, and brown (small amounts, for the eyes, whiskers, and scarf)
- Crochet hooks: 4 mm (for the chenille body) and 3 mm (for the cotton details)
- Felt cloth in black, brown, and yellow
- Polyester stuffing
- Darning needle
- Craft glue
- Scissors
Tip on chenille yarn: Chenille can be tricky because it’s hard to see individual stitches and it tends to “worm” or twist. Use a stitch marker for the first stitch of each round, work at an even tension, and don’t pull too tight. It gets easier within the first few rounds.
Crochet Abbreviations
This pattern uses US crochet terminology.
| Abbreviation | Meaning |
|---|---|
| ch | chain |
| mr | magic ring |
| st | stitch |
| R | round / row |
| sc | single crochet |
| inc | increase |
| dec | decrease |
| dc | double crochet |
| slst | slip stitch |
| BLO | back loops only |
| * | repeat |
| [ ] | total stitch count for that round |
Skill Level & Time
Skill level: Advanced beginner. The stitches themselves are simple, but joining the limbs and working with chenille yarn add a small challenge.
Time to make: Around 3–5 hours, depending on your pace and how familiar you are with chenille yarn.
Part 1: Arms (Make 2)
Use black chenille yarn and the 4 mm hook.
Start with a magic ring.
- R1: 6 sc in the magic ring [6]
- R2: (1 sc, 1 inc) repeat 3 times [9]
- R3–R9: 1 sc in each st — repeat for 7 rounds [9]
Stuff each arm lightly — just enough to give it a soft shape without making it stiff. Flatten the opening and close it by crocheting the opposite stitches together with 4 sc. Cut the yarn.
Set both arms aside; you’ll attach them to the body later.
Part 2: Legs (Make 2)
Use black chenille yarn and the 4 mm hook.
Start with a magic ring.
- R1: 7 sc in the magic ring [7]
- R2: 7 inc [14]
- R3–R4: 1 sc in each st — repeat for 2 rounds [14]
Make two legs. Cut the yarn after the first leg, but on the second leg, do NOT cut the yarn — you’ll keep working straight into the body from here.
Part 3: Joining the Legs & Building the Body
Now you’ll connect the two legs and continue upward into the body, all in one piece.
Chain 2, then join to the last stitch of the first leg with 1 sc — this sc becomes the first stitch of your new round. Start your round counting fresh from R1, as this is the beginning of the body.
- R1: 14 sc around the first leg, 2 sc across the chain, 14 sc around the second leg, 2 sc across the chain [32]
- R2: 14 sc, 2 inc, 15 sc, 1 inc [35]
- R3–R8: 1 sc in each st — repeat for 6 rounds [35]
- R9: (5 sc, 1 dec) repeat 5 times [30]
- R10: (4 sc, 1 dec) repeat 5 times [25]
Begin stuffing the body now, and keep adding stuffing after every following round so it stays evenly firm.
- R11: (3 sc, 1 dec) repeat 5 times [20]
R12 — attach the arms. In this round you’ll crochet the arms directly onto the body. Hold an arm against the body and work through both layers where indicated:
- R12: 3 sc, then 4 sc joining the first arm, 6 sc, then 4 sc joining the second arm, 3 sc [20]
The arms are now permanently attached and you can continue up to the head.
Part 4: The Head
Continue with the same chenille yarn straight up from the body.
- R13: 1 sc in each st [20]
- R14: 20 inc [40]
- R15: (4 sc, 1 inc) repeat 8 times [48]
- R16–R25: 1 sc in each st — repeat for 10 rounds [48]
- R26: (6 sc, 1 dec) repeat 6 times [42]
- R27: (5 sc, 1 dec) repeat 6 times [36]
- R28: (2 sc, 1 dec, 2 sc) repeat 6 times [30]
Begin stuffing the head now, and continue stuffing after each round so it holds a nice round shape.
- R29: (3 sc, 1 dec) repeat 6 times [24]
- R30: (1 sc, 1 dec, 1 sc) repeat 6 times [18]
- R31: (1 sc, 1 dec) repeat 6 times [12]
- R32: 6 dec [6]
Cut the yarn, leaving a tail. Use the tail to close the small remaining hole at the top of the head, then weave in the end.
Part 5: Ears (Make 2)
Use black chenille yarn and the 4 mm hook.
Start with a magic ring.
- R1: 6 sc in the magic ring [6]
- R2: 6 inc [12]
- R3: 1 sc in each st [12]
- R4: (2 sc, 1 inc) repeat 4 times [16]
- R5–R6: 1 sc in each st [16]
Do not stuff the ears — they should stay flat. Close each ear by crocheting the opposite stitches together with 7 sc. Cut the yarn, leaving a long tail for sewing.
Sew the ears onto the head between R24 and R29, lining them up with the arms below.
Part 6: Eyes (Make 2)
Use white cotton or acrylic yarn and the 3 mm hook.
This piece is worked in joined rounds: join with a slst at the end of each round and start the next with ch 1. The slst and ch 1 are not counted in your stitch totals.
- R1: 7 sc in a magic ring, 1 slst into the first sc [7]
- R2: Ch 1, 7 inc, 1 slst into the first sc [14]
- R3: Ch 1, (1 sc, 1 inc) repeat 7 times [21]
Cut the yarn, leaving a long tail. To finish the edge neatly: thread the tail onto your darning needle, insert it into the first stitch of R3, bring it back to the final stitch, and pass it into the back loop and the loop beneath it. Weave the end to the back of the eye and cut.
This creates a flat, tidy white oval for each eye.
Part 7: Assembling the Face
This is where your cat really comes to life.
- Eyes: Glue the two white eye pieces onto the head between R18 and R22, leaving about 4 sc of space between them.
- Pupils: Cut two small circles of black felt, about 1 cm across, and glue one onto each white eye.
- Nose: Cut a small oval from brown felt and glue it between R19 and R20, centered between the eyes.
- Inner ears: Cut two small triangles from yellow felt and glue one inside each ear.
Part 8: Whiskers
Use black cotton or acrylic yarn and the 3 mm hook.
- Insert your hook two stitches out from one eye and pull up the yarn. Chain 10 for the upper whisker, then cut the yarn.
- Insert your hook two rows below that upper whisker, pull up the yarn, chain 8 for the lower whisker, and cut.
- Repeat both whiskers on the other side of the face.
Trim and tidy the ends so the whiskers sit neatly.
Part 9: The Scarf
Use brown cotton or acrylic yarn and the 3 mm hook.
Start with a slip knot and chain to about 16 inches long (make it shorter or longer depending on the look you want).
Starting from the 3rd ch from the hook, work 1 dc into each ch all the way across. Chain 1 and cut the yarn, leaving the ends.
Wrap the finished scarf around your cat’s neck and tie or tuck it in place.
Care & Finishing Tips
- Weave in all ends securely. Chenille ends can slip, so anchor them well, especially if the cat is for a child.
- For a child-safe version, embroider the eyes and nose directly onto the face with yarn instead of using glued felt pieces — glued parts can come loose and be a choking hazard.
- Spot clean only with a damp cloth. Chenille doesn’t love the washing machine.
- If a section looks lumpy, the stuffing may be uneven — add small pieces gradually rather than large clumps for a smooth finish.
Make It Your Own
Once you’ve made one, it’s easy to give the next a different personality:
- Try grey, white, ginger, or calico-inspired colors instead of black.
- Swap the scarf for a tiny bow, a collar, or a crocheted hat.
- Make a mini version with thinner yarn and a smaller hook for a keychain-sized cat.
- Adjust the felt eye shapes — round pupils, sleepy half-moons, or star-shaped highlights all change the whole expression.
You Did It!
Take a moment to admire your finished cat. From a magic ring and a ball of fuzzy yarn, you’ve created a soft, characterful little companion. It doesn’t need to be flawless — handmade plushies never are, and the small imperfections are exactly what give them charm and personality. Be proud of every stitch.
If you loved this make, here are a few more cute projects to try next:
- Crochet Green Alien Cat Keychain — a quick, fun feline make in keychain size
- No-Sew Mochi Bunny Crochet Pattern — a beginner-friendly, gift-ready plushie
- Miffy Pillow Crochet Pattern — another cozy, no-sew project
- Free Crochet Snoopy Keychain — a small amigurumi to pair with your cat
Happy crocheting! ❤️
Frequently Asked Questions
Is chenille yarn hard to crochet with? It has a small learning curve because the stitches are hard to see and the yarn can twist. Use a stitch marker, keep an even tension, and don’t pull too tightly. After the first few rounds it becomes much easier, and the soft result is well worth it.
Can I use regular yarn instead of chenille? Yes. Worsted-weight cotton or acrylic with a matching hook will work — your cat will simply be a little less fuzzy and possibly slightly smaller. Adjust your stuffing as you go.
Can I sell the cats I make from this pattern? You’re welcome to sell finished cats you make from this pattern. Please don’t resell or mass-distribute the pattern itself, and a credit link back to this blog is always appreciated if you share your work.
How do I make this cat safe for a baby or toddler? Skip all glued felt pieces. Embroider the eyes, pupils, and nose directly onto the face with yarn, and make sure every end is woven in tightly and securely.
Why are my legs and body not lining up? When joining the legs, make sure your 2-chain bridge connects cleanly to the last stitch of the first leg and that R1 of the body picks up all 32 stitches in order. Counting carefully on that first body round keeps everything aligned.
What size will the finished cat be? With 4 mm chenille yarn, the cat works up as a soft, sittable plushie around 20–25 cm tall, though chenille and tension vary. Using thinner yarn will give you a noticeably smaller cat.