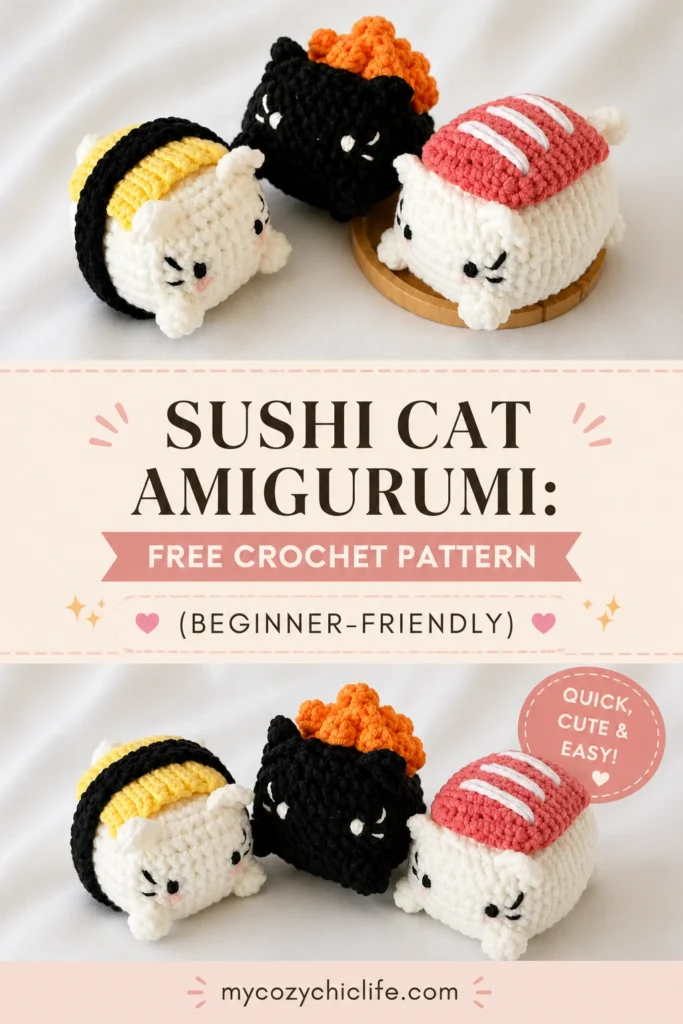
What do you get when you mix a sleepy kitty with a delicious sushi roll? The Sushi Cat—a quirky, squishy, and incredibly photogenic amigurumi. This pattern is perfect for using up scrap cotton or chenille yarn, and it works up faster than you think.
Whether you are new to amigurumi or a seasoned hooker looking for a fun weekend project, these little guys will bring a smile to your face.
Looking for more no-sew magic? Check out my No-Sew Mochi Bunny Pattern or the Mini Octopus if you want to keep the hook moving without the hassle of assembly.
Materials & Tools
| Item | Recommendation |
|---|---|
| Yarn (Sport/DK weight) | White, Black, Orange, Dark Pink, Yellow |
| Hook | 3.0 mm or 3.5 mm (adjust to your yarn) |
| Safety Eyes | 6mm (optional – you can embroider instead) |
| Stuffing | Polyester fiberfill |
| Other | Tapestry needle, scissors, stitch markers, pins |
| Adhesive (optional) | Fabric glue or UHU (for securing toppings) |
Yarn Notes
- Cotton (5ply) gives the crispest stitch definition.
- Thin chenille makes a softer, cloud-like cat.
- Acrylic sport weight works perfectly if that is what you have on hand.
Crochet Abbreviations (US Terms)
ch– chainst– stitchmr– magic ringsc– single crochetinc– increase (2 sc in one st)dec– decrease (sc 2 together)Bob– Bobble stitch (4 dc together – explained below)dc– double crochetBLO– back loop onlyslst– slip stitch[…]– total stitch count
New to bobbles? A 4-dc bobble is made by working 4 unfinished double crochets into the same stitch, then pulling the yarn through all 5 loops on your hook. It creates a cute bump (like rice grains).
The Body (Worked in Joined Rounds)
Note: We will use joined rounds here. At the end of each round, slst into the first sc. Start each new round with ch 1. The ch 1 and slst do NOT count as stitches.
Start with Black or White yarn (your choice of “wrapper”). Make 10 ch.
- R1: Starting from 2nd ch from hook: inc, 7 sc, (4 sc in one ch), 7 sc, inc, slst. [22]
- R2: ch1, sc, (3 sc in one st), 7 sc, (3 sc in one st), 2 sc, (3 sc in one st), 7 sc, (3 sc in one st), sc, slst. [30]
- R3: ch1, 2 sc, (3 sc in one st), 9 sc, (3 sc in one st), 4 sc, (3 sc in one st), 9 sc, (3 sc in one st), 2 sc, slst. [38]
- R4: ch1, 3 sc, (3 sc in one st), 11 sc, (3 sc in one st), 6 sc, (3 sc in one st), 11 sc, (3 sc in one st), 3 sc, slst. [46]
- R5 to R9: ch1, 46 sc, slst. (5 rounds – straight sides) [46]
- R10 (Bobble Row): ch1, 4 sc, Bobble, 13 sc, Bobble, 8 sc, Bobble, 13 sc, Bobble, 4 sc, slst. [46]
- R11: ch1, 3 sc, (3 sc dec), 11 sc, (3 sc dec), 6 sc, (3 sc dec), 11 sc, (3 sc dec), 3 sc, slst. [38]
- R12: ch1, 2 sc, (3 sc dec), 9 sc, (3 sc dec), 4 sc, (3 sc dec), 9 sc, (3 sc dec), 2 sc, slst. [30]
- 💡 Tip: Start stuffing the body firmly after R12.
- R13: ch1, (3 sc, dec) x6, slst. [24]
- R14: ch1, (2 sc, dec) x6, slst. [18]
- R15: ch1, (sc, dec) x6, slst. [12]
- R16: ch1, dec x6. [6]
Cut yarn, leaving a 6-inch tail. Use your tapestry needle to weave the tail through the final 6 stitches and pull tight to close the hole.
Embroidering the Face (Before the Ears!)
Using black yarn (3 strands) , embroider the eyes on Round 7. Leave approximately 6 sc of space between the two eyes.
For the whiskers, use 2 strands of black yarn. Make three small lines on each side of the face.
If you prefer safety eyes, insert them between R6 and R7. You can see how I use safety eyes in my Alien Cat Keychain Pattern.
Ears (Crocheted Directly onto the Body)
Do not cut yarn between ears. Work directly into the body stitches across Rows 3-5.
- Attach yarn at the desired ear spot.
- Ch 3. Starting from 2nd ch from hook: sc, dc.
- Skip 1 round on the body (R4), slst into the body.
- Cut yarn and weave in ends.
- Repeat for the second ear on the opposite side.
Tail (Directly onto the Body)
Attach yarn to the center back of the body at Round 5.
- Ch 6. Starting from 2nd ch from hook: slst, then 4 sc across the remaining chains.
- Cut yarn and weave in ends securely.
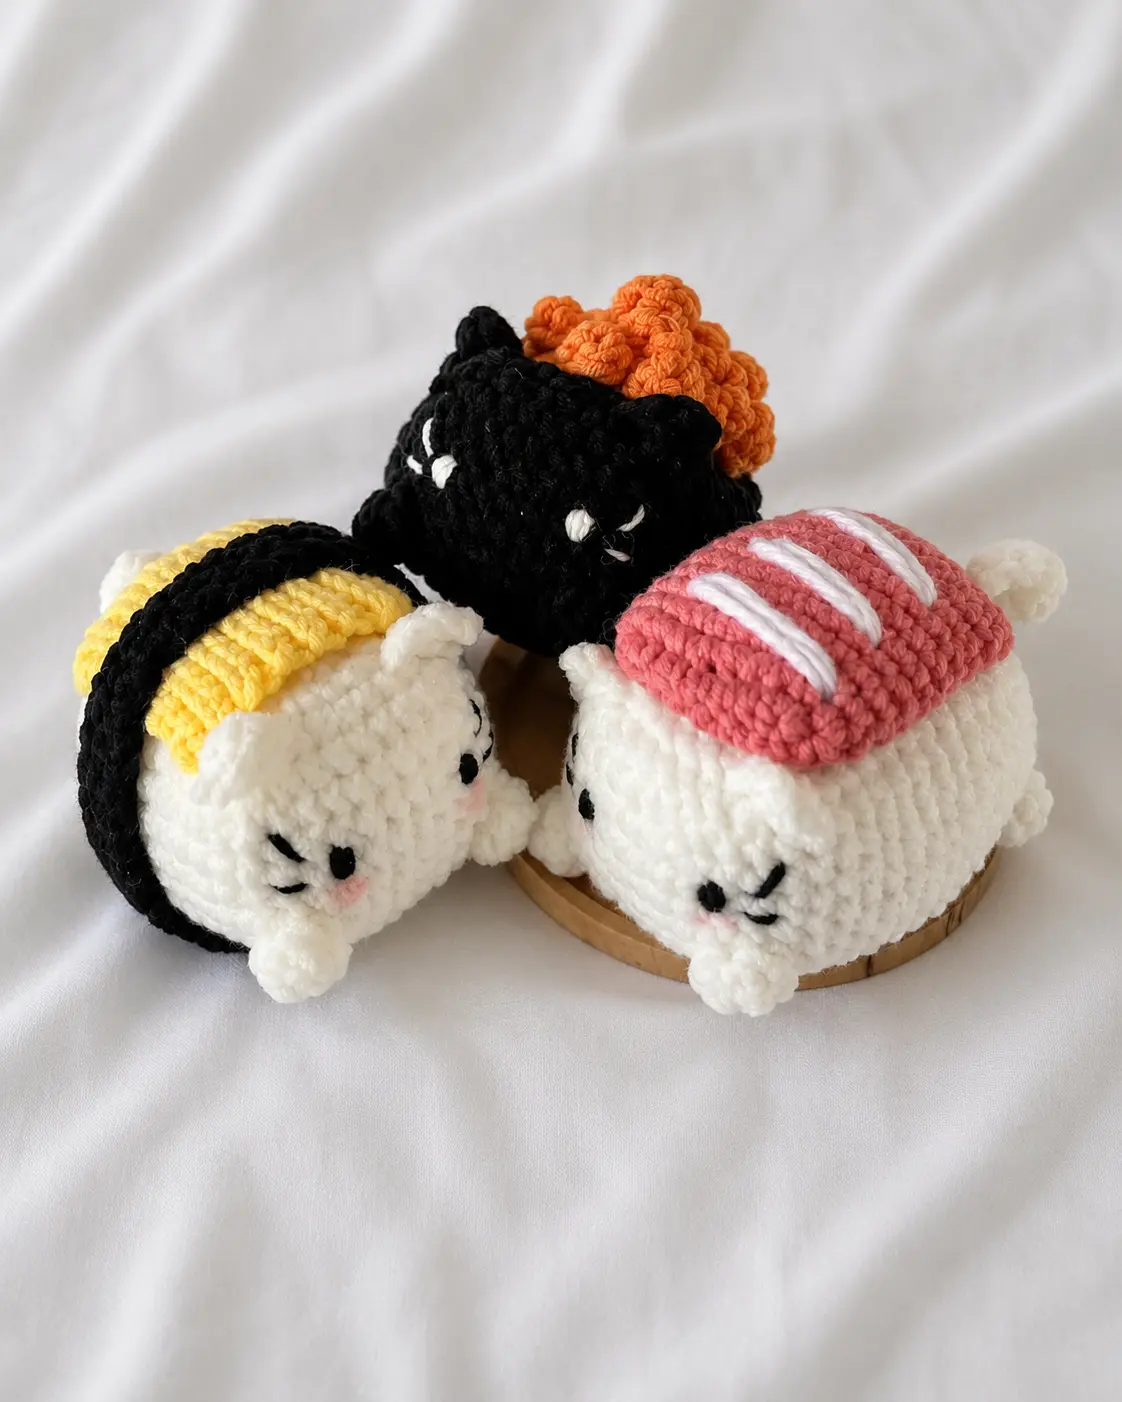
The Sushi Toppings (Make Separately)
1. Salmon Eggs (Ikura)
Using Orange yarn.
- Make 50 ch.
- Starting from 3rd ch from hook: (3 dc cluster st in next ch, skip 1 ch, sc in next ch) repeat from * to * across.
- This creates little bobble clusters that look like orange eggs.
2. Fish (Salmon)
Using Dark Pink yarn.
- Make 7 ch.
- R1: From 2nd ch from hook: inc, 4 sc, (4 sc in one ch), 4 sc, inc, slst. [16]
- R2: ch1, (3 sc, inc) x4, slst. [20]
- R3 to R11: ch1, 20 sc, slst. (9 rounds) [20]
- R12: ch1, (3 sc, dec) x4, slst. [16]
- Cut yarn leaving a long tail. Stuff lightly.
- Embroider white stripes across the top of the fish using white yarn.
3. Omelet (Tamago)
Using Yellow yarn.
- Make 13 ch.
- R1: From 2nd ch from hook: 12 slst.
- R2 (BLO): 12 slst.
- Repeat R2 until the strip is 4 cm wide (roughly 8-10 rows).
- Cut yarn, leaving a long tail.
4. Seaweed Strip (Nori)
Using Black yarn.
- Make 3 ch.
- R1: From 2nd ch from hook: 2 sc. [2]
- R2: ch1, turn, 2 sc. [2]
- Repeat R2 until the strip is long enough to wrap around your sushi cat’s belly (approx. 30 rows).
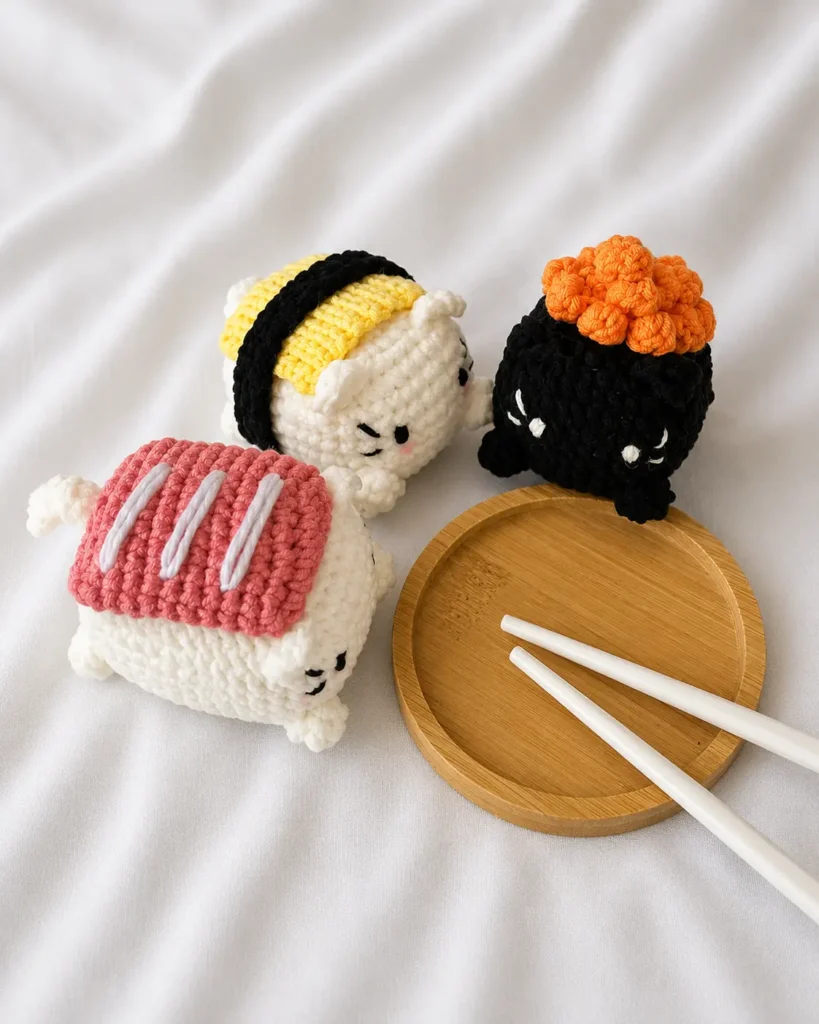
Assembly (Bringing it to Life)
This is where the magic happens. You have two options: sewing (invisible and sturdy) or glue (quick and easy). I recommend a mix of both.
- Wrap the Seaweed: Wrap the black strip around the middle of the cat’s body (over the bobble stitches). Sew the back seam closed.
- Place the Toppings: Arrange the Salmon, Omelet, and Salmon Eggs on top of the white “rice” body (above the seaweed).
- Attach:
- Sew the flat omelet piece down using yellow thread.
- Sew the fish down at the ends.
- Glue the small salmon egg clusters individually for a 3D effect.
- Shape: Use pins to hold everything in place before you commit to sewing.
Having trouble with assembly? My No-Sew Axolotl Pattern is a great palette cleanser if you need a break from sewing. Or grab my Snoopy Keychain Pattern for an instant-gratification project.
Finishing Touches & Troubleshooting
| Issue | Solution |
|---|---|
| My bobbles look flat | Pull your yarn tighter when closing the 4-dc bobble. |
| The body is lumpy | You over-stuffed. Remove some filling and shape with your fingers. |
| Toppings keep falling off | Use a longer yarn tail and sew through the body 3-4 times before knotting. |
| Cat won’t stand up | Add a small weight (glass beads in a fabric bag) to the bottom before stuffing. |
Thank You for Making!
You did it! Your Sushi Cat is ready to guard your desk, charm your dinner guests, or hang from your rearview mirror.
If you enjoyed this pattern, you will also love:
Happy Crocheting,