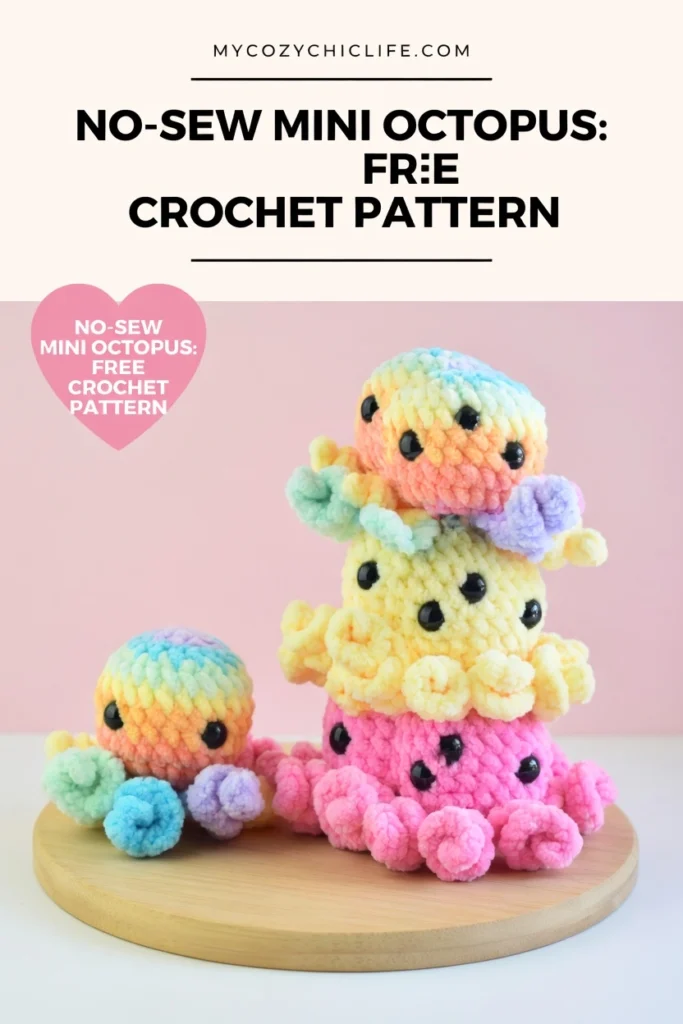
If you want an amigurumi project that’s fast, adorable, and requires absolutely zero sewing — not even one stitch of assembly — this No-Sew Mini Octopus pattern is exactly what you’re looking for. Designed by TJ of Passionate Crafter, this tiny octopus measures just 3.1 x 2.3 inches and works up so quickly you’ll want to make a whole rainbow collection in a single sitting.
The genius of this pattern is in how the tentacles are constructed. Rather than crocheting eight separate pieces and sewing them on, you work the tentacles directly into the foundation round of the body by hooking into the raised third loop left over from the first round of half double crochet. The result is eight perfectly spaced, bouncy curly tentacles that are permanently and securely attached without a single sewn join.
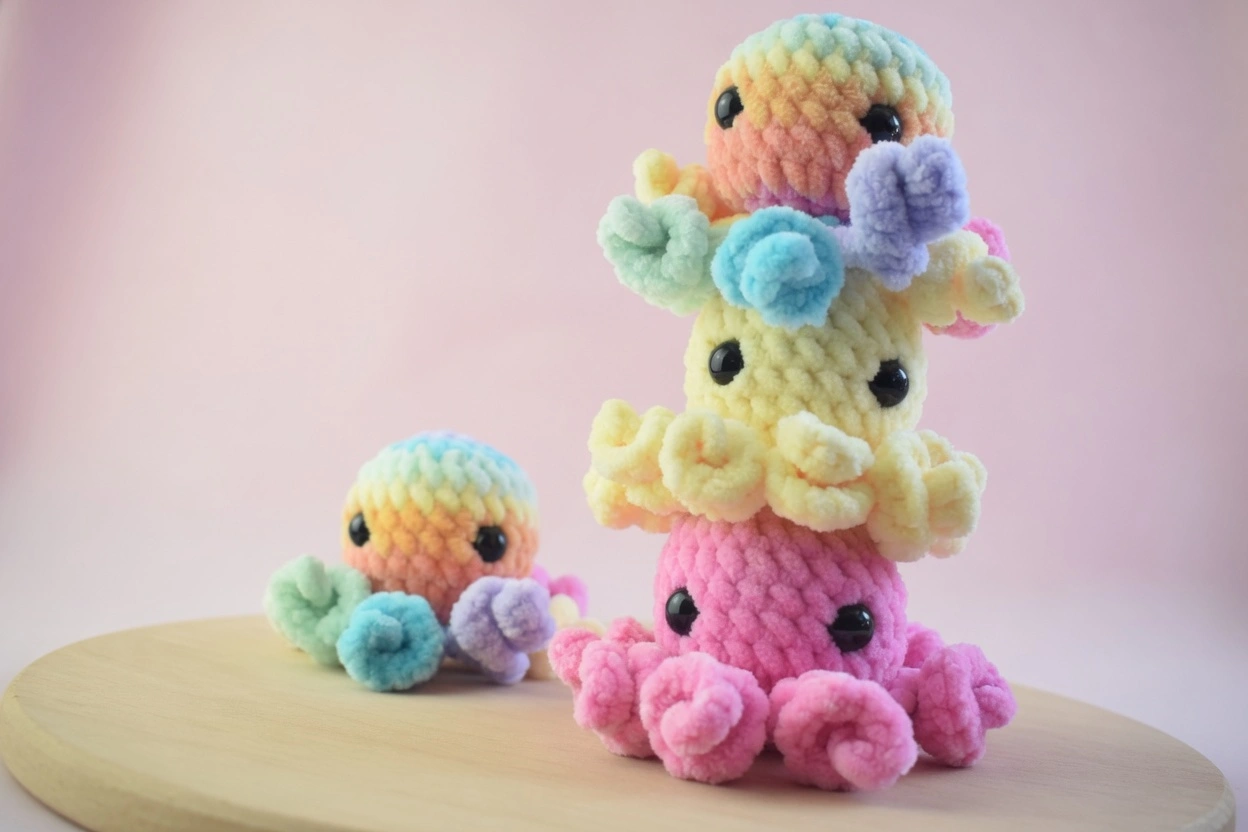
Made with chunky chenille yarn and a 4mm hook, the finished octopus has that irresistibly soft, squishy texture that makes plush yarn amigurumi so popular. It looks great in every color imaginable, uses minimal yarn from your stash, and is an ideal project for craft fairs, quick gifts, or introducing someone to the world of amigurumi.
If you’re building a collection of no-sew amigurumi patterns, this octopus pairs perfectly with our No-Sew Mochi Bunny and No-Sew Axolotl — all three are beginner-friendly and skip the sewing entirely.
Why This Mini Octopus Pattern Is So Popular
With over 35,000 shares, this is one of the most loved no-sew amigurumi patterns on the internet, and the reasons are obvious once you try it.
It’s genuinely no-sew. Many patterns claim to be no-sew but still require you to attach eyes, close gaps, or tack down a piece or two. This octopus has zero post-construction sewing. The body is crocheted top-down, the opening is closed by weaving through front loops and pulling tight, and the tentacles are worked directly into the body’s foundation round. When you fasten off the last tentacle, you’re done.
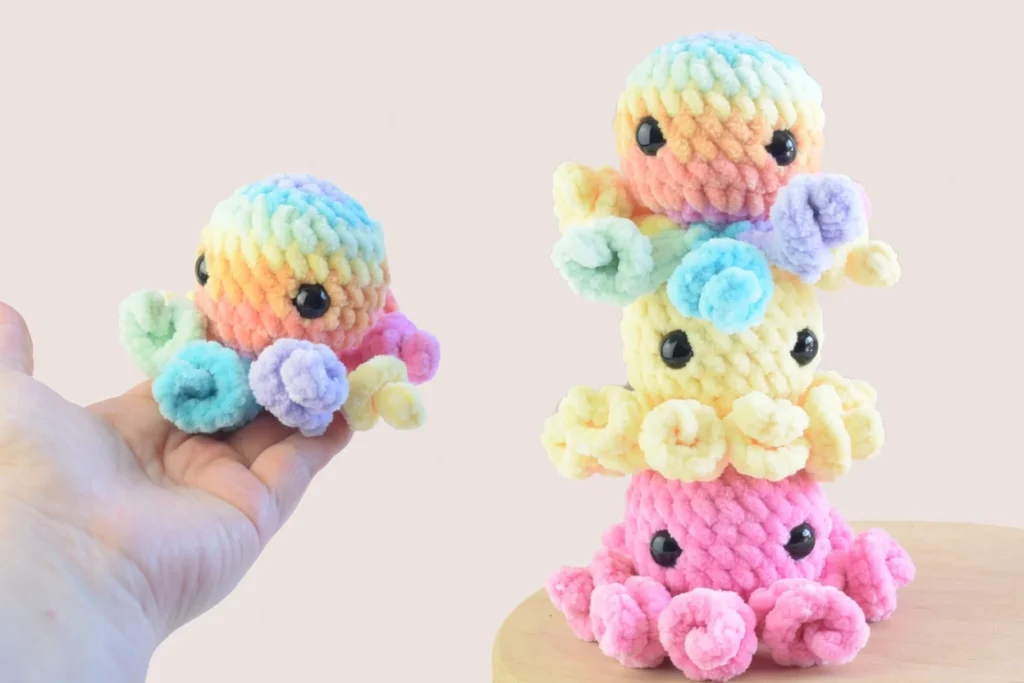
It’s tiny and fast. At just over 3 inches tall, this octopus takes well under an hour to complete. That makes it perfect for batch-producing for craft fairs, making party favors, or crocheting a quick gift when you need something handmade in a hurry.
The curly tentacles are irresistible. The tentacle construction — chaining out and then working multiple stitches into each chain — creates a natural spiral curl that bounces and sways. It’s the detail that makes people pick the octopus up and not want to put it down.
It works in any color. Single color, rainbow, ombré, neon, pastel — every version looks fantastic. The simple shape lets the yarn color be the star, which means you can use up scraps and oddments from your stash and still end up with something beautiful.
Materials You’ll Need
- Yarn: Super bulky weight chenille/velvet yarn. The original uses Parfait Chunky (100% polyester, 100g, 120m). Any similar chunky plush yarn will work.
- Hook: 4mm crochet hook
- Eyes: 10mm safety eyes (one pair) with plastic washers
- Stuffing: Polyester fiberfill
- Tools: Tapestry needle, stitch marker, scissors
If you use thicker or thinner yarn, your octopus will be correspondingly bigger or smaller. The pattern works at any scale — double knit yarn with a smaller hook produces a keychain-sized octopus, while jumbo chenille yarn creates a larger cuddly version.
Crochet Abbreviations (US Terms)
sc – single crochet | hdc – half double crochet | sl st – slip stitch | ch – chain | inc – increase (2sc in same stitch) | dec – decrease (sc2tog) | MR – magic ring | FO – fasten off | ( ) – repeat indicated times
Special Stitch: Working in the Third Loop of HDC
This technique is what makes the no-sew tentacle attachment possible. When you work a half double crochet, there’s a third loop located just behind and nearly parallel to the normal two top loops. In Round 1, you’ll work in hdc. In Round 2, instead of working into the top two loops, you work into the third loop of the hdc stitches from Round 1. This leaves a raised ridge of unused loops on the outside of the body — and those raised loops become the anchor points for the tentacles later.
The Full Pattern
Important Notes
The pattern is worked in continuous rounds. Do not join rounds with a slip stitch. The first round is worked in half double crochet — all following rounds are worked in single crochet. Use a stitch marker to track the beginning of each round.
Octopus Body
Use any color you wish.
- Rnd 1: MR of 8 hdc [8]
In the next round, work into the 3rd loop of the hdc stitches from Round 1. From this point forward, all rounds are worked in single crochet, not hdc.
- Rnd 2: 8 inc [16]
- Rnd 3: (sc, inc) × 8 [24]
- Rnd 4–9: 24sc (6 rounds) [24]
Insert safety eyes between Rounds 5 and 6, leaving 4 to 5 stitches between them. Secure with plastic washers.
- Rnd 10: (1sc, 1dec) × 8 [16]
- Rnd 11: 8 dec [8]
Fasten off and close the opening. Take a tapestry needle and go through the front loop of each remaining stitch. Pull to tighten. Tie with a knot. Weave ends in.
Stuff the body firmly before closing — you want a round, plump shape. If you’re unsure about safety eye placement, our Green Alien Cat Keychain pattern has useful tips on pinning eyes and checking placement before locking the washers.
Octopus Tentacles
Use your main color or any contrasting color.
Turn the octopus upside down. Insert your hook into the last stitch of Round 1. You should see a round of raised stitches created from working in the 3rd loop of the hdc in Round 2 — these raised loops are your tentacle anchor points.
For each tentacle: Pull up a loop and make 10 chains. Then work (3sc in first stitch, 2sc in next) × 3, 3sc in next, 2sc, sl st in the next stitch of the raised round to join.
The first tentacle is complete. Repeat this process — pulling up a loop from the next raised stitch, chaining 10, and working the curl pattern back — until you have 8 tentacles total.
After the last tentacle, join with a slip stitch into the first stitch. Fasten off and weave in the end.
That’s it. Your octopus is finished — no sewing required.
Making a Rainbow Octopus
For the rainbow version, use 7 different colors and change colors at specific rounds. You can also make it with 6 colors by changing every second round. Here’s the general approach:
Each round of the body gets its own color (or every two rounds share a color, depending on how many colors you’re working with). Because the body only has 11 rounds, you need relatively little yarn per color — scraps and leftovers work perfectly. The tentacles can match one of the body colors, use an entirely different contrast color, or even alternate colors for a multicolored effect.
The rainbow version is especially popular for craft fairs and children’s gifts. Making several in different color combinations takes very little time and creates an eye-catching display.
Tips for the Best Results
Working with plush yarn takes practice. Chenille and velvet yarns can be tricky because the stitches are harder to see and count compared to smooth cotton or acrylic. Work in good lighting, use a stitch marker to track every round, and count your stitches frequently. Once you get used to the feel of the yarn, it becomes second nature.
The third loop technique is the key to the whole pattern. If you skip this step or work into the wrong loops in Round 2, you won’t have the raised ridge needed to attach the tentacles. Take a moment to identify the third loop before you start Round 2 — it sits just behind and below the normal two top loops, running nearly horizontal. If you can see it clearly, you’re in the right place.
Stuff before you decrease. Start adding fiberfill around Round 8 or 9, before the decreases start closing the opening. By Round 11, the hole will be very small, and trying to stuff through it will be frustrating. Add stuffing in small amounts and shape the body into a smooth sphere as you go.
The tentacle curl happens automatically. Working 3sc and 2sc into individual chain stitches creates more fabric than the chain can hold flat, which forces it to spiral. You don’t need to do anything special to make the tentacles curl — the stitch pattern does the work for you. If they’re not curling enough, make sure you’re working the increases into each chain as specified.
Secure your safety eyes properly. At 10mm, these are medium-sized safety eyes relative to the small body. Push the plastic washers on firmly until they click. Give each eye a gentle tug from the front to confirm it’s locked. Once the body is closed, there’s no going back.
Where This Pattern Fits in Your Crochet Journey
This mini octopus is perfect for advanced beginners — anyone who can single crochet, increase, decrease, and work in continuous rounds. The only unfamiliar technique is likely the third-loop hdc, and once you understand what you’re looking for, it’s simple to execute.
If you’re completely new to no-sew amigurumi, start with our No-Sew Mochi Bunny, which uses only basic single crochet throughout and has an even simpler construction. From there, this octopus is a natural next step that introduces the third-loop technique and freestanding tentacle construction.
For a larger no-sew project that uses a similar philosophy of building everything into the structure, our Miffy Pillow pattern creates a chunky, huggable pillow with ears formed from the joining gaps — no sewing at all.
And when you’re ready to challenge yourself with something truly ambitious, our Crochet Dragon Ornament is an expert-level miniature with wire armatures, filigree wings, and facial sculpting — the ultimate test for experienced amigurumi makers.
Perfect for Craft Fairs and Gifts
If you crochet for markets, this octopus is a goldmine. The tiny size means minimal yarn cost per piece. The fast construction means you can produce a large inventory quickly. The universal appeal — bright colors, cute face, bouncy tentacles — means they attract attention on any display table. And the rainbow version practically sells itself.
Price them individually or bundle a set of three coordinating colors together as a gift set. They also work beautifully as baby shower favors (use child-safe embroidered eyes instead of safety eyes for babies), party bag fillers, or stocking stuffers.
Because the pattern works at any yarn weight, you can also offer different sizes at different price points — a tiny keychain version in DK yarn, the standard chunky version, and a jumbo version in super bulky yarn, all from the same pattern.
Pattern Credit
This free pattern was designed by TJ of Passionate Crafter (passionatecrafterr). An ad-free printable PDF version is available on Etsy and Ravelry. If you make a mini octopus, share your creations using the hashtag #passionatecrafterr on Instagram or Facebook — it supports the designer and inspires the crochet community.
Happy crocheting — and enjoy your adorable new octopus (or octopuses, because you’ll definitely make more than one)!