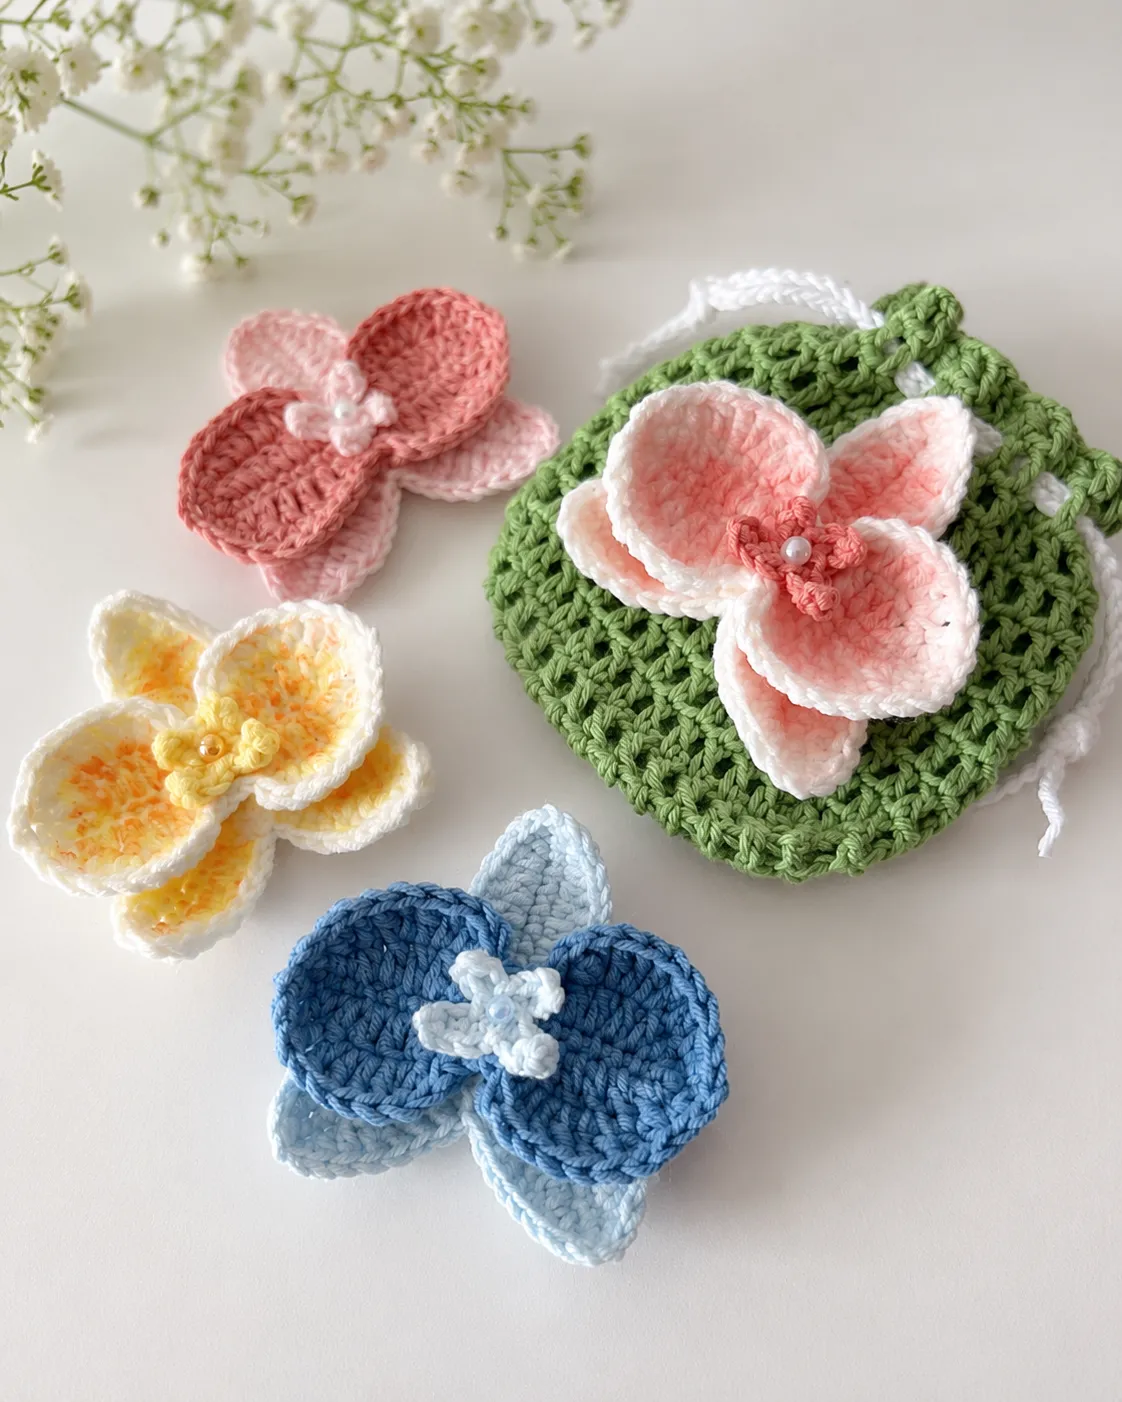
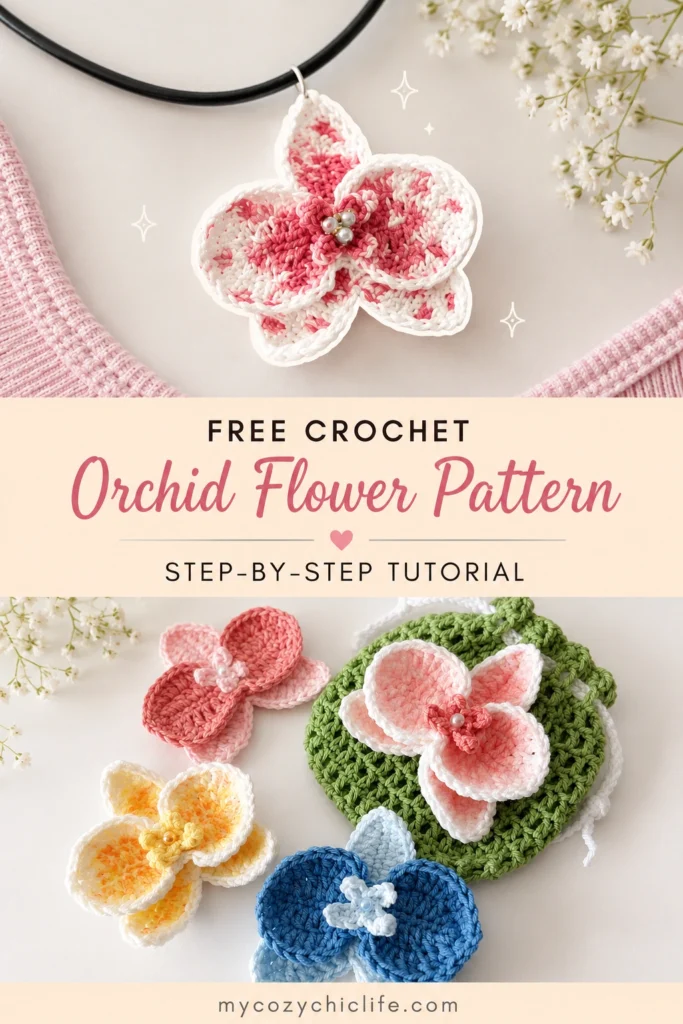
Summer is all about bright, blooming aesthetics, and nothing says “elegance” quite like an orchid. If you’ve been scrolling through social media and falling in love with floral accessories, it’s time to make your own!
This crochet orchid flower pattern is the ultimate quick-and-simple project. It’s incredibly beginner-friendly, requires very little yarn, and yields a stunning result. Whether you want to attach it to a hair clip, turn it into a necklace, or add it to a keychain, this little flower is the perfect touch of handmade charm for your summer outfits.
Let’s grab our hooks and stitch up something beautiful!
Materials Needed
- Yarn: Cotton, Acrylic, or Sport weight yarn (5ply) in two shades (e.g., Light Blue and Dark Blue). Note: You can use any colors you like to match your aesthetic!
- Crochet Hooks: 2.5mm (primary) and 3mm or 4mm (optional, for looser stitches)
- Darning Needle & Scissors
- Stitch Markers (helpful for keeping track)
- Glue (if attaching to hardware like a hair clip)
- Embellishments: Small pearls, beads, or charms (optional, for the center of the flower)
- For Coloring (Optional): Eyeshadow, blush, oil pastels, watercolors, or fabric paint to add realistic shading to the petals.
Crochet Abbreviations (US Terminology)
- Ch – Chain
- Mr – Magic Ring
- St(s) – Stitch(es)
- Sc – Single crochet
- Hdc – Half double crochet
- Dc – Double crochet
- Inc – Increase (2 stitches in one space)
- Slst – Slip stitch
- Sk – Skip
- [ ] – Total stitch count
- *** – Repeat the instructions following the asterisk
Part 1: The Three-Piece Petal (Back Layer)
Use your 2.5mm hook and your darker shade of yarn (e.g., Dark Blue).
- Start with a magic ring.
- Round 1: (Chain 11. Starting from the 2nd chain from the hook, make 1 sc in each of the next 10 chains. Make 1 slst into the magic ring.) Repeat this entire sequence 3 times. You should have 3 petals radiating from the center. Pull the tail tightly to close the magic ring.
- Round 2: Chain 1. Crucial step: You will now be working into every single stitch of Round 1, including the bottom “bumps” of the starting chains.
Work the following sequence into each of the 3 petals: (1 sc, 2 hdc, 4 dc, 2 hdc, 1 sc, chain 2, 1 sc, 2 hdc, 4 dc, 2 hdc, 1 sc). - Fasten off, leaving a long tail for sewing.
Part 2: The Two-Piece Petal (Middle Layer)
Use your 2.5mm hook and your lighter shade of yarn (e.g., Light Blue).
- Start with a magic ring.
- Round 1: (Chain 9. Starting from the 2nd chain from the hook, make 1 sc in each of the next 8 chains. Make 1 slst into the magic ring.) Repeat this sequence 2 times. Pull the magic ring closed.
- Round 2: Chain 1. Work into every stitch and chain bump of Round 1: (1 sc, 1 hdc, 4 dc, 1 hdc, 1 sc). Repeat 4 times total to go around both petals.
- Round 3: Switch to a larger hook (3mm or 4mm) for this round. This prevents your stitches from getting too tight and keeps the petals relaxed and frilly. If you don’t have a larger hook, just consciously keep your tension very loose!
Chain 1. Work the following sequence around both petals: (2 slst, 3 dc inc [make 2 dc in one stitch], 1 dc, 1 hdc, 1 sc, chain 2, 1 sc, 1 hdc, 1 dc, 3 dc inc, 2 slst). Repeat 2 times. - Fasten off, leaving a long tail for sewing.
Part 3: The Mini Center Petal
Use your 2.5mm hook and your lighter shade of yarn.
- Start with a magic ring.
- Round 1: (Chain 4, make 1 sc in each of the next 3 chains, 1 slst into the magic ring) Repeat 2 times.
- Next, (Chain 3, make 1 sc in each of the next 2 chains, 1 slst into the magic ring) Repeat 2 times.
- Pull the magic ring closed. Fasten off, leaving a long tail for sewing.
Part 4: Assembly & Shading
1. Shaping the Back Petal (Optional but recommended):
To give your orchid that realistic, 3D cup shape, take your Three-Piece Petal and look at the two bottom petals. Using your darning needle and the long tail, sew just the top edges of these two bottom petals together. Leave the very bottom parts open and unsewn. This creates a beautiful curved backdrop for the rest of the flower.

2. Stacking the Flower:
- Place the Two-Piece Petal on top of the Three-Piece Petal. Sew them together securely in the very center.
- Place the Mini Center Petal on top of everything else and sew it down in the middle.
- Pro Tip: Add a drop of glue to the center and place a small pearl, bead, or charm right in the middle to make the orchid really pop!
3. The Fun Part: Coloring!
This is where your orchid goes from cute to hyper-realistic. Because yarn rarely comes in perfect gradient shades, you can use what you have in your makeup bag!
- Take a fluffy makeup brush and lightly dust the inner edges of the petals with pink or purple eyeshadow and blush.
- You can use watered-down watercolors or oil pastels for deeper color gradients near the center.
- Note: Makeup and watercolors are not completely smudge-proof and may fade over time, but they are incredibly fun for playing around with colors. If you want a permanent finish, use fabric paint, though it can be a bit trickier to blend.
Style Your Orchid!
Your crochet orchid flower is complete! Sew it onto a plain hair clip, glue it to a bobby pin, or attach a jump ring to make a adorable bag charm.
Looking for More Quick & Cute Crochet Projects?
If you loved how fast this flower came together, you’ll absolutely adore these other beginner-friendly patterns on the blog:
- Make a matching summer accessory with this Amigurumi Seahorse Keychain Free Crochet Pattern.
- Try something quirky and totally trendy with this Crochet Green Alien Cat Amigurumi Keychain.
- If you want a cuddly project to pair with your flower, this No-Sew Mochi Bunny Crochet Pattern is the perfect relaxing weekend make.
Happy crocheting, and enjoy your beautiful new bloom! 🌸✨