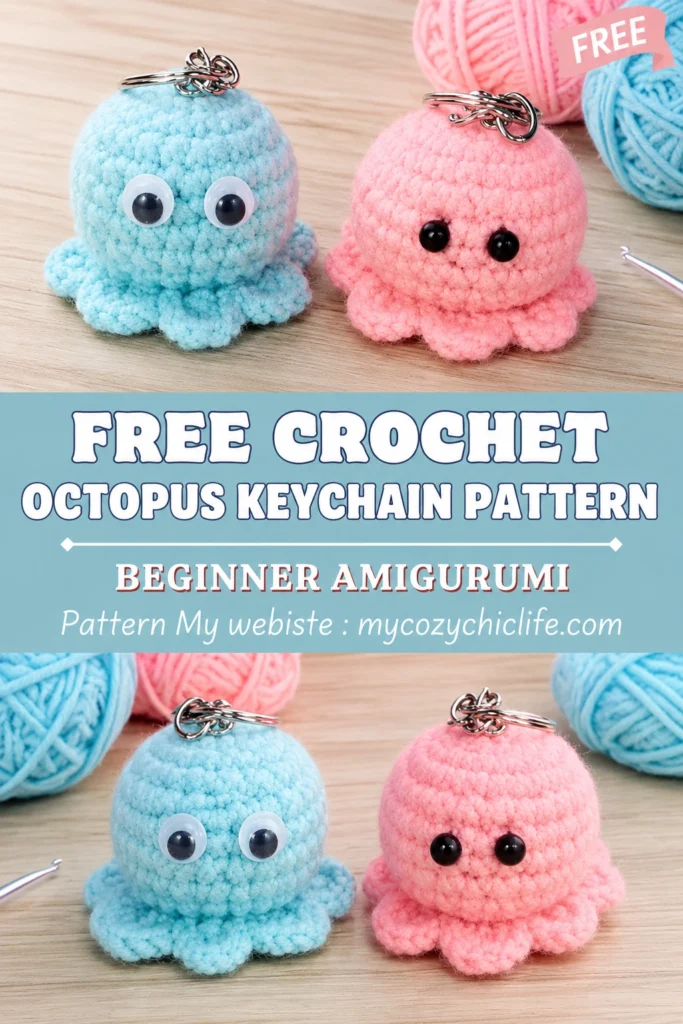
There is something incredibly charming about carrying a little piece of the ocean around with you wherever you go. A handmade crochet octopus keychain is not just a practical way to keep track of your keys; it’s a tiny, tactile piece of art that showcases your creative side.
Unlike mass-produced plastic charms, a handmade amigurumi octopus has warmth and personality. You get to control the color palette, the squishiness of the stuffing, and the adorable expression on its face. This free crochet octopus keychain pattern is specifically designed for beginners. It uses simple stitches, works up in just a couple of hours, and leaves plenty of room for fun customizations!
Whether you are making a gift for a friend, a party favor for an ocean-themed birthday, or a cute bag charm for yourself, let’s dive into this relaxing project.
Materials Needed
- Yarn: Cotton or cotton-blend yarn in your main color (teal, seafoam, or lavender work beautifully for an ocean vibe). Cotton is highly recommended for keychains as it holds its shape and wears well.
- Accent Yarn: Small amounts of pink or white for the cheeks.
- Crochet Hook: 2.5mm or 3.0mm (Use a hook slightly smaller than your yarn recommends to ensure tight stitches so the stuffing doesn’t peek through).
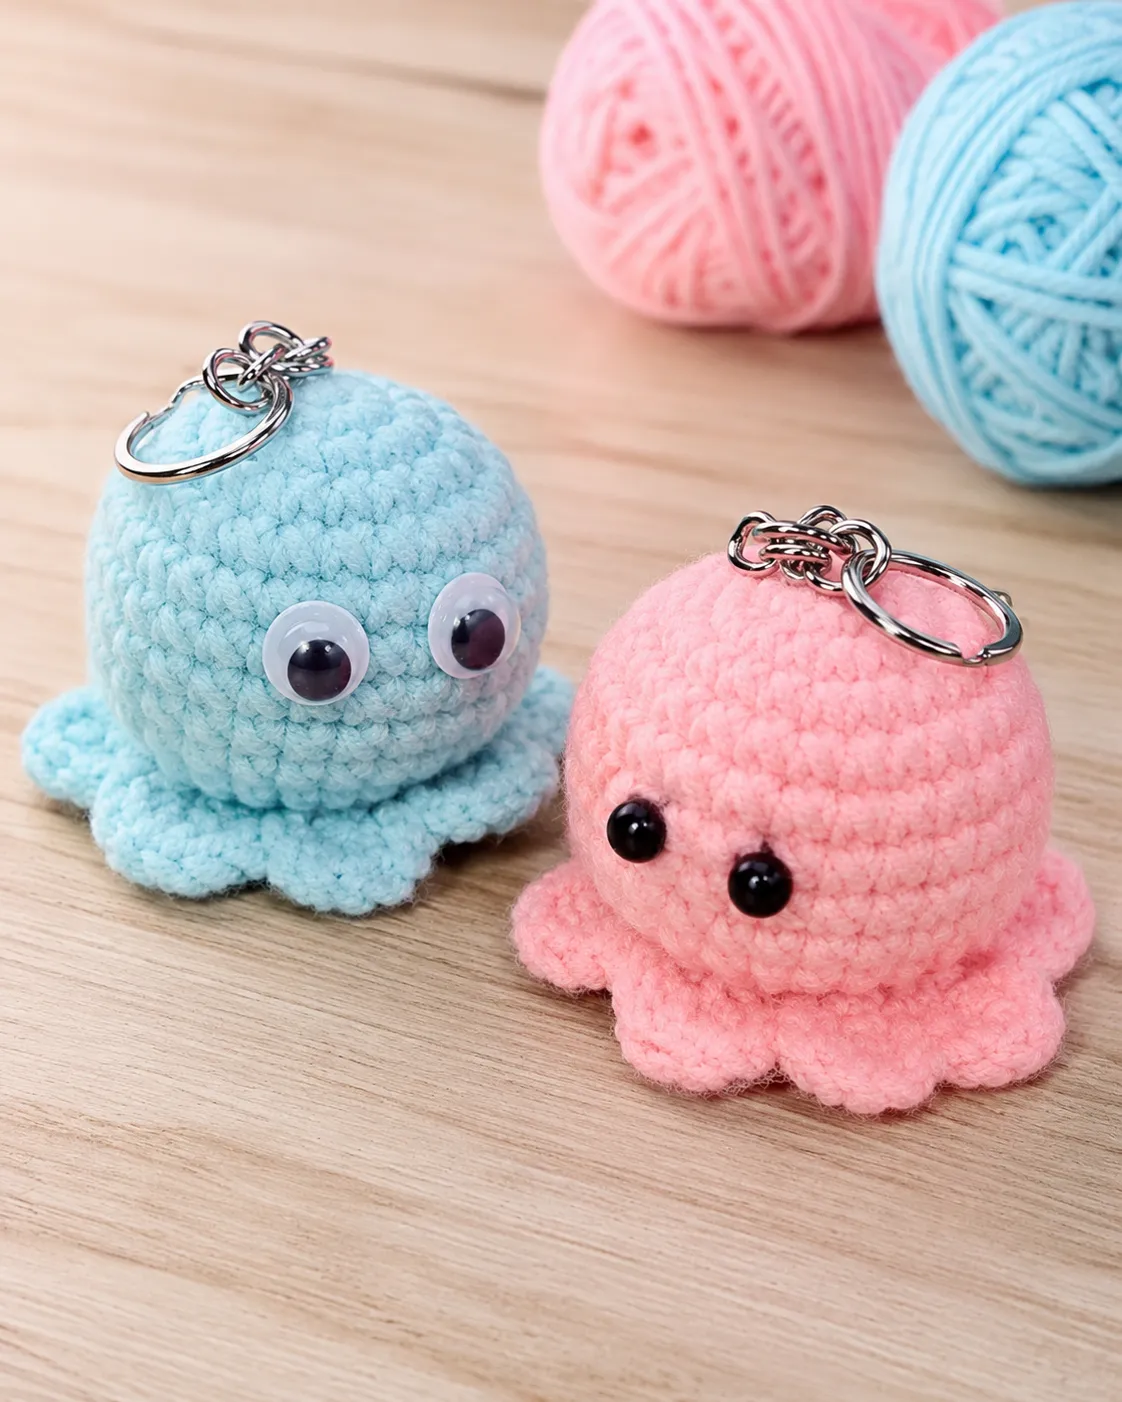
- Safety Eyes or Embroidery Thread: For keychains that will get tossed in bags, embroidered eyes are much more durable, but 6mm safety eyes work great too.
- Stuffing: Polyester fiberfill.
- Tapestry Needle: For sewing parts and weaving in ends.
- Stitch Markers: Essential for keeping your place in continuous rounds.
- Keychain Hardware: A lobster clasp, split ring, or swivel clip.
- Scissors.
Crochet Abbreviations (US Terminology)
- Mr – Magic Ring
- Ch – Chain
- Sc – Single crochet
- Inc – Increase (2 sc in one stitch)
- Dec – Decrease (sc 2 stitches together)
- [ ] – Total stitch count at the end of the round
Part 1: The Octopus Head
Work in continuous rounds. Do not join at the end of each round; use a stitch marker to track your first stitch.
- R1: 6 sc into a magic ring. [6]
- R2: 6 inc. [12]
- R3: (1 sc, inc) 6 times. [18]
- R4: (2 sc, inc) 6 times. [24]
- R5 – R8: 1 sc in each st around. [24]
- R9: (2 sc, dec) 6 times. [18]
- R10: (1 sc, dec) 6 times. [12]
Stop here to attach safety eyes (if using) between Rows 7 and 8, spacing them about 4 stitches apart. Embroider a small smile below the eyes.
- Stuff the head firmly with fiberfill. You want a nice, round dome that doesn’t look deflated.
- R11: 6 dec. [6]
- Fasten off, leaving a long tail. Thread the tail through the front loops of the remaining 6 stitches, pull tight to close the hole, and weave the end inside the head.
Part 2: The Keychain Loop
Before making the tentacles, create a sturdy loop at the top of the head so your octopus can hang securely.
- Thread a long piece of yarn onto your tapestry needle.
- Insert the needle right into the top center of the closed head, bringing the needle out about half an inch away to form a loop.
- Insert the needle back into the same hole it came out of, pulling the yarn tight to create a sturdy loop.
- Repeat this threading process 2 or 3 more times through the exact same holes to reinforce the loop (this prevents it from stretching out or snapping when pulled).
- Tie a tight knot inside the head and weave in the end.
- Attach your keychain hardware to this loop.
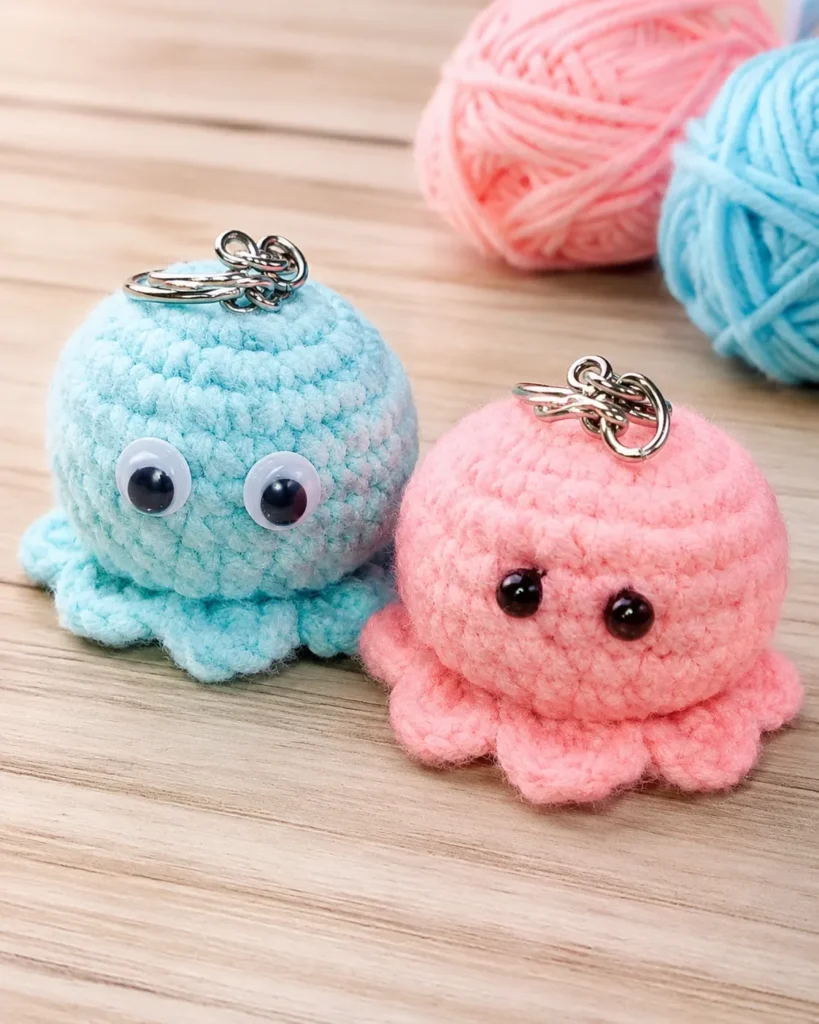
Part 3: The Curled Tentacles (Make 8)
The secret to perfect amigurumi tentacles is working multiple stitches into each chain to force the yarn to spiral naturally.
- Start: Leave a long tail for sewing. Chain 15.
- R1: Starting from the 2nd chain from the hook, make 2 sc in each chain all the way down to the end. [28 sc]
- Fasten off and leave a tail. The tentacle will naturally curl into a beautiful spiral!
- Repeat this process 7 more times so you have a total of 8 tentacles.
Part 4: Assembly
- Lay your 8 tentacles evenly around the flat base of the octopus head.
- Using your tapestry needle and the long tails left on the tentacles, sew them securely to the base of the head. Make sure you pass your needle through the actual stitches of the head, not just the stuffing.
- Once all tentacles are attached, weave in all remaining ends inside the body.
- Final Touch: Using a tiny bit of pink yarn or a dab of pink blush on a cotton swab, add rosy cheeks to give your ocean buddy a kawaii look!
Common Beginner Mistakes to Avoid
- Loose Stitches: If you can see white stuffing poking through your stitches, your tension is too loose. Try going down a hook size.
- Lopsided Tentacles: Pin all 8 tentacles in place before you start sewing. This ensures they are evenly spaced and your octopus sits flat.
- Weak Keychain Loop: Never just tie a knot at the top of the head. The friction of keys and bags will snap it. Always weave the loop yarn back down into the head multiple times to distribute the weight.
Ways to Customize Your Ocean Buddy
- Color blocked: Make the top half of the head one color and the bottom half (plus tentacles) a contrasting color!
- Sleepy Eyes: Embroider closed “U” shaped eyes instead of open ones for a relaxed, sleepy vibe.
- Accessories: Glue a tiny crochet bow, a mini sailor hat, or a little scallop shell to the top of the head.
You’re All Set!
You’ve just created an incredibly cute, durable, and highly personalized accessory. Every time you reach for your keys, you’ll feel the texture of those curly tentacles and know that you made it with your own two hands.
Love Quick & Cute Amigurumi Patterns?
If you had fun making this little sea creature, you’ll definitely want to add these other beginner-friendly projects to your queue:
- Keep the ocean theme going with this adorable Amigurumi Seahorse Keychain Free Crochet Pattern.
- If you love the no-sew aspect of amigurumi, try this relaxing No-Sew Mini Octopus Free Crochet Pattern.
- Make a cuddly desk friend with this quick No-Sew Mochi Bunny Crochet Pattern.
- For something totally quirky and unique, this Crochet Green Alien Cat Amigurumi Keychain is an absolute must-make.
Happy crocheting, and enjoy your new cute crochet octopus keychain! 🐙🌊