Crochet Dandy Cane Amigurumi Pattern
Crochet enthusiasts and holiday lovers alike will adore this festive Crochet Dandy Cane Amigurumi Pattern! This charming candy cane makes for an adorable decoration or a thoughtful handmade gift for family and friends. With a unique blend of colors and a fun construction method, you will be sure to create a standout piece for your holiday celebrations.
About the Crochet Project
This project features a dandy cane that is not only visually appealing but also brings a whimsical touch to your holiday decor. Using the renowned Red Heart® Super Saver® yarn, this delightful amigurumi piece is stuffed, making it both soft and snuggly. It’s an excellent choice for crocheters looking to enhance their skills while enjoying a creative holiday-themed project.
Materials
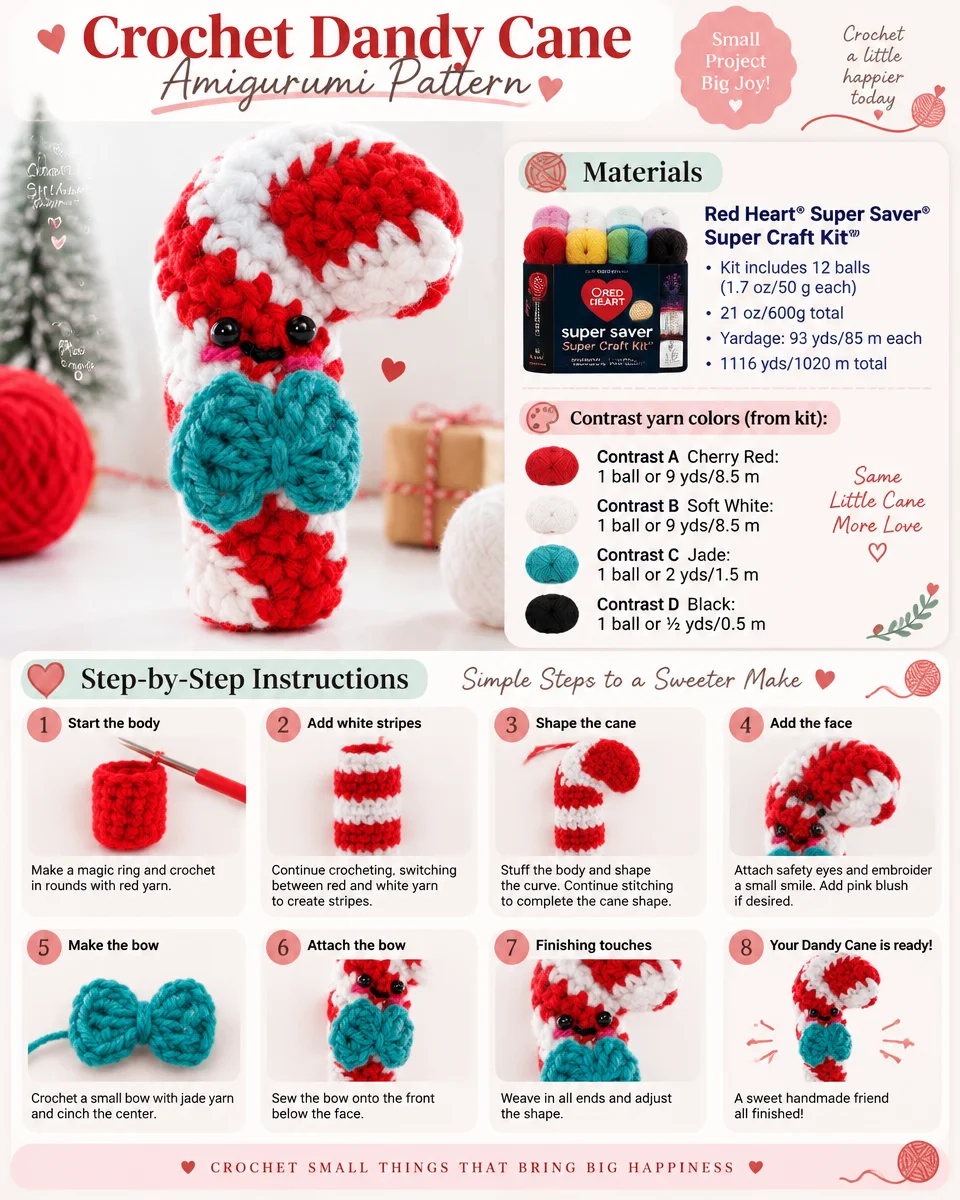
Yarn
For this project, you will need the following yarns from the Red Heart® Super Saver® Super Craft Kit™:
- Contrast A Cherry Red: 1 ball (9 yds/8.5 m)
- Contrast B Soft White: 1 ball (9 yds/8.5 m)
- Contrast C Jade: 1 ball (2 yds/1.5 m)
- Contrast D Black: 1 ball (½ yds/0.5 m)
- Contrast E Shocking Pink: 1 ball (½ yds/0.5 m)
Tools and Notions
- Size U.S. 7 (4.5 mm) Susan Bates® Silvalume® crochet hook or size needed to obtain gauge.
- Susan Bates® stitch marker
- Susan Bates® yarn needle
- Pair of 6 mm Safety Eyes
- Polyester fiberfill
Crochet Abbreviations
sc: single crochetsc2tog: single crochet 2 togetherch: chainsl st: slip stitchdc: double crochet
Bow Stitch Key:
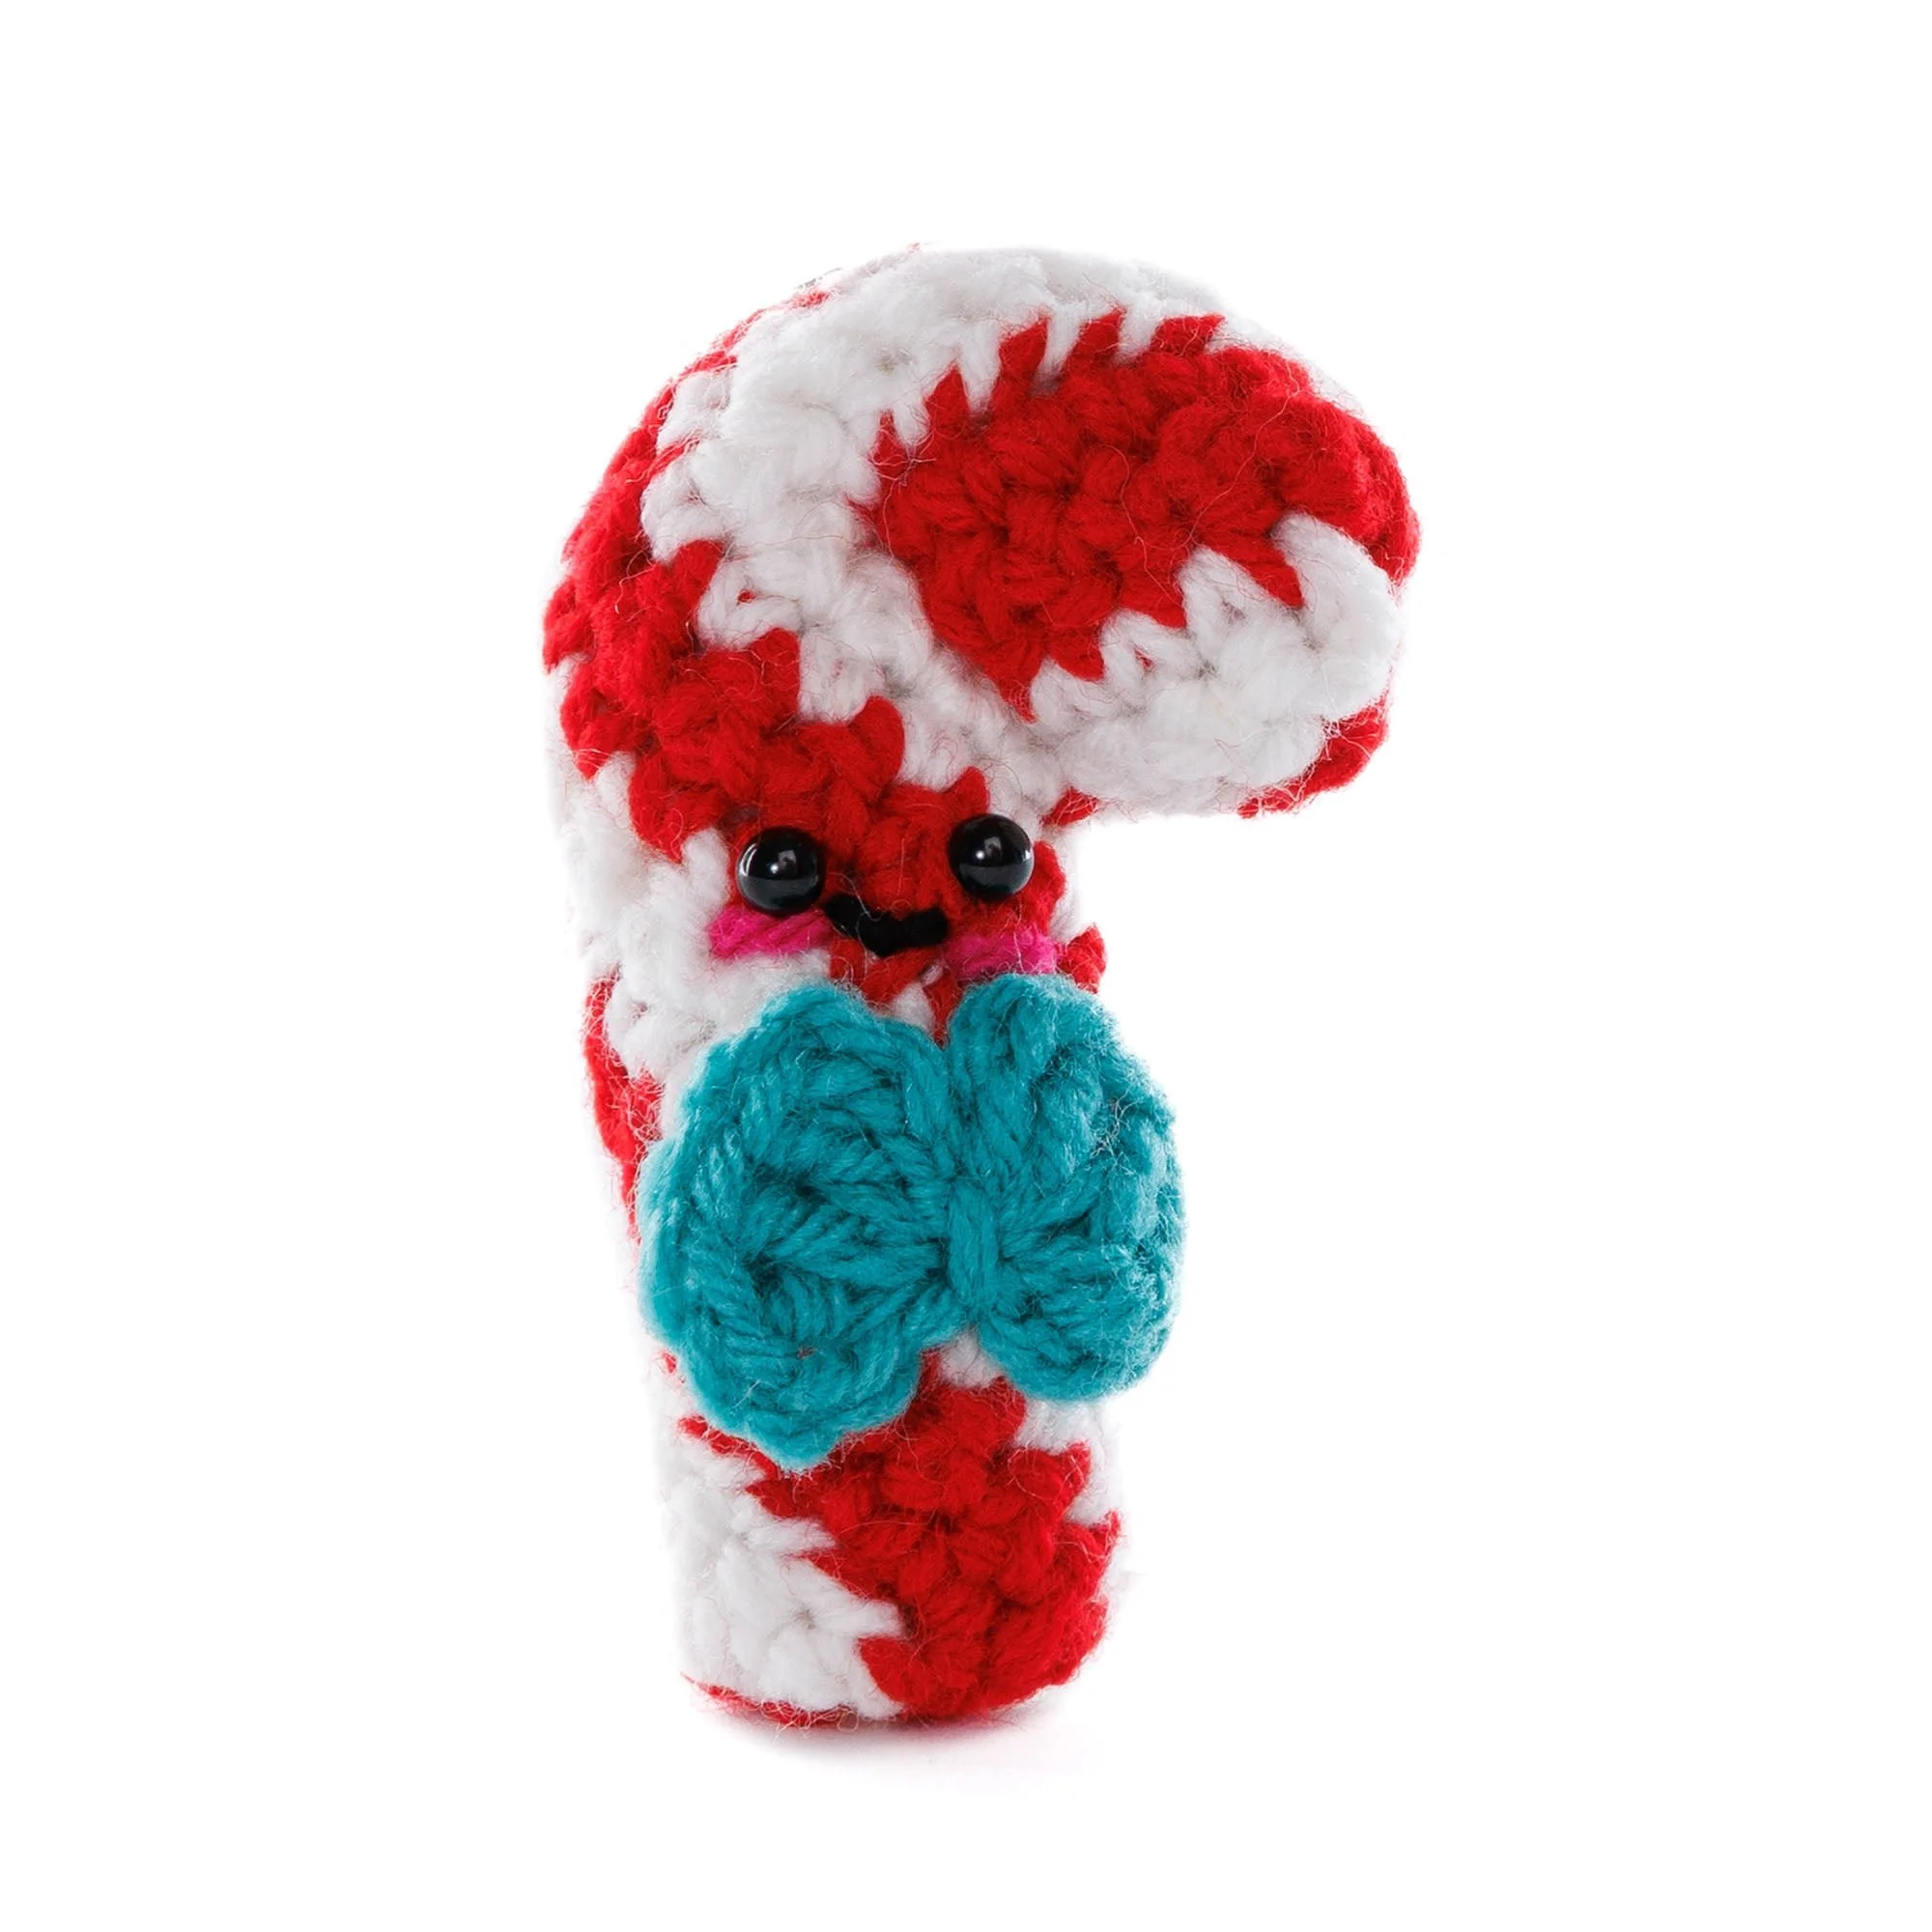
o: chain•: slip stitch⊥: double crochet◯: magic ring
Pattern Notes
This pattern consists of several rounds to create a three-dimensional shape. Ensure to maintain even tension throughout your work for the best results. The candy cane shape is both functional and decorative, providing a cheerful addition to your decor.
Candy Cane Instructions
Candy Cane (Tube Body)
With A, ch 27.
1st row: (RS)
2 sc in 2nd ch from hook.
1 sc in each of next 23 ch.
Sc2tog.
Turn.
St count: 26 sts.
2nd row:
Ch 1.
Sc2tog.
1 sc in each of next 23 sc.
2 sc in last sc.
Join B. Do not break A.
Turn.
3rd row: With B
Ch 1.
2 sc in first sc.
1 sc in each of next 23 sc.
Sc2tog.
Turn.
4th row: With B
As 2nd row.
Join A. Do not break B.
Turn.
5th and 6th rows:
With A, as 3rd and 4th rows.
7th and 8th rows:
With B, as 3rd and 4th rows.
Finishing Candy Cane Tube Yarn Tails
Fasten off, leaving a tail of B approximately 25″ [63.5 cm] for seaming.
Break A, leaving a shorter tail, approximately 4″ [10 cm].
Seaming Bottom Using Whipstitch
With RS facing, and needle threaded with tail (B), sew last row to foundation ch using Whipstitch. The piece will naturally spiral. Helpful hint: keeping your thumb inside the tube as you sew maintains an even tension. Avoid pulling too tightly; this may cinch the piece.
After seaming approximately 2″ [5 cm]:
Thread needle with tail of A and sew the bottom of the tube closed. Secure tightly, and bring the needle through the center bottom and pull up through the tube to create a flat bottom.
Continue Seaming, Stuffing, Safety Eyes, and Closing Top
Continue seaming while stuffing as you work. Do not seam all the way to the top, as this will make it difficult to insert the safety eyes. Once you’ve seamed approximately 3″ [7.5 cm], determine eye placement by bending the top into a cane shape and visually assessing where they will look best. Insert the safety eyes. Continue seaming and stuffing to the top, inserting less stuffing at the bend.
Finalizing the Candy Cane
Once at the top, draw the opening closed by threading the needle through the stitches and pulling up tightly to secure. Do not fasten off just yet. Bend the piece into a cane shape; insert the needle through the center and bring it out where the sides meet. Use this end to tack the piece into shape, working through both sides to secure.
Face Embroidery (Straight Stitch)
Split D into 2 plies and embroider the mouth using a Straight Stitch between the eyes. With E, embroider cheeks beneath the eyes using a Straight Stitch.
Bow (Small Bow)
With D, make a Magic Ring.
1st rnd:
(Ch 3. 3 dc. Ch 3. Sl st) twice in ring.
Fasten off, leaving a 4″ [10 cm] tail.
Wrap the tail tightly around the center of the bow and tie securely at the back.
Bow Attachment
Sew the bow to the front below the mouth.
Hanging Loop
Cut a length of A 8″ [20.5 cm]. Thread through the top of the candy cane and tie to secure.
Frequently Asked Questions
What crochet hook is used for this pattern?
For this pattern, you will need a Size U.S. 7 (4.5 mm) Susan Bates® Silvalume® crochet hook or a size needed to obtain gauge.
Does this crochet project require assembly?
Yes, the project requires assembly steps, particularly in seaming the tube body and attaching the bow to the completed candy cane.
Is this project worked in rows or rounds?
This project is primarily worked in rows to create the cylindrical tube shape of the candy cane.
Conclusion
The Crochet Dandy Cane Amigurumi Pattern is a wonderful way to indulge in holiday cheer while enjoying the art of crochet. With step-by-step instructions and vibrant yarn options, you will create a festive decoration that is sure to bring joy to your home or make for a heartfelt gift. Get started today, and embrace the joy of creating this whimsical holiday project!