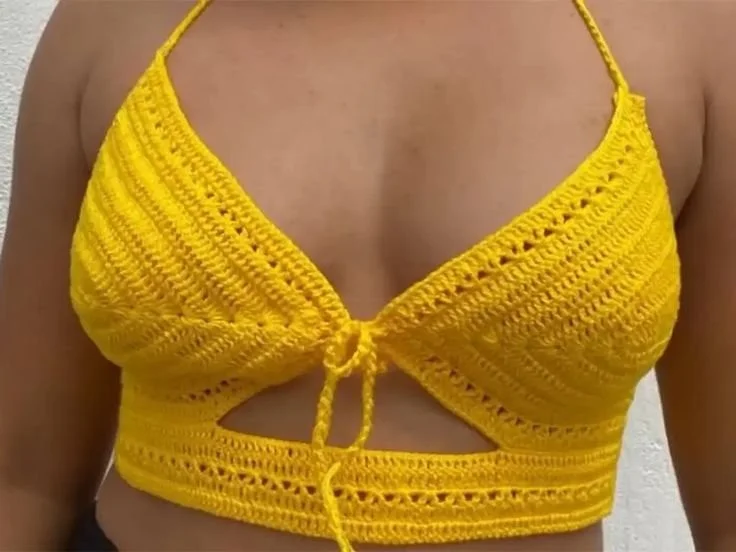
Easy Crochet Crop Top Tutorial: Your Summer Staple
As the sun starts to make its appearance and temperatures rise, it’s time to revamp your wardrobe with stylish, light clothing. What better way to flaunt your crochet skills than by creating an easy crochet crop top? This summer staple not only keeps you cool but also makes a chic statement. In this tutorial, we’ll go through the A-Z of crafting your own crochet crop top, complete with tips, tricks, and SEO-rich content to help more crochet enthusiasts find this delightful project.
Why a Crochet Crop Top?
Crochet crop tops are incredibly versatile. Here are just a few reasons why they should be your summer staple:
- Stylish: Crop tops can be paired with high-waisted shorts, skirts, or even layered over dresses.
- Customizable: Choose your colors, patterns, and shapes. You can tailor your creation to fit your unique style!
- Lightweight: Perfect for warm weather, crochet work allows air to flow while still being fashionable.
- Perfect for Beginners: This project is simple enough for beginners yet will keep more experienced crocheters engaged.
Materials You Will Need
Before we get started, gather the following materials:
- Yarn: Opt for cotton or a cotton-blend for breathability. A worsted weight yarn is recommended for a basic crop top.
- Crochet Hook: Use the size recommended on your yarn label, typically a size G (4.0 mm) hook works well for worsted weight.
- Scissors
- Tape Measure: Essential for getting the right fit.
- Tapestry Needle: For finishing off your crochet projects neatly.
Understanding the Basics
Before diving into the project, it’s essential to understand some crochet basics. Familiarize yourself with the following stitches, which will be used throughout the tutorial:
- Chain (ch): Creates the foundation for your crochet piece.
- Double Crochet (dc): A common stitch that gives your crop top its structure.
- Slip Stitch (sl st): Used to join rounds or finish off your rows.
If you need a refresher, numerous online resources and videos can help master these stitches.
Step-by-Step Guide to Crochet Your Crop Top
Step 1: Measurements
First, take your measurements. For a basic fitted crop top, you’ll need the following:
- Bust: Measure around the fullest part.
- Length: Determine how cropped you want it. Typically, anywhere from 16 to 20 inches works.
Step 2: Make a Foundation Chain
Using your yarn and crochet hook, make a chain that is long enough to accommodate your bust measurement. Make sure the chain is loose and not tight for better stretch. For example, if your measurement is 34 inches, gauge it to be around 35-36 inches to allow for comfort.
Step 3: Start Your First Row
Once you have your chain, begin your first row with double crochet stitches:
- Skip the first chain: In the second chain from your hook, yarn over and draw through (this will be your first dc).
- Continue double crocheting across the chain until you reach the end.
- Turn your work, and continue this process until you reach your desired length minus a few rows for sleeves and finishing.
Step 4: Create the Body of the Crop Top
Now that you have the basic rectangle shape, you will want to create the body of the top:
- Increase for the Bust: If you wish to create a bit more room for the bust, consider increasing a stitch or two every few rows, particularly on the last couple of stitches of a row.
- Switching Patterns: You could switch to a lacy open stitch pattern in the body for added flair as you reach the waist.
Step 5: Sleeves (Optional)
If you want to add sleeves, you can either create separate pieces to attach later or crochet them directly from the body. If doing separate pieces, use the same stitch pattern as the body and keep it short, about 5-8 inches.

Step 6: Finishing Touches
Once you’ve reached your desired top length and have your sleeves in place, it’s time to finish:
- Trim Any Extra Yarn: Cut the yarn, leaving a tail to weave in later.
- Add Edging: Consider creating a border using slip stitches or a scalloped edge for a polished look.
Step 7: Weaving Ends
Using your tapestry needle, weave in any loose ends throughout your garment. This step is crucial for durability and ensuring your crop top looks neat.
Step 8: Blocking (Optional)
If you want your crop top to have a more defined shape, consider blocking it. Wet your finished piece, gently stretch it to your desired measurements, and let it dry. This will help set the stitches and enhance the overall appearance.
Styling Your Crochet Crop Top
Once your crop top is complete, the fun of styling begins! Here are some fabulous outfit ideas:
- Beach Outfit: Pair your crop top with a high-waisted bikini bottom for a perfect beach day look.
- Casual Chic: Combine it with denim high-waisted shorts and sandals for a casual day out.
- Night Out: Dress it up with a high-waisted skirt and statement jewelry for a night on the town.
Caring for Your Crochet Crop Top
To keep your new crochet piece looking fabulous:
- Hand wash in cold water using a gentle detergent.
- Lay flat to dry to maintain the shape.
- Avoid bleach and harsh chemicals to preserve the yarn’s integrity.
Conclusion
Creating your easy crochet crop top is not only a rewarding project but also a fantastic way to showcase your crochet talents. Remember, the beauty of crochet lies in its customizability! Feel free to play around with different yarn types, colors, and stitch patterns to make this summer staple truly yours.
Now that you have this step-by-step guide, it’s time to break out your yarn and get started. Happy crocheting!
