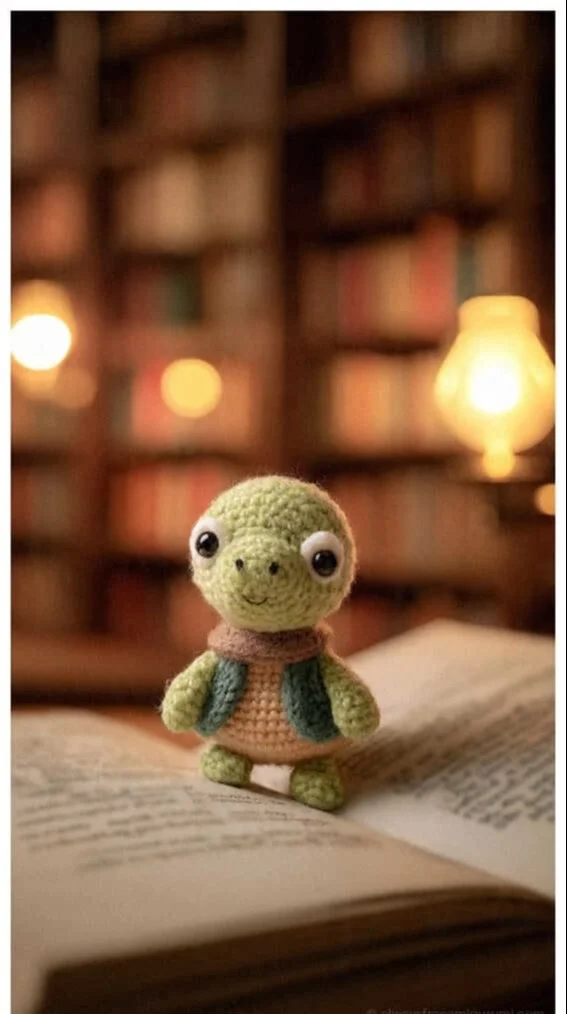
Cute Amigurumi Turtle Inspiration
Amigurumi, the Japanese art of knitting or crocheting small stuffed animals and creatures, has grown immensely popular among crafters and hobbyists worldwide. One of the most delightful forms of amigurumi is the adorable turtle. Knowing how to crochet an amigurumi turtle will not only give you a charming little keepsake but also make a fantastic gift, embellishment, or even a cozy companion for little ones. In this article, we will explore various aspects of creating cute amigurumi turtles, including inspiration, materials required, step-by-step guidance, and some creative variations to inspire your next project.
The Allure of Amigurumi Turtles
Turtles are an endearing symbol of longevity, resilience, and wisdom in many cultures. Their slow and steady nature, combined with their quirky appearance, makes them a fun subject for amigurumi. Whether you envision a bright green turtle or a unique design with vibrant colors, the options are limitless! Cute amigurumi turtles often feature big, expressive eyes, rounded shells, and playful expressions, making them irresistibly charming.
Materials You’ll Need
To begin your adorable amigurumi turtle project, gather these essential materials:
- Yarn: Choose soft yarn in your preferred turtle colors (usually a green base for the body and a few other colors for details).
- Crochet Hook: A size suitable for your yarn (commonly a G/4.0 mm or H/5.0 mm hook).
- Fiberfill Stuffing: To give your turtle a plush feel.
- Yarn Needle: For weaving in ends and sewing pieces together.
- Safety Eyes or Embroidery Thread: To create cute eyes.
- Stitch Markers: To help you keep track of your stitches.
Once you’ve gathered your materials, you’re ready to dive into your amigurumi project!
Step-by-Step Guide to Crocheting an Amigurumi Turtle
Let’s embark on the journey of crafting your very own amigurumi turtle with this simple pattern that is perfect for beginners and seasoned enthusiasts alike.
Step 1: Create the Base
-
Start with a Magic Ring: Begin with a magic ring (or adjustable loop) with six single crochets (sc) in the ring. Pull the tail to close the ring.
Round 1: 6 sc in magic ring (6) -
Increase the Body: In the next few rounds, start increasing your stitches for the turtle’s body.
Round 2: 2 sc in each sc (12)
Round 3: (1 sc, 2 sc in next sc) repeat around (18)
Round 4: (2 sc, 2 sc in next sc) repeat around (24)
Continue to increase the body size until you reach the desired diameter.
Step 2: Shape the Shell
The turtle’s shell adds character and charm to your amigurumi. To create the shell, switch to a different color for contrast.
- Change to Shell Color: After reaching the desired body size, change to the color of the shell.
Round 1: 1 sc in each sc around (24)
Round 2: (3 sc, 2 sc in next sc) repeat around (30)
Round 3: (4 sc, 2 sc in next sc) repeat around (36)
Continue until the shell is the size you desire.
Step 3: Add the Features
Next, it’s time to make your turtle truly charming by adding some personality.
-
Eyes: Attach safety eyes or embroider eyes using black embroidery thread. Position them symmetrically on the turtle’s head.
-
Mouth: Using a fine yarn, you can create a simple smile by embroidering a tiny “u” shape just below the eyes.
-
Flippers: Crocheting small flippers can further enhance your turtle’s design. Make four small half circles:
- Flipper Pattern:
Round 1: 6 sc in magic ring (6)
Round 2: (2 sc in next sc) repeat around (12)
Round 3: (3 sc, 2 sc in next sc) repeat around (18)
Sew or attach the flippers to the sides of the turtle’s body.
Step 4: Assemble Your Turtle
Once you have crocheted all parts — the body, shell, eyes, mouth, and flippers — it’s time to assemble.
-
Stuffing: Gently stuff the turtle’s body and shell with fiberfill, making sure not to overstuff.
-
Assembly: Use your yarn needle to sew all pieces securely together, ensuring that they stay in place.
-
Finishing Touches: Weave in any loose ends from your yarn so that your amigurumi turtle is seamless and tidy.

Creative Variations
Once you have mastered the cute amigurumi turtle pattern, explore these creative variations to make different designs.
Color Combinations
Experiment with different combinations of yarn colors:
- Tropical Turtle: Use bright colors like blue, pink, and yellow for a fun tropical vibe.
- Fantasy Turtle: Craft a mystical turtle with sparkly or iridescent yarn for a magical touch.
Patterned Shells
Add personality by designing unique shells:
- Striped Shell: Alternate between two or more colored yarns to create stripes.
- Spotted Shell: Use a contrasting color to crochet small circles on the shell for a spotted effect.
Sizes and Shapes
Play with sizes by adjusting your yarn weight or crochet hook size:
- Miniature Turtle: Use finer yarn and a smaller hook to create pocket-sized turtles.
- Giant Turtle: Increase your stitch counts for a larger amigurumi creation that can serve as a lovable decorative piece.
Conclusion
Crocheting cute amigurumi turtles is an enjoyable and fulfilling craft that results in charming creations perfect for gifting or home decor. The best part is that each turtle can reflect your distinct style through color, size, and personality. With just a few materials and simple crochet techniques, you can create a delightful range of turtles to share with the world.
Now that you’ve got the basics down, it’s time to grab your yarn, choose your colors, and let your creativity flow! Dive into this enchanting world of amigurumi and enjoy the process of making tiny turtles that spread joy wherever they go. Happy crocheting!