Free Crochet Bow Pattern: A Simple, Stylish Accessory for Every Maker
Crochet bows are a quick, satisfying project that add charm to hats, headbands, bags, and gift wrap. Whether you’re a beginner looking for an easy pattern or an experienced crocheter wanting a fast accent piece, this free crochet bow pattern will guide you step-by-step to create neat, professional-looking bows in minutes. If you enjoy combining motifs, consider pairing your bows with a cozy hat using this granny diamond beanie pattern for a coordinated set.
In this article you’ll find materials and tools, abbreviations and gauge, a detailed pattern with photos and tips for sizing, finishing techniques to make the bow pop, creative uses, and troubleshooting for common mistakes. Read on for a complete, SEO-friendly guide that you can bookmark or print for your next project.
Why Crochet Bows Are a Must-Make
Crochet bows are:
- Fast: Most bows take 15–30 minutes.
- Versatile: Use them on headbands, clips, baby shoes, or as gift ties.
- Customizable: Change yarn weight, hook size, or stitch counts to alter size and texture.
- Great for stash-busting: Small amounts of leftover yarn transform into pretty accents.
Because they’re so portable and require minimal yarn, crochet bows are perfect for travel or last-minute handmade gifts.
Materials and Tools
- Yarn: Sport, DK, or worsted weight depending on desired size. For a small, delicate bow use fingering or sport weight yarn; for a chunky statement bow use worsted or super bulky yarn.
- Hook: Use a hook size recommended for your yarn weight (for example, 3.5–4 mm for sport/DK, 5 mm for worsted).
- Tapestry needle for weaving ends.
- Scissors.
- Optional: 1-inch alligator clip or small elastic band if making a hair clip or bowtie.
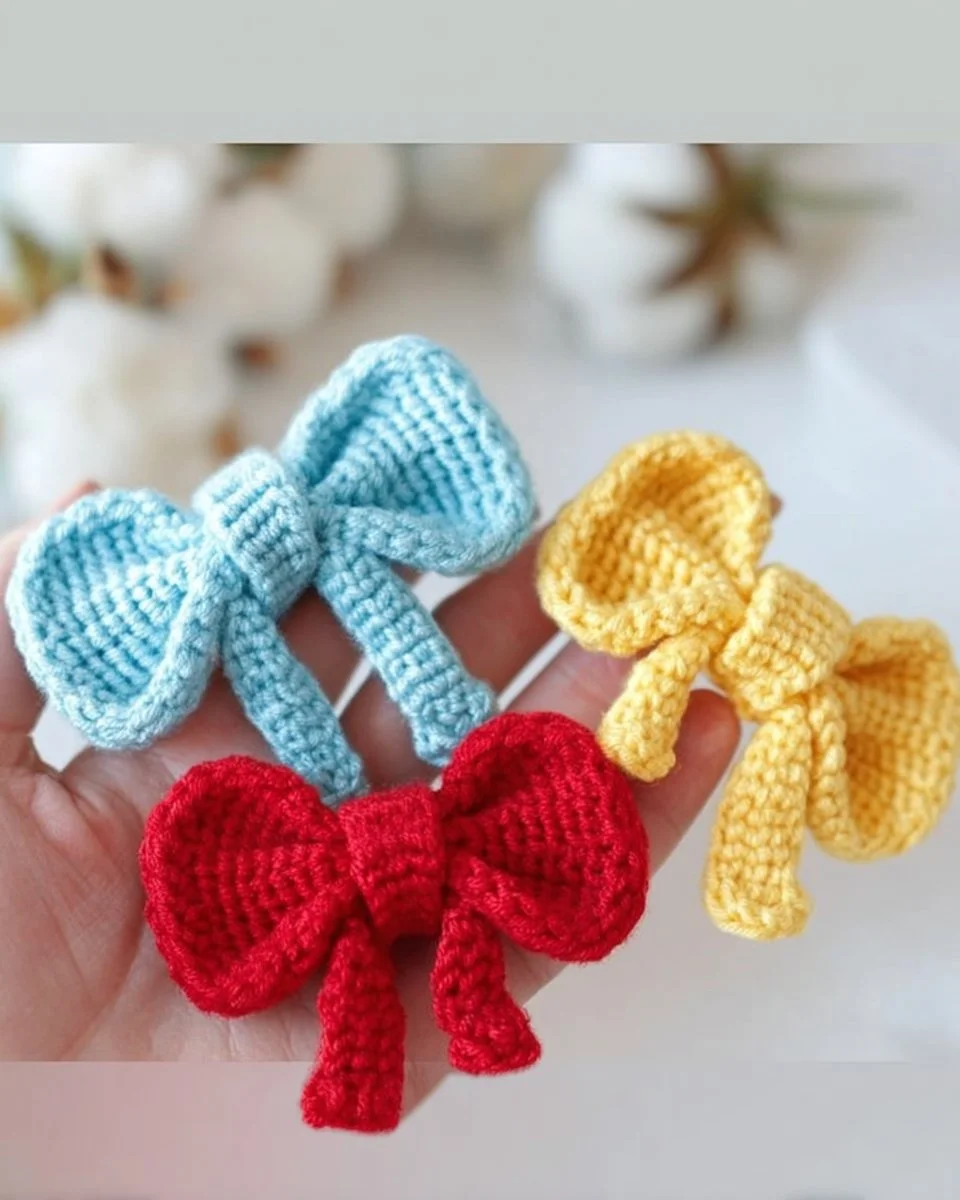
Gauge is not crucial for this pattern, but changing yarn or hook will affect final size. The sample shown uses worsted weight yarn with a 5 mm hook to create a medium-sized bow approximately 4.5 inches (11.5 cm) wide.
Abbreviations
- ch — chain
- sc — single crochet
- hdc — half double crochet
- dc — double crochet
- sl st — slip stitch
- st(s) — stitch(es)
- rep — repeat
Adjust stitch choice for different textures: a row of hdc gives a thicker bow, while sc results in a flatter look.
Free Crochet Bow Pattern — Basic Version
This pattern makes a medium-sized bow. For smaller or larger bows, see the sizing tips below.
Foundation:
- Ch 16 (adjust for width; add or subtract chains in multiples of 2)
- Row 1: Sc in 2nd ch from hook and in each ch across. (15 sc). Ch 1, turn.
- Row 2–6: Sc in each st across. Ch 1, turn. (6 rows total — adjust number of rows for bow thickness)
Forming the bow:
4. Fasten off leaving a 12–16 inch tail for wrapping.
5. Fold the rectangle so the wrong side is facing out and the right side is on the inside, aligning short edges.
6. Use a tapestry needle and the long tail to sew the short edges together with whip stitch, forming a loop. Pull tight and weave in the end.
7. Pinch the center of the loop, wrapping the long tail around the middle tightly several times to cinch the bow. Tie a knot on the back and weave the tail through to hide it.
8. Optional: Create a small center band by chaining 6, joining to form a ring, and working 10–12 sc around, then slip stitch and fasten off. Use this band to hide the wrapped tail on the back.
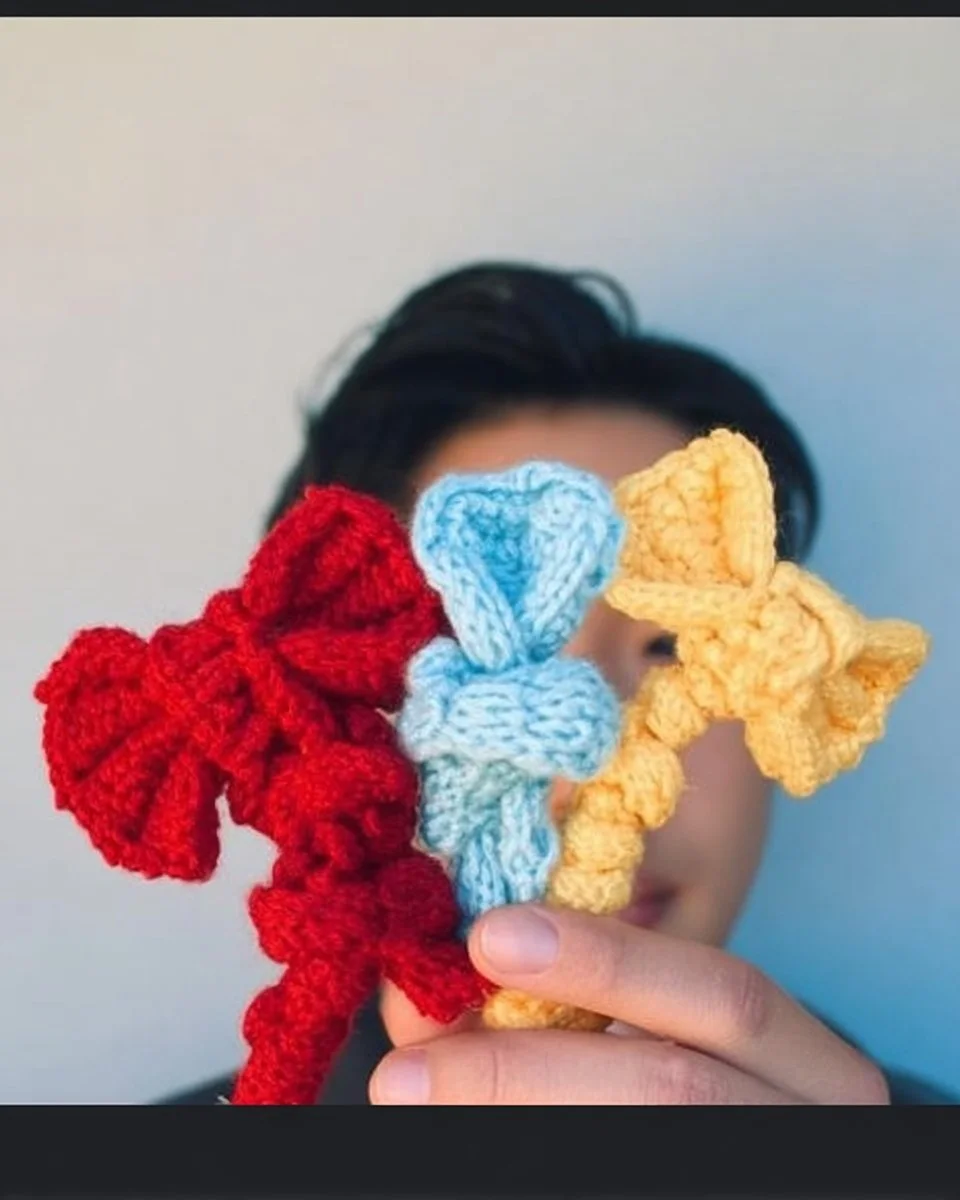
This simple rectangle-to-bow method is the most beginner-friendly. Changing the foundation chain and number of rows alters the final dimensions.
Variations: Textures and Shapes
- Lacy Bow: Replace sc rows with dc rows for a lighter, more open bow.
- Puff Bow: Work puff stitches across the rectangle for a plush bow with lots of body.
- Layered Bow: Make two rectangles — one smaller for the top layer — and stack them before wrapping the center for a multi-dimensional effect.
- Bow Tie: Add a small elastic loop at the back to make an easy bow tie for babies or dolls.
Tip: Using a thinner yarn and delicate stitches gives a more refined bow, while bulky yarn creates a chunky, playful look.
Sizing the Bow
To adapt the pattern to different uses:
- Hair clip (small): Ch 10, 3 rows of sc.
- Headband accent (medium): Ch 16–18, 5–8 rows.
- Decorative bow for a throw pillow (large): Ch 24–30, 8–12 rows.
Measure the rectangle before cinching to ensure the finished bow will fit your intended use. Keep a scrap gauge swatch if you want consistent sizing across multiple bows.
Attaching Your Bow: Methods and Ideas
- Clips and Barrettes: Attach a 1-inch alligator clip to the back with a few extra stitches through the clip base. Secure by weaving the tail tightly.
- Headbands: Sew the bow onto a crocheted or fabric headband at the seam.
- Elastic Ties: For bowties or shoe bows, sew a small elastic loop to the back.
- Gift Wrap: Instead of ribbon, use a crocheted bow tied with a short yarn tail.
For more project inspiration that pairs beautifully with small accent pieces like bows, try combining them with garment projects such as the crochet halter top pattern — a great way to accessorize handmade clothing for summer.
Troubleshooting Common Issues
- Bow Is Too Loose: Wrap the center more tightly or increase the tail length so you can make multiple wraps.
- Bow Lacks Body: Use fewer rows of sc and switch to hdc or dc for a firmer structure, or use a sturdier yarn.
- Crooked Bow: Ensure the rectangle’s edges are even; blocking the piece before assembly helps align rows.
- Visible Knots: Hide knots on the inside of the bow or inside a small center band sewn over the back.
Maintenance: Lightly steam or pin the bow into shape after blocking for a neat finish. Always test steam or heat on a yarn scrap to avoid damage.
Creative Uses and Project Ideas
Crochet bows add instant charm to many projects:
- Baby shower favors: Make mini bows in pastel colors and pin them to favor bags.
- Pet accessories: Sew small bows onto pet collars for special occasions.
- Home decor: Arrange a cluster of bows on a wreath or garland for a handmade accent.
- Accessories: Use a large bow as the focal point on a clutch or crossbody bag.
If you like playful amigurumi accessories, consider pairing small bows with toy projects like the ice cream stegosaurus crochet pattern — a whimsical match for crocheted toys and gifts.
Care and Finishing Tips
- Weaving in ends neatly on the inside prevents unraveling and keeps the bow looking tidy.
- Use fabric stiffener or sugar-water spray for bows intended to hold shape on packages or displays.
- For durable gift bows, add a small dab of fabric glue under the center wrap (applied sparingly) to secure the knot.
- Store bows flat or on a hanger to avoid crushing their shape.
Blocking: If using natural fibers (like cotton or wool), gently wet-block the rectangle before assembly to even out stitches. Acrylic yarn benefits from steam blocking to soften fibers and help stitches settle.
Quick Patterns for Different Looks
- Tiny Bow (for clips): Ch 8, 2 rows sc. Finish as above.
- Double Bow (layered): Make one 18 x 6-row rectangle and one 12 x 3-row rectangle; stack and wrap together.
- Knotted Bow (no wrap): After forming the rectangle into a loop, tie a simple knot in the center and tuck ends into the back before sewing closed.
These variations let you create a library of bows to suit every project and season.
Conclusion
This free crochet bow pattern is an ideal go-to for makers who want fast, attractive embellishments. With a few basic materials and simple stitches, you can create bows in any size or style—perfect for gifts, accessories, or adding personality to garments. Use the variations and attachment methods here to expand your projects and tailor bows for any occasion. Happy crocheting!