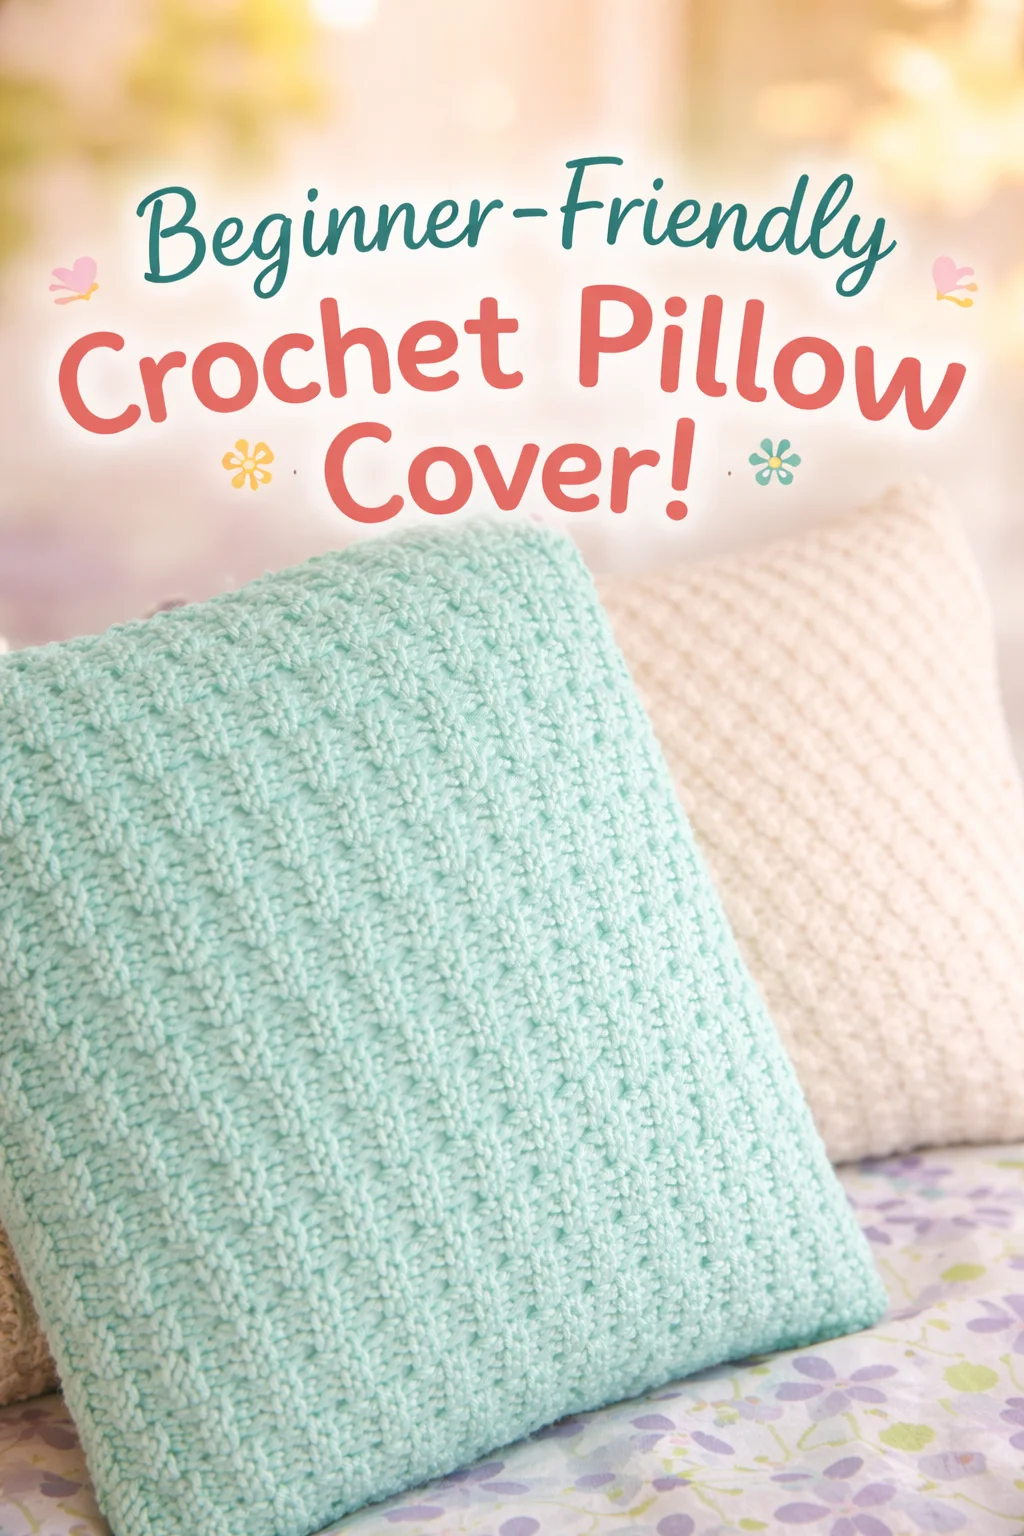
Crochet pillow cover pattern… just reading that makes me think of all those sad, tired old throw pillows on my couch. Ever felt like your living room needs a serious zhuzh, but you’re not about to drop your grocery money on store-bought covers? Yep, me too. I started toying with yarn to rescue my sad, pancake-shaped pillows—and let me tell ya, this project totally saved the day. Oh, and if you love making things for yourself, you’d probably get a kick out of the crochet granny diamond beanie pattern, too. 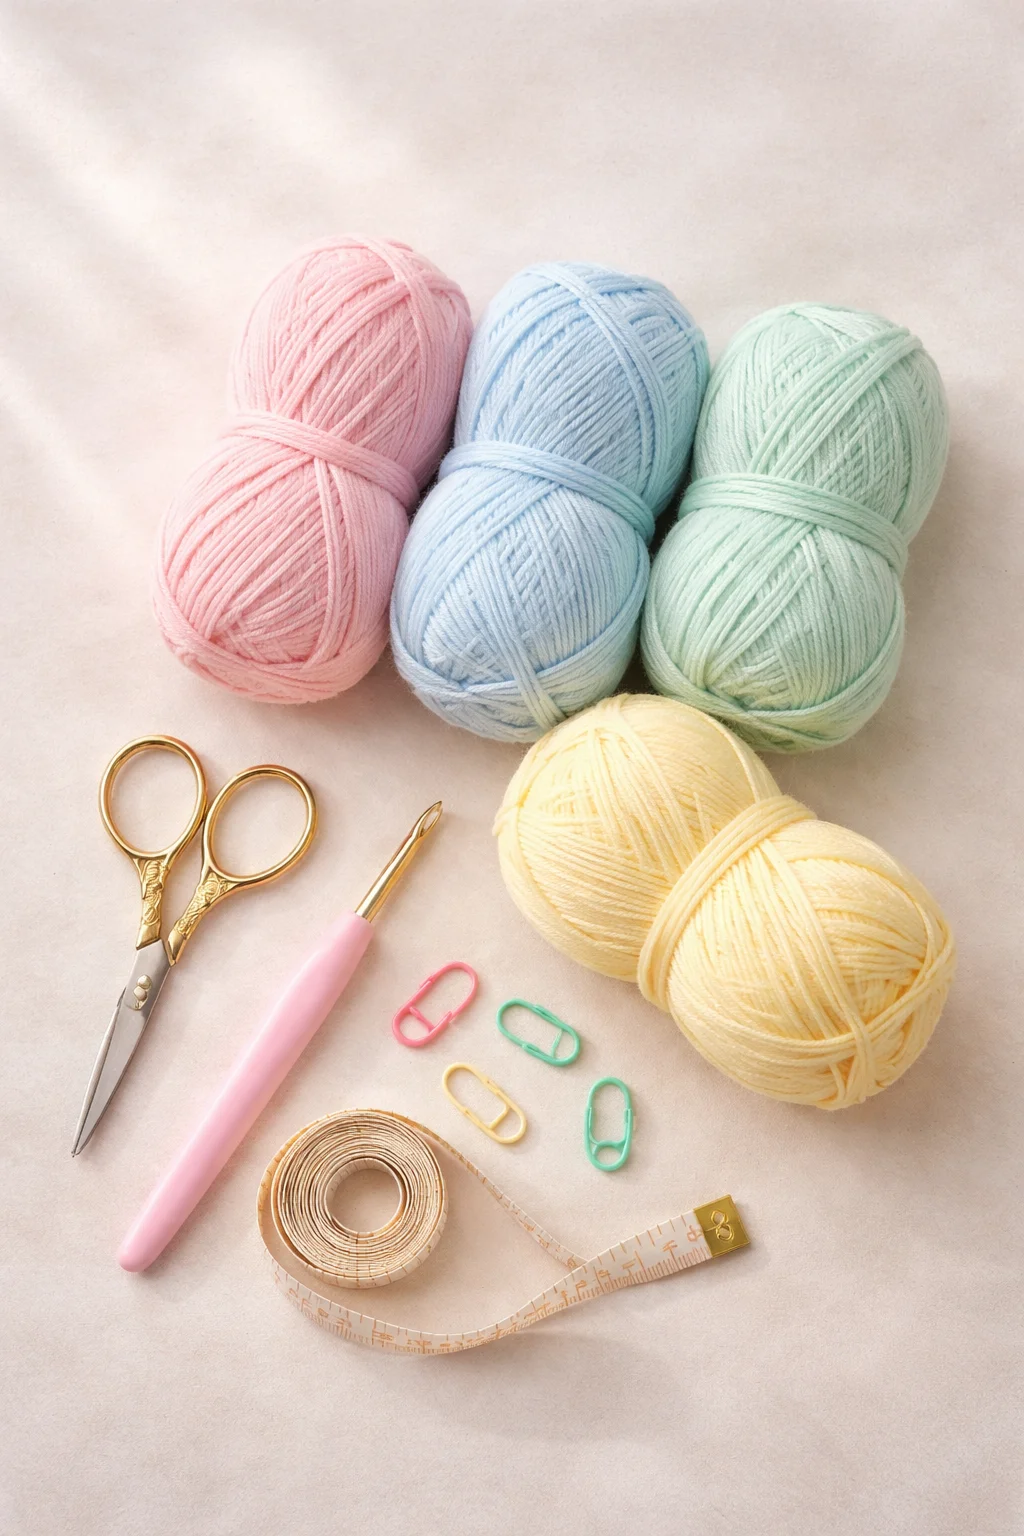
Materials Needed
Before you even think about starting, gather up these basics:
- Worsted weight yarn – two or more colors if you wanna get snazzy
- Crochet hook (H/8 5.0mm) – not too big, not too tiny, just right
- Tapestry needle – sneaky little tool for weaving in the tails (ask me how many times I lost mine…)
- Scissors – trust me, you’ll need ‘em.
Crochet Abbreviations
Here’s a lil’ decoder ring for the lingo:
- ch = chain
- sc = single crochet
- dc = double crochet
- sl st = slip stitch
They sound weird at first (seriously—someone needs to rename “slip stitch”), but you’ll get the hang.
Finished Size
Your finished cover depends on the pillow, obviously, but here’s a good rule of thumb:
- For a standard 16” pillow, aim for a square that’s basically 16”x16” after a few rows of stretching and smooshing.
- You want it snug. Saggy pillow covers? No, thanks.
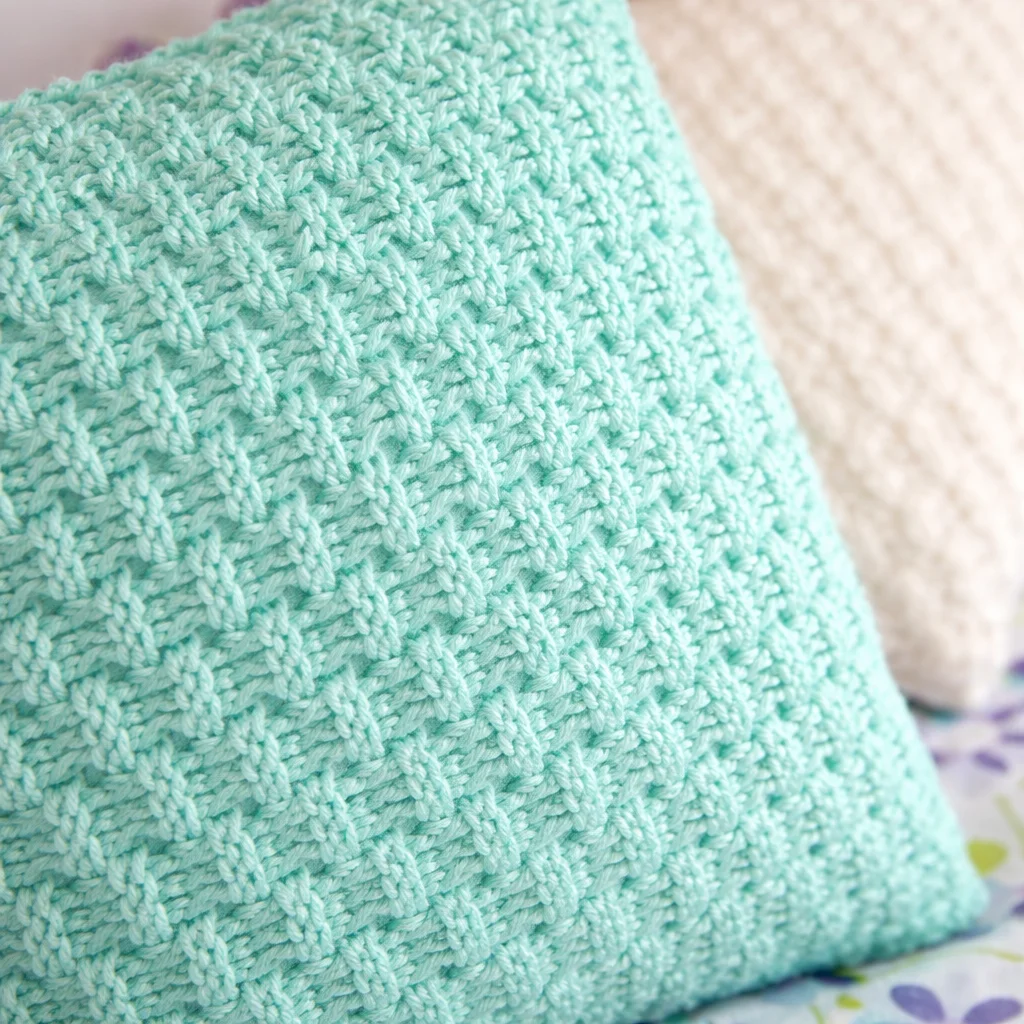
Stitch Pattern Explanation
I keep things super simple:
- Stick with single crochet all the way for your first go.
- You’ll get a nice, even look—even if you fudge up a stitch here and there (it happens; perfection is overrated).
- If you’re ready for adventure, toss in some stripes or a row of double crochet, just to mix it up.
“This pattern was actually my first crochet project ever. The step-by-step made it doable even with kids scrambling all over me. Now my couch looks less sad!” – Julia M.
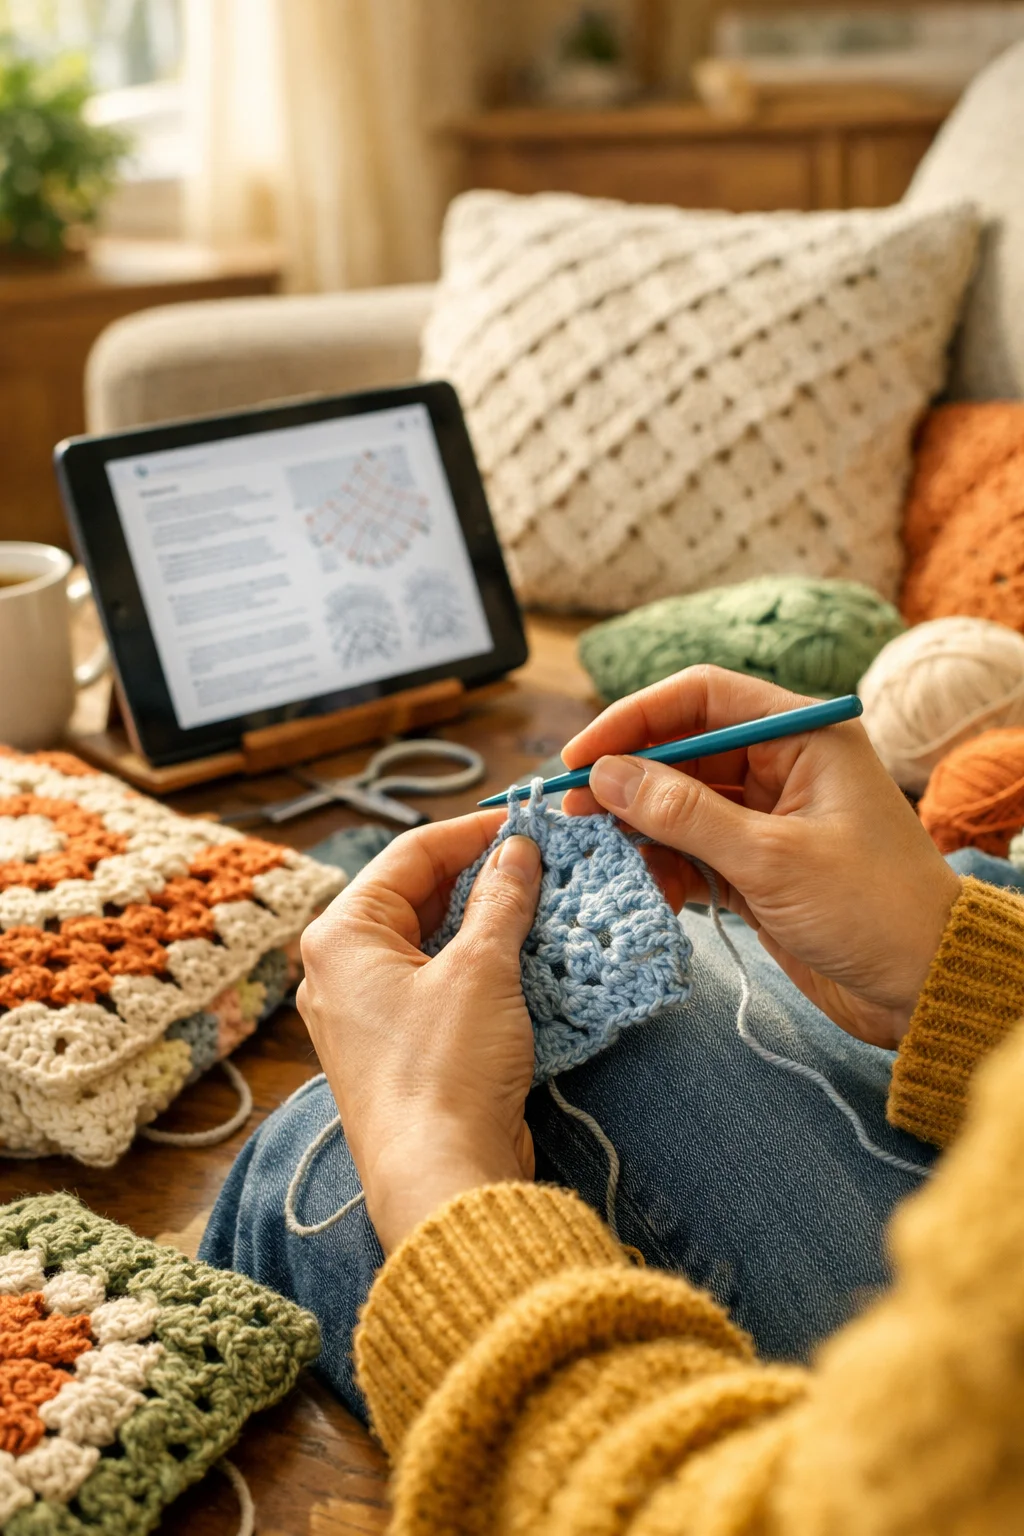
Step-by-Step Instructions
Foundation Chain
- Chain until it matches your pillow’s width.
- Leave it just shy of the actual size so the cover fits snug.
Body Rows
- Work one single crochet in each stitch; keep going until your piece is square or nearly so.
- That’s it! Repeat until you’re blue in the face (or until you’ve Netflix’d your way through three seasons).
Closing the Pillow Cover
- Fold your square in half around the pillow—like a sandwich, trust me.
- Slip stitch or sew up the three open sides (unless you want an envelope flap, more on that below).
Optional Button or Envelope Closure
- If you want to get extra (and avoid wrestling your pillow back out later):
- Leave one side open, then add a button or two, or even a row of snazzy decorative stitches as a closure.
- No fussing with zippers. Buttons are friendlier anyway.
Customization Ideas
Now for the fun part (honestly, I think this is why I crochet anything):
- Try bold colors for summer, or cozy earth tones for fall.
- Add fluffy yarn textures—some pillowy covers have literal “pillow fights” going on with fluffiness.
- Swap out covers for every season. (Christmas, Halloween, Tuesday? Go wild.)
- And hey, if you love getting crafty around holidays, check out these adorable Halloween crochet keychains—they’re a mood-brightener for any home, pillow or not!
Ready, Set, Snuggle—Go Make Yours!
So there you go, all the basics you need for your own easy crochet pillow cover pattern. Don’t be afraid to play with stitches and color combos. Once you finish one (and I swear, you will), you’ll want to make covers for every sad pillow you see—relatives, neighbors, your dog’s bed… you name it. If you’re stuck, peek at these excellent resources for a Free Pillow Cover Crochet Pattern or try this Free Crochet Pillow Cover Pattern for extra help (seriously, worth a look). You got this!