
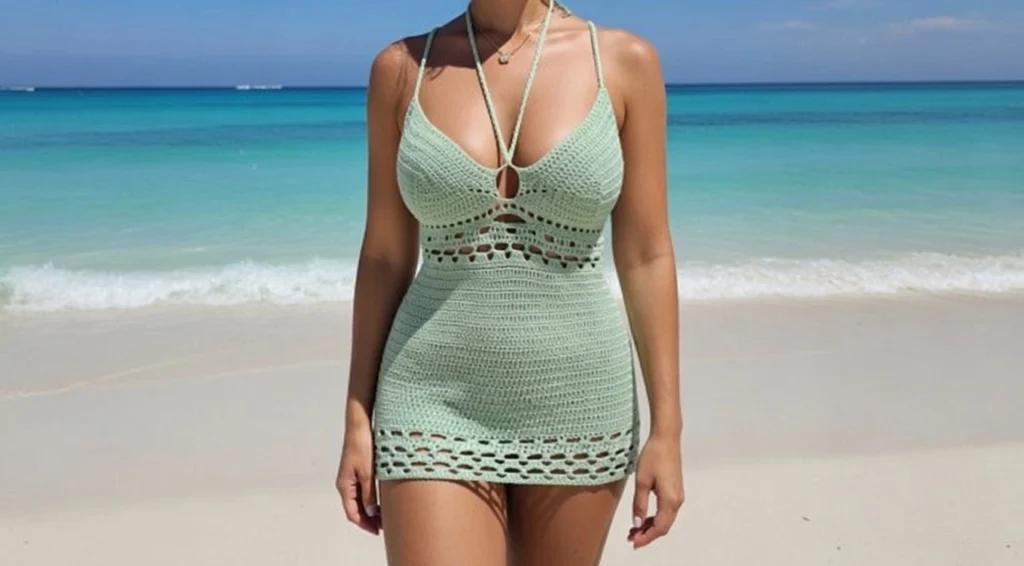
Looking for a stylish, handmade addition to your warm-weather wardrobe? This crochet halter top pattern is the perfect project to tackle over a single weekend. With its boho-inspired design and breathable construction, this top delivers both comfort and fashion-forward appeal for beach days, music festivals, and casual summer outings.
Why You’ll Love This Crochet Halter Top
This halter top pattern combines elegance with practicality. Featuring beautiful fan stitch detailing and adjustable straps, it’s designed to flatter various body types while remaining comfortable to wear. The lightweight construction makes it ideal for layering or wearing on its own during those hot summer days.
Whether you’re new to garment crochet or an experienced maker, this pattern offers clear, step-by-step instructions that make the process enjoyable and achievable. The finished piece measures approximately 61 cm wide and 7 cm tall, with customizable length options to suit your personal style.
Essential Supplies for Your Halter Top
Before you begin, gather these materials:
- Medium weight yarn (choose breathable cotton or bamboo blends for summer wear)
- 4.0mm crochet hook
- Stitch markers for keeping track of your progress
- Scissors
- Yarn needle for weaving in ends
Complete Step-by-Step Instructions
Creating the Cups
Foundation and First Row:
- Make a slip knot and chain 20
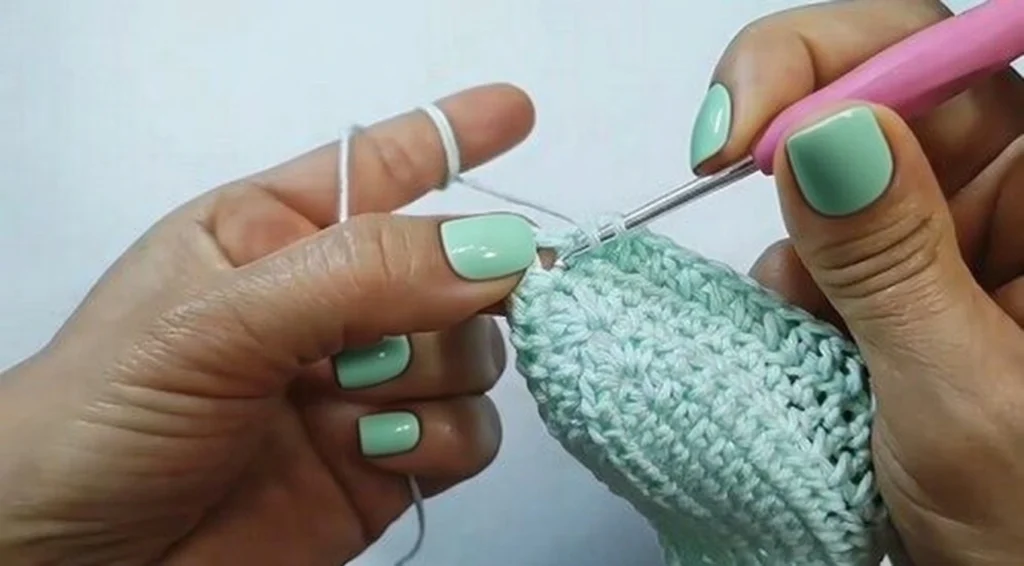
- Yarn over, skip the first chain, and make a half double crochet (HDC) in the second chain
- Continue HDC in each chain to the end
- In the last chain, create a fan:
- 2 HDC
- Chain 1
- 2 HDC
- HDC across the other side of the chain
Subsequent Rows:
- Chain 1 and turn
- HDC across the row
- In the chain-1 space, create a fan:
- 2 HDC
- Chain 1
- 2 HDC
- Repeat rows, always adding a fan in the chain-1 space
- Make a total of 10 rows
- Create two identical cups
Joining the Cups
- Chain 1
- SC across the first cup until 3 stitches before the fan
- Chain 4
- Align the second cup and SC in the 4th stitch after the fan
- SC across the second cup
- Cut yarn
Creating the Neck Strap
- Attach yarn at the top of the first cup
- Chain 21
- Attach to the cup with a SC
- SC across the top of the cup
- In the fan space:
- SC
- Chain 3
- SC into the second cup’s fan space
- SC across the second cup
- Chain 22 for the other side
Creating the Bottom Band
Initial Setup:
- SC in each of the 22 chains
- SC across the bottom edge of the cups
- SC in each of the 3 chain spaces
- SC across the other side and the 21 chains
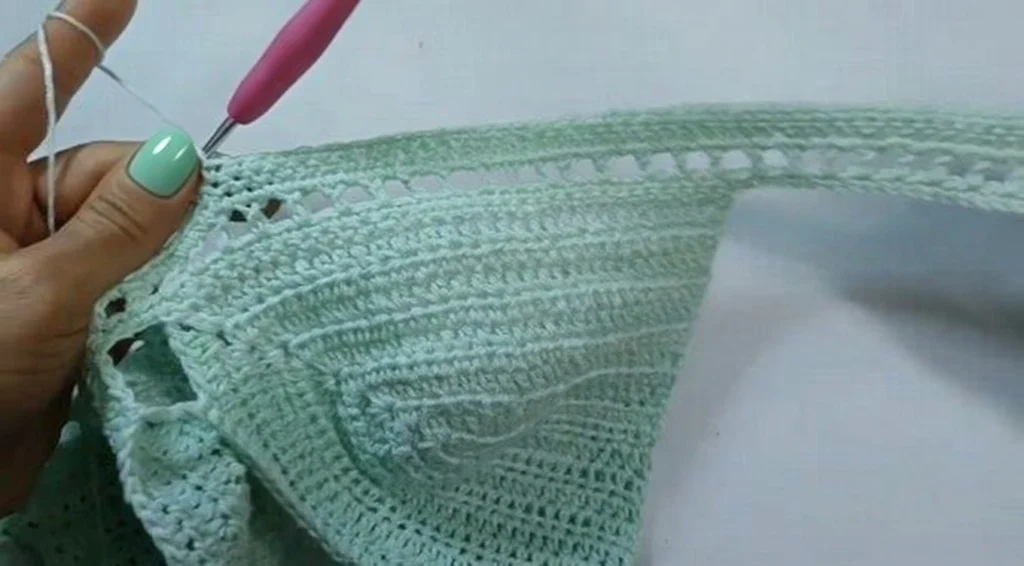
Mesh Row Pattern:
- Begin mesh row:
- Chain 3 (counts as DC)
- Chain 1, skip a stitch, DC
- Repeat across row
- Chain 1 and turn
- SC in each stitch and chain-1 space across
- Repeat this mesh + SC row combo as desired
Creating the Back Detail
Initial Back Shaping:
- Mark the 4th space on both sides
- SC to the first marker
- Chain 8, skip to second marker, SC
- SC to the end
- Chain 1 and turn
- SC across, making 8 SC in the chain-8 space
- SC to end
Back Band Construction:
- Begin back band:
- Chain 3 (counts as DC), DC x3
- Chain 2, skip 2, DC x4
- Repeat across
- Next row:
- Chain 3, DC in next 3
- 2 DC in chain-2 space
- Repeat
- Next row:
- Chain 6, SC, repeat
- Do this twice
- Mirror this on the other side
- SC in every stitch in following rows
- In chain-6 spaces, make 7 SC each
- Continue SC rows to desired length
- SC down the side (1 SC per row)
Creating the Back Straps
- Chain until it measures 1.30 meters
- SC down the chain
- Attach to other side and repeat
Creating the Neck Tie
- Chain until it measures 1.10 meters
- SC down the chain and attach
Finishing Touches
- Weave in all yarn ends
- Final dimensions should be approximately:
- 61 cm wide
- 7 cm tall
- Thread ties through the back loops
- Tie the neck strap to finish the look
Styling Your Handmade Halter Top
This versatile piece pairs beautifully with high-waisted shorts, flowing skirts, or denim for an effortlessly chic summer look. Layer it over a basic tank for added coverage, or wear it as a statement piece on its own.
If you’re looking for more crochet fashion inspiration, check out the Valentina Sweater crochet pattern for cooler weather styling options.
Tips for Success
Gauge matters: While this is a relaxed-fit garment, taking time to check your gauge ensures the cups fit properly and the overall proportions work for your body.
Yarn choice: Cotton or cotton-blend yarns work best for summer tops, offering breathability and structure. Avoid overly stretchy yarns that may lose their shape over time.
Customization: Feel free to adjust the length of the bottom band and straps to create your perfect fit. The beauty of handmade garments is making them uniquely yours.
Strap adjustment: The 1.30-meter back straps and 1.10-meter neck tie provide plenty of length for tying and adjusting. You can always make them shorter if needed for your frame.
Expand Your Crochet Wardrobe
Once you’ve mastered this halter top pattern, you might be inspired to create more handmade accessories and wearables. While this project focuses on fashion, crochet offers endless possibilities—from cozy amigurumi like the Plush Snowman or Shiba Inu to practical items perfect for gifting.
Final Thoughts
This crochet halter top pattern proves that handmade doesn’t mean complicated. With just a weekend of focused work, you can create a stylish, custom-fit top that rivals anything you’d find in stores—and you’ll have the satisfaction of wearing something you made yourself.
The combination of classic crochet techniques and modern design makes this pattern a must-try for anyone looking to expand their handmade wardrobe. The fan stitch detailing adds an elegant touch, while the adjustable straps ensure a comfortable, personalized fit every time you wear it.
So grab your hook, choose your favorite summer yarn color, and get ready to stitch up your new favorite warm-weather essential!
Ready to start your crochet halter top? Gather your supplies, set aside a weekend, and prepare to create a stunning handmade piece that’ll turn heads all summer long.