Amigurumi Star Crochet Pattern: A Beginner-Friendly Guide to Making Soft, Cute Stars
Introduction
Amigurumi is the Japanese art of crocheting small, stuffed toys, and an amigurumi star is one of the most satisfying projects for beginners and experienced crocheters alike. This guide walks you through everything you need to know to crochet a charming amigurumi star — from materials and abbreviations to shaping tips and finishing touches — so you can create a polished, snuggly result. If you’re building a handmade gift collection, pairing tiny stars with other patterns like the granny diamond beanie pattern makes a lovely coordinated set for a nursery or baby shower. Read on for a clear, step-by-step pattern and creative ideas to customize your stars.
Why Crochet an Amigurumi Star?
Amigurumi stars are small, portable, and quick to complete, making them ideal for gifted ornaments, mobile components, keychains, or hush toys. They work up fast in worsted or DK weight yarn and require only basic stitches and increases/decreases, so they’re perfect for learners who want to practice tension control and shaping. Stars also offer excellent opportunities to practice mattress stitch seaming and simple embroidery for facial features.
Materials & Tools
- Yarn: Fingering to worsted weight yarn (the pattern below uses worsted weight/Aran for a plump finish). Choose acrylic, cotton, or a soft baby yarn depending on the intended recipient.
- Hook: Use the hook size recommended for your yarn; typically a 3.5–4.5 mm hook for worsted weight to achieve dense stitches.
- Stuffing: Polyester fiberfill for a firm shape, or scrap yarn for lighter stuffing.
- Safety eyes or embroidery floss for facial features (optional).
- Tapestry needle for sewing and weaving in ends.
- Stitch marker to mark round starts.
- Scissors.
This simple material list keeps the project accessible and easy to customize for color and texture.
Abbreviations & Notes
- ch = chain
- sc = single crochet
- inc = increase (2 sc in same stitch)
- dec = invisible decrease
- st(s) = stitch(es)
- sl st = slip stitch
- Rnd = Round
- Work in continuous rounds unless otherwise specified; use a stitch marker to mark the start of each round.
- Gauge is not critical for amigurumi, but consistent tension will produce neat, even points.
Simple Amigurumi Star Pattern (5-Point)
This pattern creates a soft, five-point star approximately 3–4 inches across when using worsted weight yarn and a 4.0 mm hook. For larger or smaller stars, adjust yarn and hook size proportionally.
Center (make 1)
Rnd 1: 6 sc in magic ring (6)
Rnd 2: inc in each st around (12)
Rnd 3: (sc in next st, inc) repeat around (18)
Rnd 4: sc around (18)
Fasten off, leave long tail for sewing.
Point (make 5)
Attach yarn to one stitch at the edge of the center where you want the first point to begin:
Rnd 1: sc in same st and next 2 sts (3)
Rnd 2: inc in first st, sc next 2 sts (4)
Rnd 3: inc in first st, sc next 3 sts (5)
Rnd 4–6: sc around (5) — add stuffing lightly through these rounds
Rnd 7: dec, sc, sc (4)
Rnd 8: dec, sc (3)
Rnd 9: dec (1)
Fasten off, leave long tail for sewing. Repeat for all five points and stuff as you go. Sewing points to the center creates the classic star shape.
Assembly & Finishing
- Use the long tail from the center to anchor the first point; position point flush against the center and whip stitch securely. Continue attaching each point evenly around the center, placing them about three stitches apart for a balanced look.
- After sewing all five points, close any gaps with small stitches and add extra stuffing if needed to even out the shape.
- If you prefer a reversible star, make a back center and five back points the same as above, then sew the front and back together around the edges, leaving a small gap to add extra stuffing before fully closing.
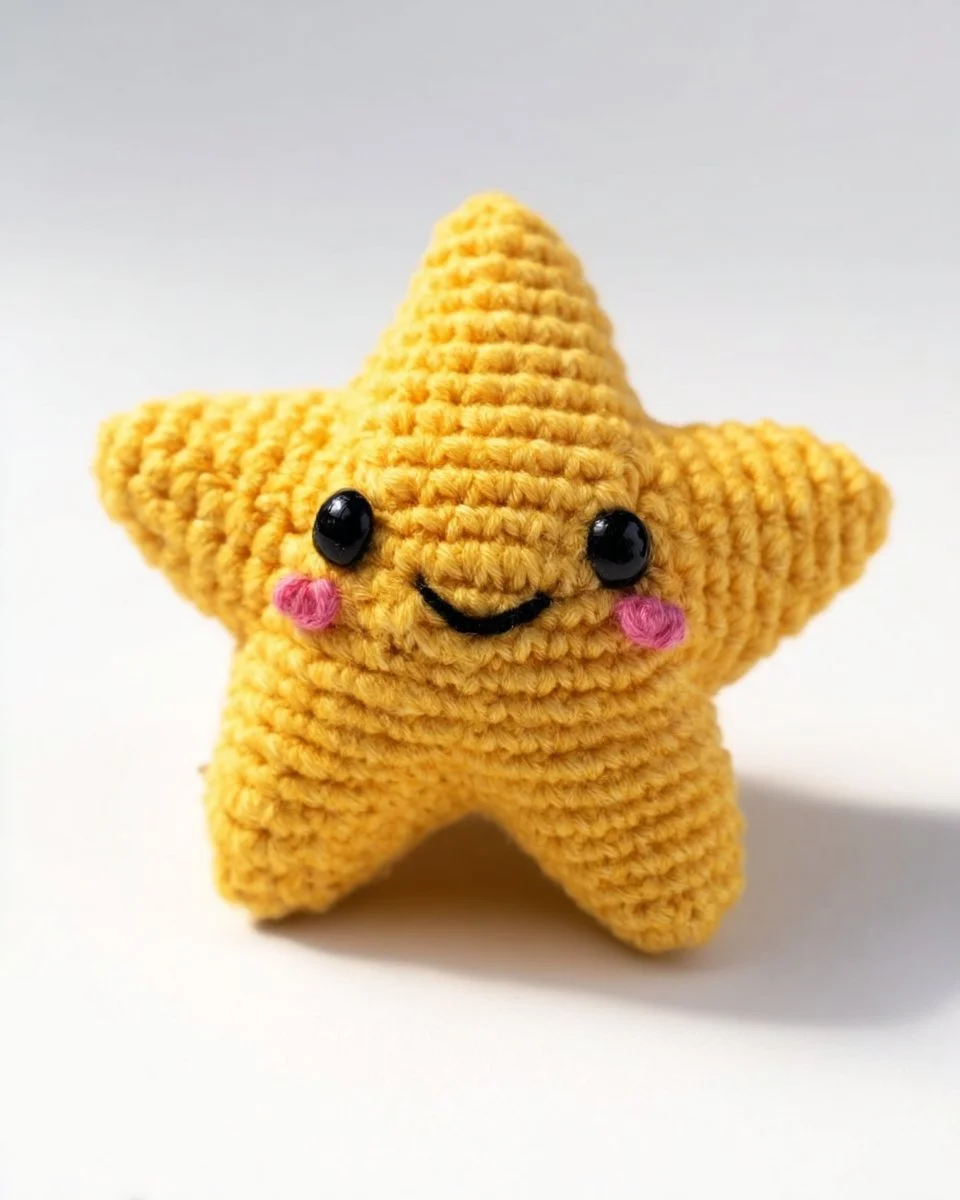
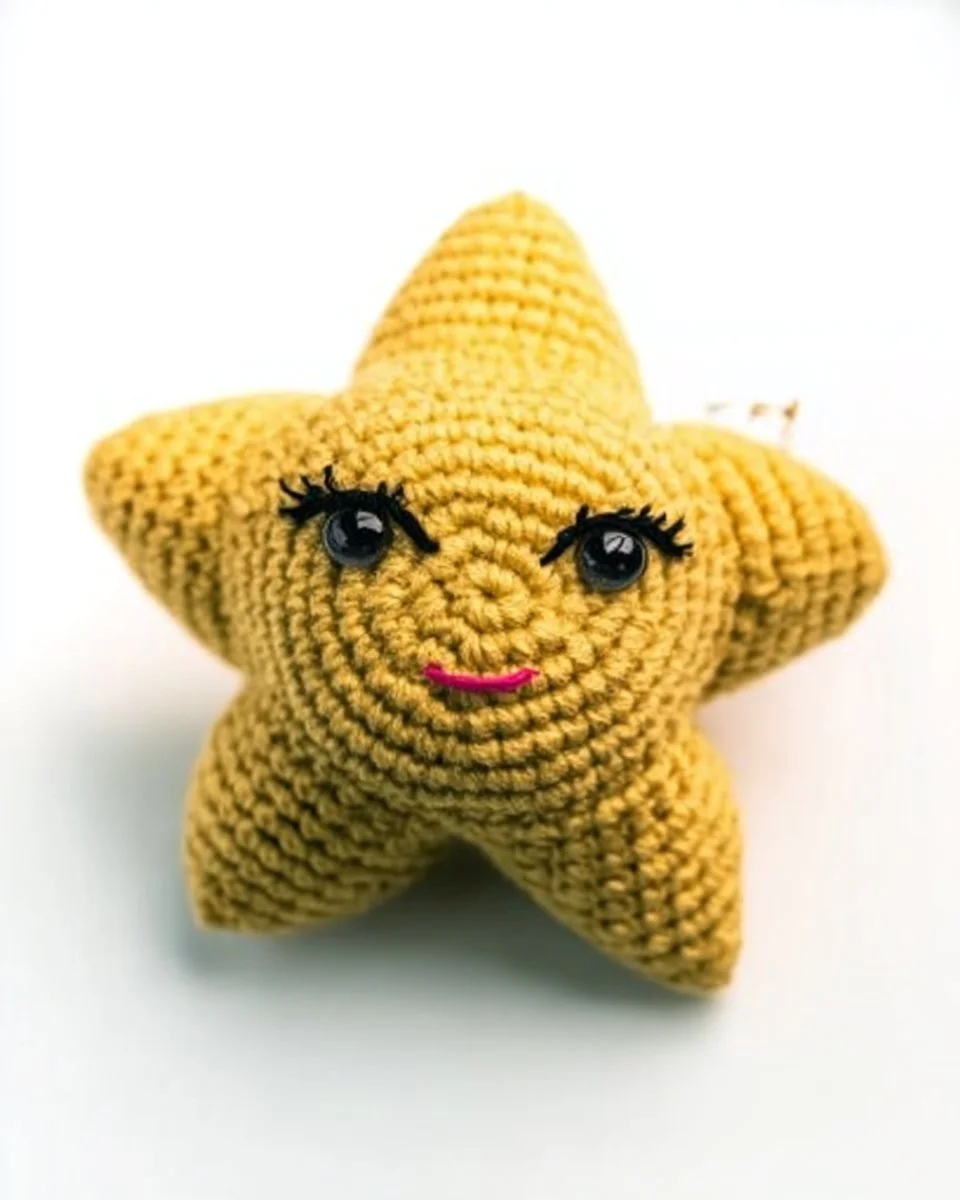
- Embroider a simple smile and rosy cheeks with pink yarn or thread, or attach small safety eyes before fully closing the seams.
Customization Ideas
- Color blocking: Use two or three colors and change yarn at the base of each point for a rainbow star. Carry your yarn or fasten off cleanly and weave in ends for a tidy finish.
- Textures: Try boucle, chenille, or cotton yarn to change the star’s feel. Fuzzy yarn creates a plush toy, while cotton gives a cleaner, crisper shape.
- Size variations: To make a tiny charm-sized star, switch to fingering yarn and a smaller hook; to make a plush pillow star, use bulky yarn and a larger hook for a soft, oversized finish.
- Add-ons: Attach a loop at the top to hang as an ornament, or sew on a ribbon. For a baby mobile, make several stars in coordinated colors and suspend them at different lengths.
Tips for Neat Points and Even Seams
- Keep tension consistent: Slightly tighter tension makes for a firmer, denser star that holds its shape.
- Stuff gradually: Add small amounts of stuffing as you complete each round so the points are smooth and even.
- Use a stitch marker: Mark the first stitch of each round to avoid accidental increases or missing stitches, especially when shaping points.
- Invisible decrease: Use an invisible decrease where possible to create a seamless narrowing at the point tips.
Pattern Modifications for Beginners
If the five-point star with separate parts feels complex, try this simpler construction:
- Crochet a flat star disk by working increases to a wide circle, then shaping points with strategic decreases and short rounds, or
- Make two identical star-shaped disks with five triangular sections and sew them together, stuffing through a small opening.
These methods reduce the number of separate pieces to assemble, which is ideal for first-time amigurumi makers.
Safety and Yarn Choices for Baby Items
If making stars for babies or toddlers, avoid safety eyes that can detach; instead, embroider features with yarn and secure ends thoroughly. Use baby-safe yarns designed to be hypoallergenic and machine-washable. Always check seams periodically and reinforce any loose stitches.
Advanced Decorative Options
For a more intricate look, add surface crochet or embroidery:
- Surface slip-stitch lines to outline points.
- Add French knots for star freckles or embroidery floss for delicate accents.
- Sew tiny beads at the center for a decorative “sparkle” — but avoid beads if the toy is intended for very young children.
Inspiration & Project Pairings
Amigurumi stars pair beautifully with other small crochet projects for themed gift sets. For example, if you love mixing wearable items with toys, try combining a set of stars with a simple summer garment like a crochet halter top — a handmade look that’s perfect for seasonal photo props or coordinating nursery decor. You can find a pattern idea for a stylish top in the crochet halter top pattern, which complements colorful amigurumi accents nicely. For animal-loving children, mix stars with playful dinosaur toys or create a themed mobile featuring both shapes and critters; the ice cream stegosaurus crochet pattern offers a fun companion project that blends whimsy and texture.
Troubleshooting Common Issues
- Point looks lumpy: Add more stuffing in small increments and ensure stitches are even. If one point is noticeably softer, remove a few stitches and re-stuff to match the others.
- Holes showing stuffing: Use smaller hooks or tighter tension around decreases and add a bit more stuffing. When finishing, close gaps with small, neat whip stitches.
- Uneven points: Count stitches when placing points along the center and space them consistently. Blocking lightly (very gentle steam) can sometimes even slight irregularities.
- Difficult assembling: Pin pieces together with sewing pins before stitching to check alignment, or use temporary thread basting to hold positions while sewing.
Care Instructions
- Spot clean for small marks with a damp cloth and mild soap.
- For machine-washable yarns, place the star in a laundry bag and use a gentle cycle; air dry flat.
- Avoid high heat from dryers or irons, as that can distort the shape or damage delicate yarns.
Project Variations and Gift Ideas
- Keychain star: Use cotton yarn, tighten tension, and attach a metal keyring to the top point for a durable charm.
- Ornament set: Create multiple small stars with metallic or sparkly yarn for festive holiday decorations.
- Mobile: Suspend several stars from embroidery hoops at different heights using strong thread or fishing line for a modern nursery mobile.
- Personalized stars: Embroider initials or tiny motifs to customize gifts for birthdays, baby showers, or bridesmaid tokens.
Conclusion
Creating an amigurumi star is a rewarding, versatile crochet project that allows for a lot of creativity in color, texture, and finishing. Whether you’re making a simple charm for a beginner’s practice or crafting a plush set for a nursery, the star pattern adapts easily to any skill level. With these step-by-step instructions, shaping tips, and customization ideas, you’re ready to make stars that sparkle with handmade charm.
